I'm Lini Sherburne, and this is my entry for the Top 18 Challenge of NTNA 2014. We were asked to choose an artist and then emulate their style in a hand painted design of our own. No 3D elements were allowed, and it had to be done on a live model. I chose the amazing Camille Rose Garcia as my inspiration. She is known for her pop surrealism styled works, often featuring fairy tales. I have titled my design "Artist's Dream".
Step-by-Step Nail Art Tutorial
1
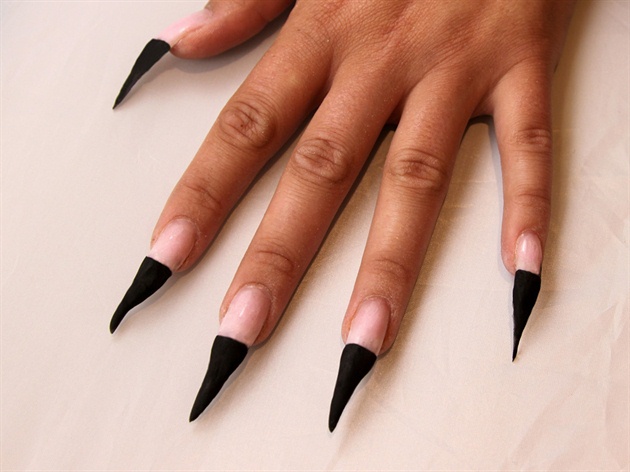
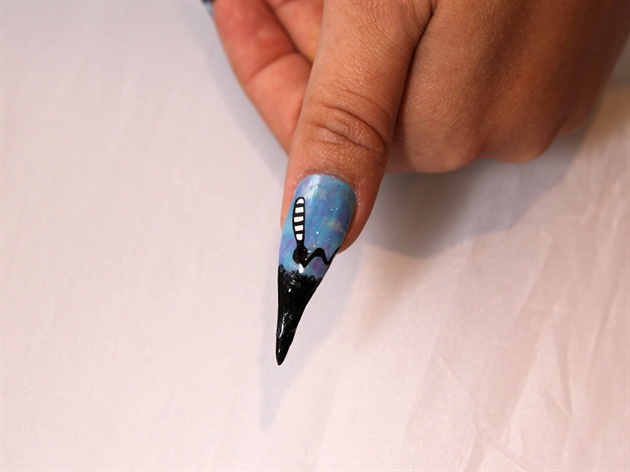
I started by using pink and black acrylic to sculpt extremely pointed, whimsical nails. Each point is slightly different, reflecting the "dripping" effect often shown is Garcia's paintings.
2
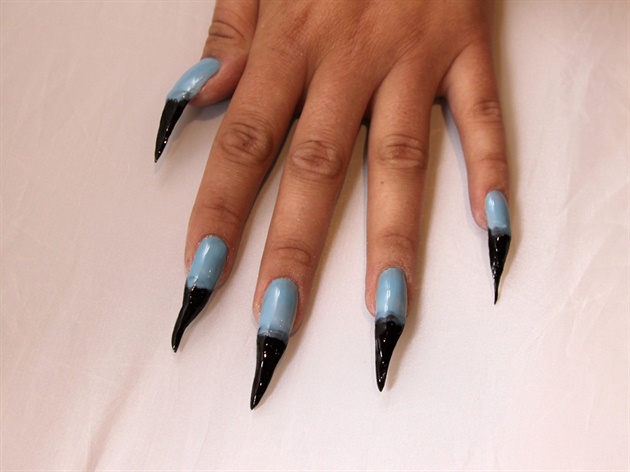
I applied CND Shellac in a light blue color for the base of the nail design, then cured in a UV lamp.
3
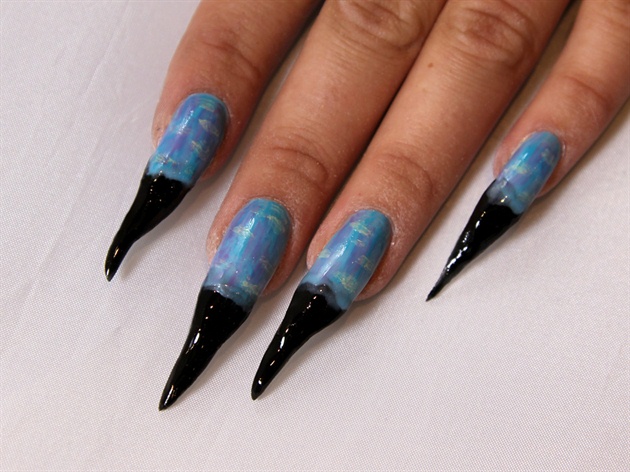
Still using CND Shellac, I added brush strokes of a darker blue, purple and yellow, to recreate the textured background shown in many of Garcia's works. Everything was then cured in a UV lamp.
4
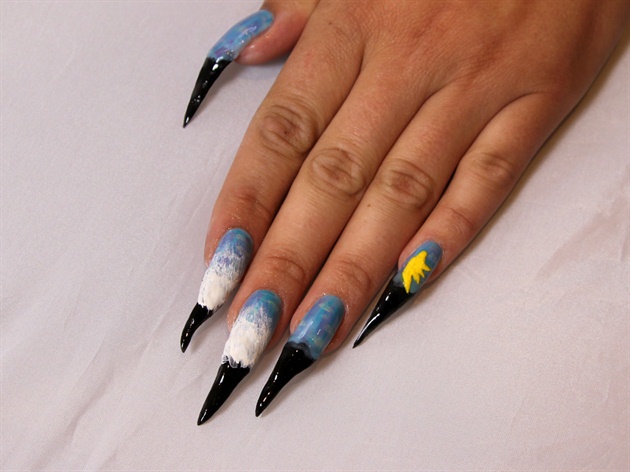
Using acrylic paint, I added the white background for the face, and blended using a brush. I used yellow paint for the base of the butterfly.
5

Next, I used black acrylic paint to create the face of the dreamer.
6

Using acrylic paint, a added the ribbon and details to the butterfly.
7
With acrylic paint, I created a paint brush and the beginning of the "dream weave" ribbon on the thumb.
8
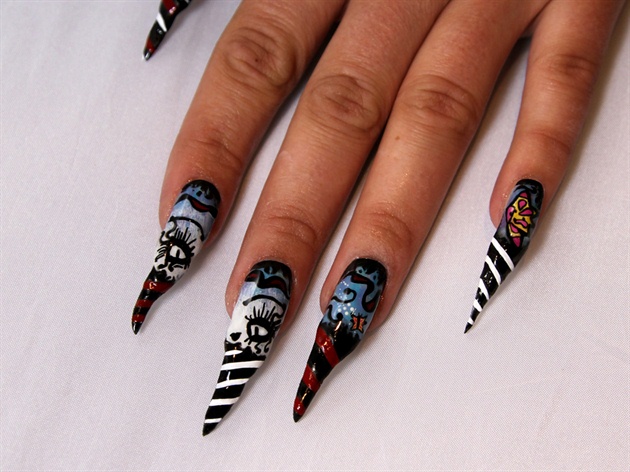
I painted stripes on the tips, a common element in Garcia's art, and added finishing details. The "dripping" effect also seen in many of the artist's works was added to the top of each nail with acrylic paint.
9
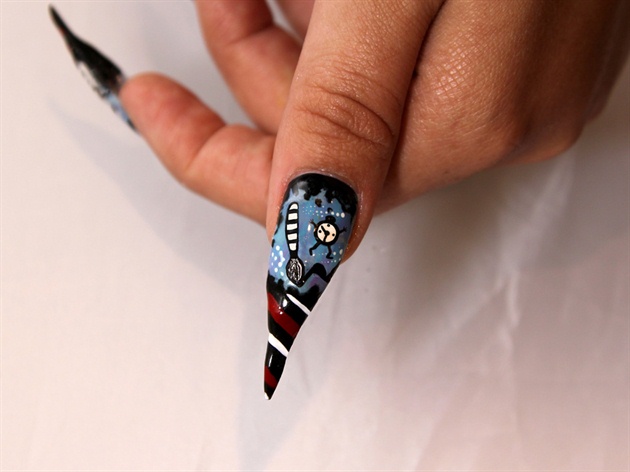
Last, I added stripes to the thumb, and the drip effect along the top of the nail. The clock and finishing details were also added with acrylic paint.
4 Artists like this Photo
Write a Comment
Submit