Our first pre-challenge is “Drop Dead Gorgeous” sponsored by Swarovski Crystals. The challenge is based on the Day of the Dead holiday in Mexico. This holiday is also called Dia de los Muertos. In Mexican culture, family members gather to remember and celebrate their family and friends who have passed away. The celebration consists of lighting candles and placing foods and drinks on an alter made for their deceased loved ones. As I researched this holiday, I was drawn to the vibrant colors and the elaborate headdresses worn during the celebration. I created my design around these elements. I chose brightly colored Swarovski crystals in different shapes and sizes to enhance my design. The center piece of my design is a skull and headdress nail tip that showcases the Drop Dead Gorgeous theme. I carefully cut this nail tip to mimic the elaborate feather headdresses that inspired me. I used Swarovski crystal pixie to accentuate the feathers and Swarovski chaton stones in bright colors to complete the design. I gave her a crystal pixie necklace with a Swarovski skull pendant. Notice the Swarovski skull’s bright blue eyes. On the four remaining tips, I hand painted flowers using a combination of gel paint and gel polish. The design was finished with colorful Swarovski crystals. I included a black and white sugar skull that is adorned with various Swarovski crystals. A candle with a Swarovski flame was added to complete my design. The light from the flame transforms into a butterfly carrying messages of love.
Step-by-Step Nail Art Tutorial
1
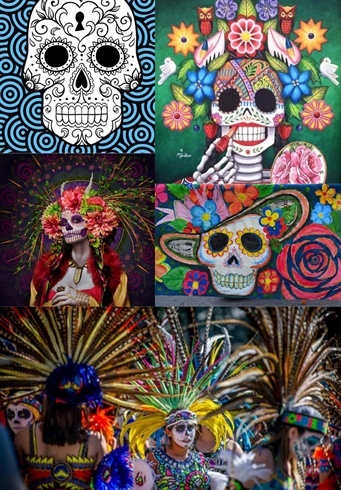
These are the images that inspired my piece. i love the colors, the textures, and the headdresses.
2
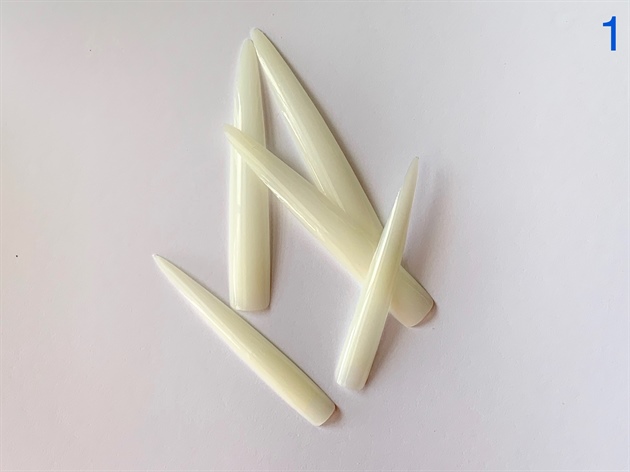
I selected 5 extra long stiletto tips to use for my mural.
3
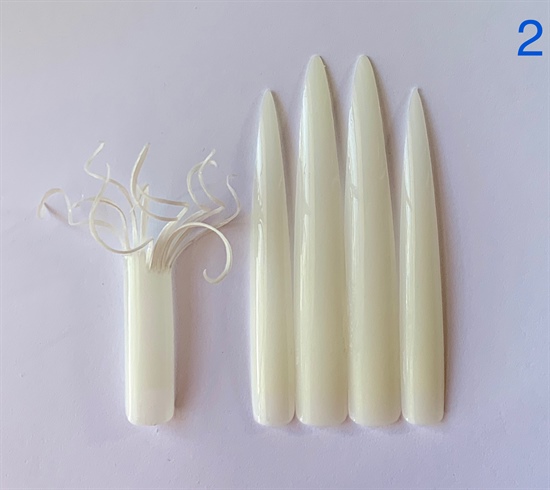
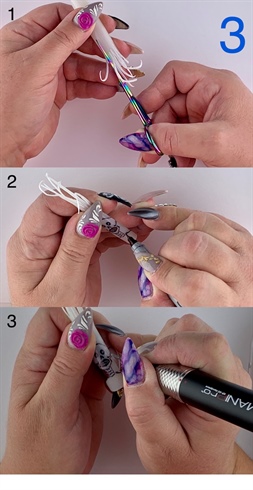
I used very sharp scissors to alter one of my tips by cutting very thin strips. The strips curled as I cut them.This represents the feathers on the headdress.
4
After cutting the strips I drew out the face for my skull. Then using my e-file and a small diamond bit I carefully cut out the skull shape.
5
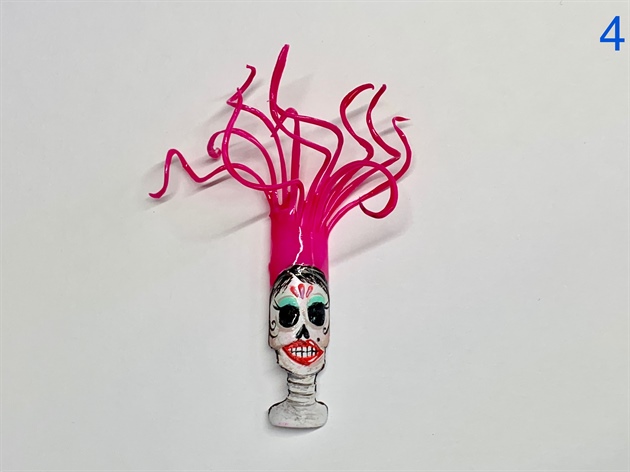
I painted the feathers of the headdress with a vibrant pink gel polish. Then painted the face adding hair and shading. I gave my skull eyeshadow, lipstick, and face paint. Drop Dead Gorgeous!
6
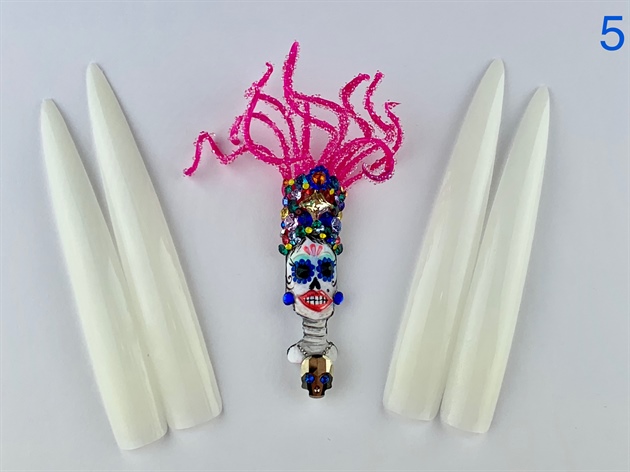
I adorned my skull girls headdress feathers with Swarovski crystal pixie and colorful chaton's using a gummy jewelry gel. I used a small brush to coat all of the feathers with a thin coat of gummy gel and then carefully sprinkled the pixie onto the feathers. Cure. For the chatons I only added small amounts of gummy gel and 2 or 3 crystals at a time and cured. This kept my chatons from shifting. She was given black crystals for eyes and blue crystals for earrings attached with nail glue. Every girl needs a necklace! Her's was created with crystal pixie and a skull pendant. I used a fine liner art brush with a little gummy gel. I drew 2 thin lines in a "v" shape for her necklace. I placed the pixie one at a time on the "v". I used a tiny bead of gummy gel to adhere the skull crystal. I added tiny blue chatons to the crystal skull eyes with a tiny dot of gummy gel to make them pop. In this step I decided I would make my mural 3 pieces. This arrangement puts the skull girl in the spotlight.
7
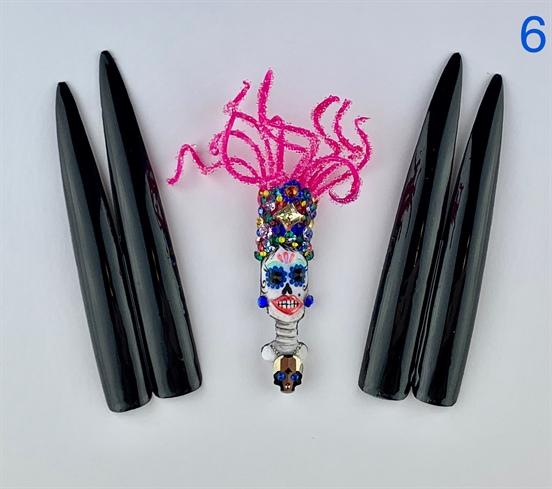
I painted both side pieces using black gel polish.
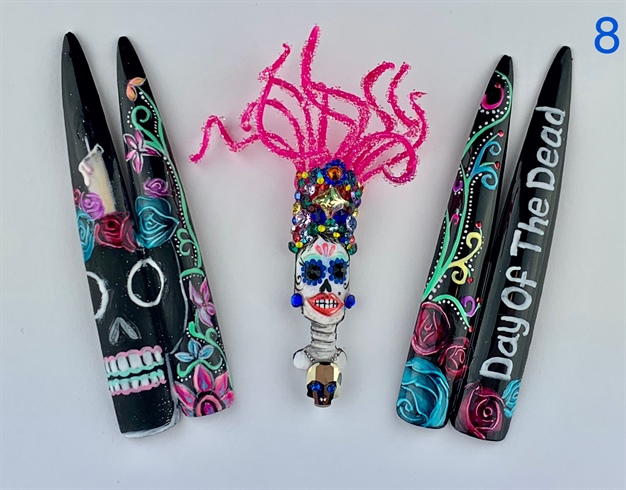
8

On the 2 tips to the right I painted flowers and vines using gel polish and a fine liner brush. I added the words "Day Of The Dead" to the outer tip.
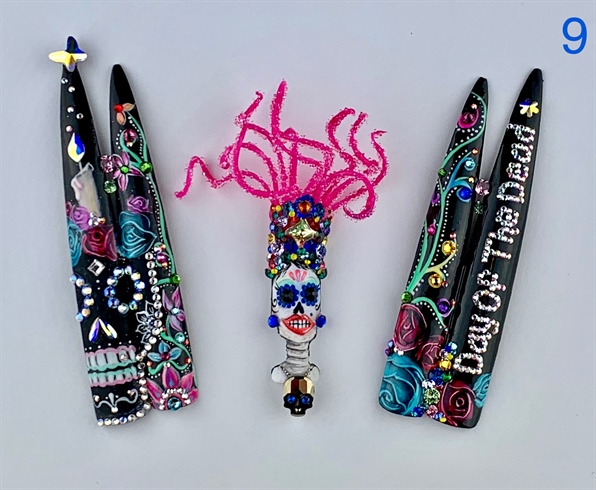
9
On the 2 tips on the left I also painted flowers and vines using gel polish and a fine liner brush. I added a sugar skull with flowers and a candle on it's head.I added several coats of gel polish to the drips of the candle to make it look more realistic. I coated both of the side pieces with a shiny top coat, with the exception of the sugar skull which I coated with a matte top coat. I went back with a shiny top coat and liner brush to make the teeth shiny.
10
To finish the mural, I added Swarovski crystals to all 4 of the side tips using nail glue for the flat backs and gummy gel for the chatons. After adding the crystals I painted a flower on the cheek of the sugar skull, as well as some swirls on the chin, dots above the teeth and between the eyes with gel polish and cured.
10 Artists like this Photo
Write a Comment
Submit