red & black pearl netting & 3D spots


Advertisement

Most Popular Nail Art Of The Week

Browse

Advertisement

Embed This Step-by-Step Nail Art Tutorial


Copy and paste the embed code above to put this step-by-step nail art tutorial on your web site.

Advertisement
Posted on June 06, 2013
|  
Like
1197 views  |   0 comments  |   Likes 5  

#1 create base, i have chosen red pearl
#2 lay beads of black, you need quite dry beads so they keep their 3D shape
#3 cap in clear acrylic
#4 when tip is semi dry, use netting to make an impression then fill with black
#5 file smooth to reveal your netting impression & top coat! You can add more art like acrylic paint, 3D, rhinestones... whatever tickles your fancy! this idea also works great with black & a glow neon mix :)

Step-by-Step Nail Art Tutorial

1


2


3
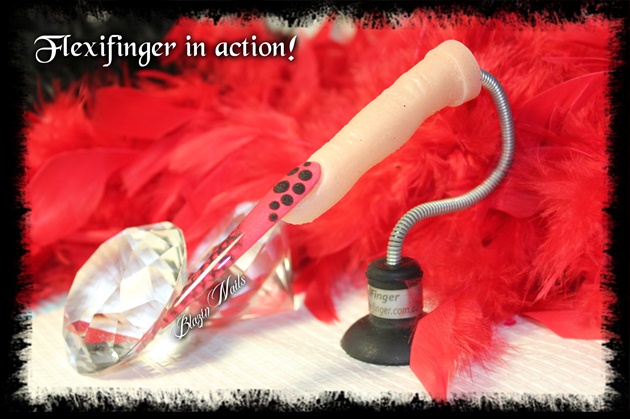
this little beauty is a flexifinger, silicone practice finger, fantastic for anyone who loves experimenting with nail art ideas, feels very realistic! i sell these in the Blazin Nails store or you can buy direct from Flexifinger :) Aussie made!

this little beauty is a flexifinger, silicone practice finger, fantastic for anyone who loves experimenting with nail art ideas, feels very realistic! i sell these in the Blazin Nails store or you can buy direct from Flexifinger :) Aussie made!  

 
   Tags
Acrylic     netting     fun     bright     3d embedded     impresion

5 Artists like this Photo


0 Comments


Write a Comment


Submit
Please sign in or register to     Close
Loading...

No
Yes
FEEDBACK