Close your eyes, relax, IMAGINE! Take a few minutes to travel to Alaska, experience the splendor of this northern trip to encounter nature at its best and most of all, the Aurora borealis, a northern light show like no other. Truly an inspiration for design, as many of nature’s most spectacular events motivate artists to create art using naturally occurring collections of colors, shapes, and sleek lines. This great natural masterpiece occurs as the sun’s particles are blown into the earth’s atmosphere by solar wind and the dancing begins with an amazing display of color, sparkle, and shooting rays that light up the night sky.
This camping trip in a cold climate is surprisingly warm and cozy in an igloo complete with the crackling sounds of a warm fire. While the fur around the hood of your northern parka tickles your cheeks, you wait patiently by the crisp, clear glacial lake for the march of the polar bears that come to feast on the northern pike, salmon, and blackfish. The high elevations of this mountainous area may even provide additional colors to the Aurora, beyond the pale green and yellow normally seen.
It’s time to transcend back to the reality of the day and return from Alaska and the gifts of nature. This challenge was an opportunity to explore a place I have always wanted to visit and create an object showcasing light and color. Not only am I inspired as an artist, I am encouraged to add this beautiful place as a vacation destination for my family and children to see this amazing natural light show that offers a different show every night.
Step-by-Step Nail Art Tutorial
1
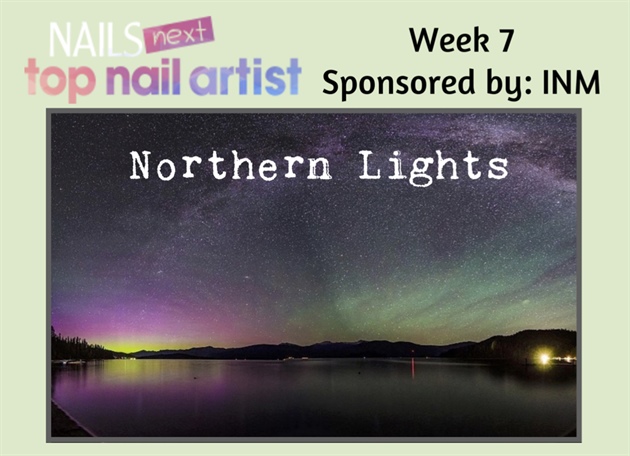
Since I have never experienced the Northern Lights in person, I had to search the internet for inspiration. The colors in this picture caught my creative eye when I scrolled by it. I knew I had to try and recreate the colors in the shy reflecting off the open water.
2
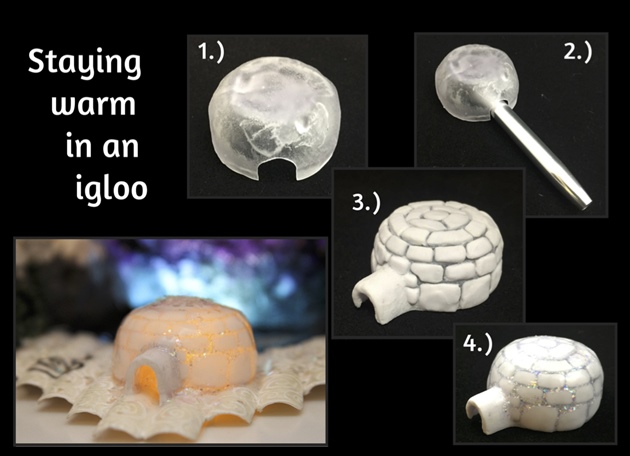
1.) A mini bottle of nourishing remover was used to make the main dwelling of the igloo. Starting with a light coat of oil, cover the area where the acrylic will be placed for easy removal. Apply clear acrylic, let it cure completely, wait for that crisp clicking sound when you tap it, and pop off the bottle. A clear product was used because of the light mechanism that would be place inside. 2.) A brush cover was the perfect shape to make the entrance way into the igloo. Cover in white acrylic. 3.) The tedious task of making small white acrylic shapes to mimic compacted snow. Make sure it is "stacked" high to make the next step easier. 4.) Fill in the gaps with a glitter acrylic and let cure completely. File to the point where you can see the white coming through the glitter layer.
3
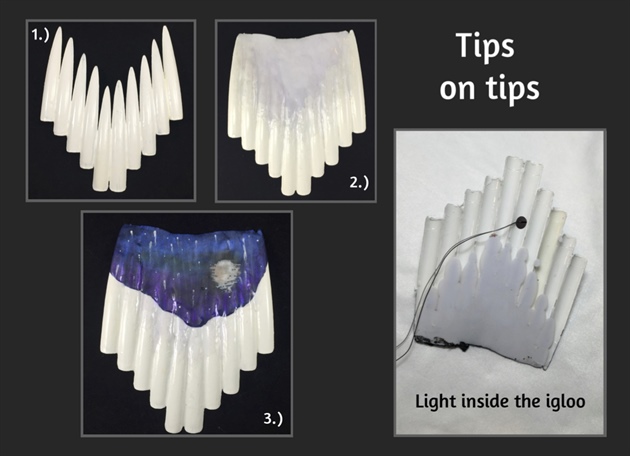
1.) Lay out the tips in the shape you need for your layout and use resin to attach them to one another. Using an activating spray will help dry the resin faster. Flip back and forth from the top to the bottom to make sure you have good coverage. 2. Add to the shape of the tips using acrylic. and this will also reinforce the tips to staying together. 3.) Paint the area where the "lake" will be with navy blue and black acrylic paint. An acrylic paint, called interference color, is used to make colors of the sky reflect on the water. Add white dots for stars and a moon then drag the wet paint down to look like its a reflection. A hole is drilled into the tips in order for a small LED light to go inside of the igloo.
4
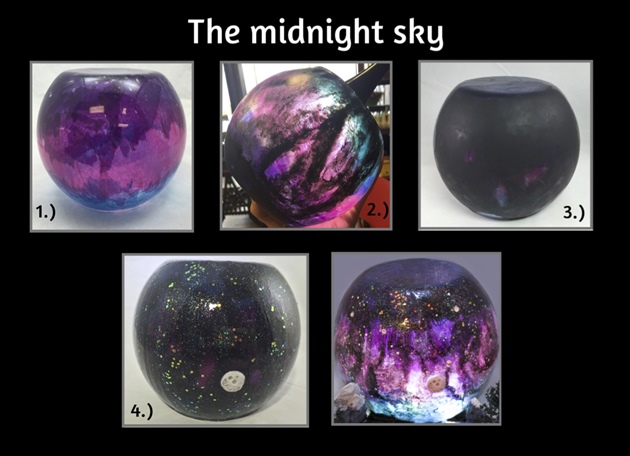
1.) Rip pieces of tissue paper into the shapes needed to fit the curve of the glass. On the inside of a glass ball vase, cover with a good layer of hard gel and do NOT cure. Place ripped pieces of paper into the gel until you have your desired design. Cure this layer and then cover the inside with top coat to seal in the paper. 2.) On the outside of the glass, sponge on black acrylic paint to give it a "clouds in night sky" look. I held it up to a light while doing this step so the effect is done correctly. 3.) Let dry and cover in a matte coat to seal in the acrylic paint because it rubs off the glass very easily. 4.) Cover with holographic glitter to mimic small stars and add dots of white acrylic paint for the look of bigger, bright stars. Add a light on the inside to get the effect of the light in the night sky.
5
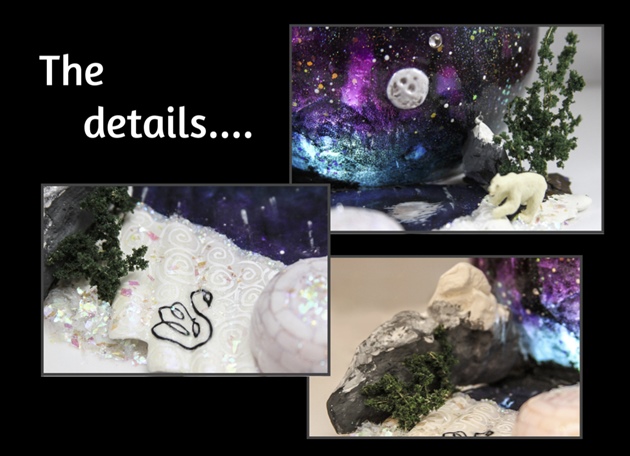
A moon is added onto the globe with acrylic and painted with an off white and taupe. I noticed this little polar bear while I was ringing out at the hobby shop. It was lost in a sea full of frogs and I relocated him to where he belongs. The INM logo is surrounded by snow swirls made to look like it was a windy day in Alaska. And whats an Alaskan lake scene needs mountains made with fimo clay and legos were pressed into the clay to create the rocky look.
3 Artists like this Photo
Write a Comment
Submit