3.....2.....1.....Liftoff!
Your journey to the backside of the galaxy is just beginning!
This week's sponsor is Minx. Here is the challenge.
Minx’s new Backside product gives the undersides of nails an artistic edge. This challenge represents an NTNA first, as the judges aren’t just looking for a winning design on the front of the nail, but an equally artistic, complementary design on the backside as well. You can use whatever mediums necessary to complete this look on two actual hands.
I hope you enjoy my backside nail design as well as the overall design! <3
Step-by-Step Nail Art Tutorial
1
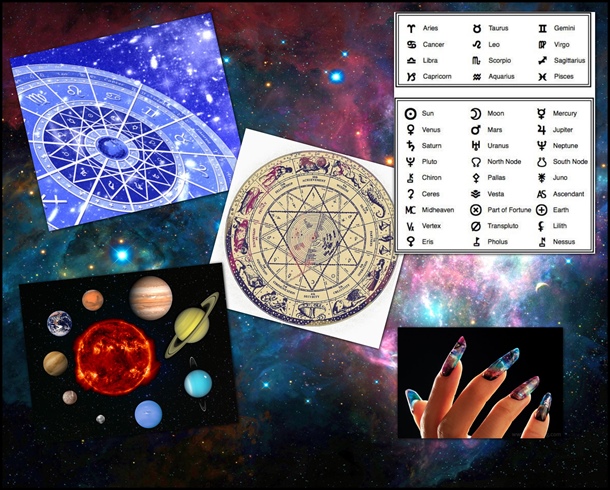
**NERD ALERT!** I love space! I came up with my idea almost immediately. I love the galaxy nail designs, and wanted to expand it onto to the backside of the nail as well. I also enjoy astrology, so I naturally added some paintings to the design for that. Let's get started!
2
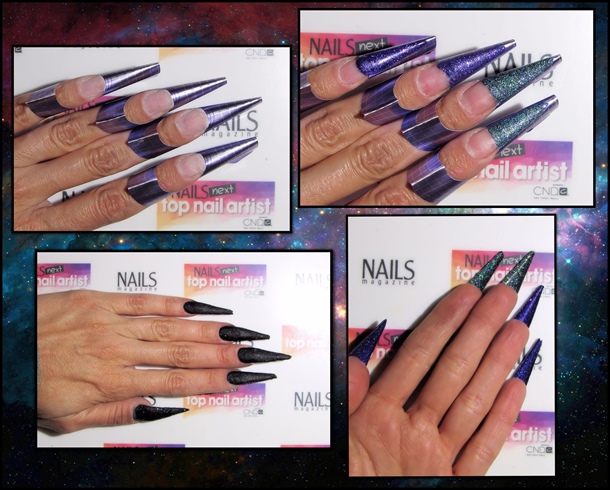
I started off by prepping the nails for acrylic application. Prepping is the most important part! Be sure to clean the nail of any debris, and use your bonding agent. You can start by adding a thin layer of clear acrylic so you can remove the design easily the next time. I did not do that for this tutorial.\n\nI first created my tips using custom mixed glitter acrylic. This glitter will only be seen on the backside. I covered the whole top of the nail with a custom black and glitter acrylic mix.
3
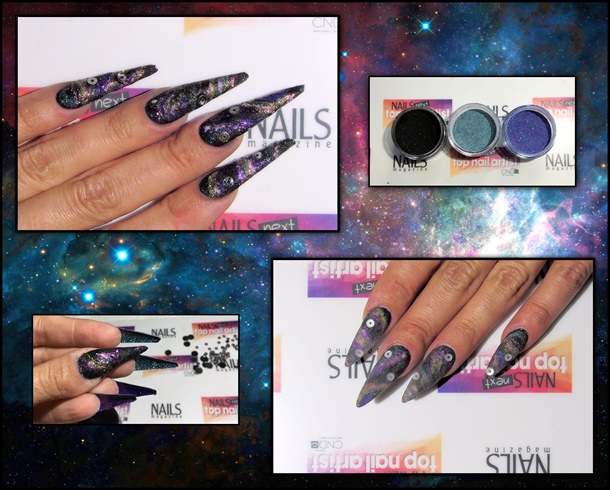
After shaping the nails a tiny bit, I begin to use more custom mixed acrylic to create my galaxy! I wanted to add a bit of depth so I built the acrylic up slightly. I added a few sequins here and there for a little extra sparkle! After I was happy with all of the nails, I encased it all in clear acrylic. Let cure, and filed to shape, to get ready for fun stuff!!
4
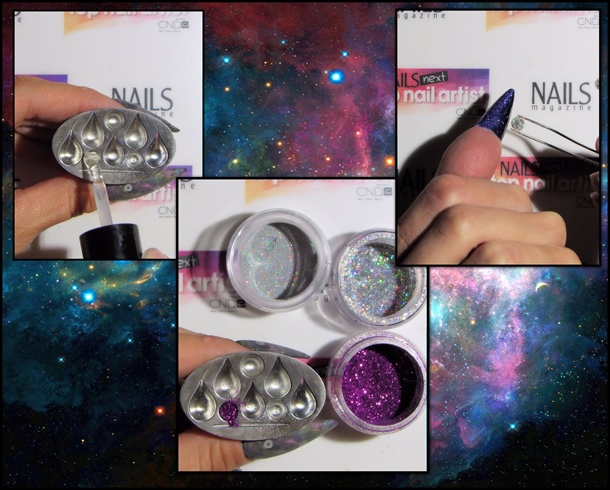
I decided to create my own little planets! I used my Ring Thing to help. All you need to do is coat the inside of the round mold, fill with non tacky topcoat gel polish, then sprinkle in your favorite glitter, or anything you want! Cure it, then pop it out using an orange wood stick. I placed these in multiple areas of my design. I want to live on a sparkly planet!
5

The zodiac wheel is always a nice addition to any nail design, but it fits perfectly into this one! I used white gel polish to paint this design. I cured a few times during design to make sure the gel was zapped into place!
6
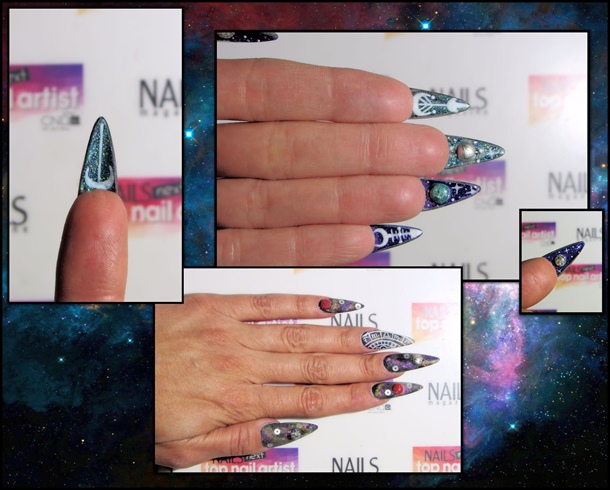
I painted a couple other astrological designs on the backside of the nails, to compliment the zodiac wheel on the front. I also used white gel polish here. Don't forget to cure in between designs to keep your lines crisp.
7
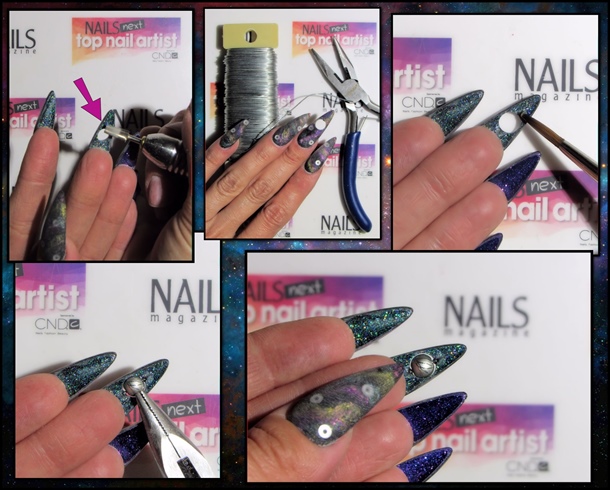
I added a spinning bead to create the look of a rotating planet. Drill your hole by starting with a small bit, Then graduate to a larger tapered bit and make the hole as large as you need to accommodate the bead of yo choice. Snip a piece of wire, place the bead on it, and carefully set it into a dab of wet acrylic on the backside to adhere it to the nail tip. I did carve a bit of a groove for each end of the wire to fall into place. Let it cure, and then spin, spin, spin away! This nail is so much fun! Topcoat all nails using a tack free topcoat, and cure.
8
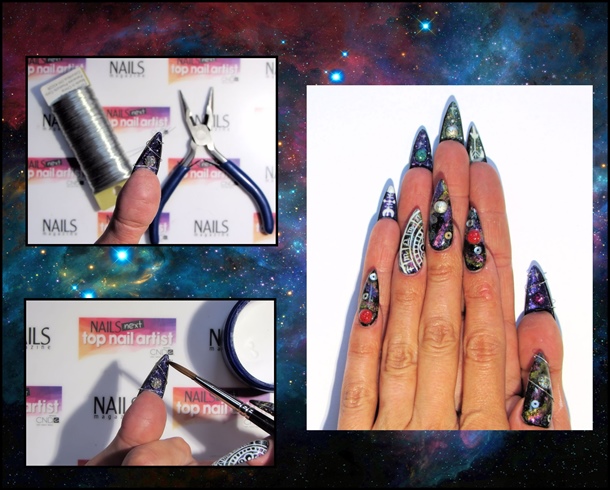
I felt like I needed something else, and that's when it came to me! Small wire wrapped around my thumbnails. It looks like a comet tail, or flying meteors! I molded the wire to my nails then used acrylic to hold it into place.
9
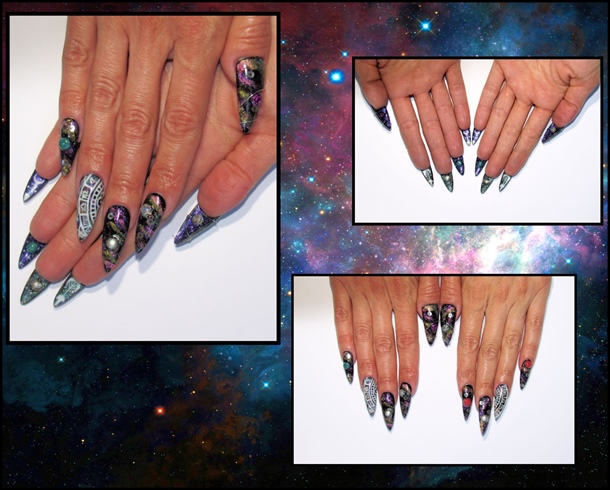
Now you're done! I hope you enjoyed this tutorial Please upload and hashtag #ntnadana if I've inspired you to create your own design from space! Contact me with questions! I'll be happy to chat. <3
5 Artists like this Photo
Write a Comment
Submit