For this challenge we were asked to recreate the cover of any of the Nails magazine covers with over 30 years to choose from. As soon as I read the word recreate I was inspired. I figured why not recreate myself. I chose the magazine cover from the month and year that I was born, January 1985. Having never seen the cover, I still decided no matter what was on it I was going to challenge myself and recreate it anyway. I was scared but anxious as I pulled up the cover on my phone but sure enough the picture was perfect. I wanted to do something different with it, not just simple shaped nails. I knew I wanted this piece to be in the shape of a magazine and I wanted to be creative by connecting them as a puzzle piece. The puzzle piece represents my life and career coming together after an adventurous journey. I am grateful with every opportunity I am blessed with and this is one of them, thank you.
Step-by-Step Nail Art Tutorial
1
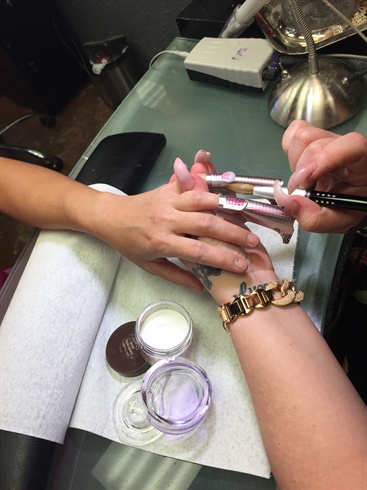
Here, you begin with sculpting forms and begin to add acrylic to form the nails into a shape of a magazine
2
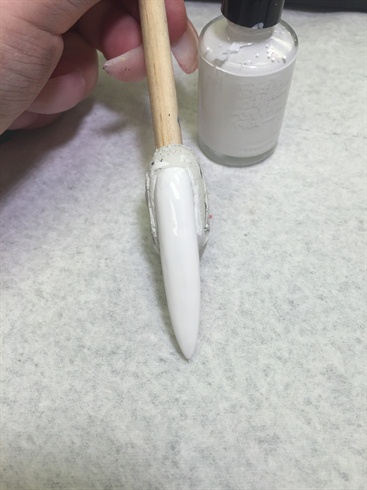
Here, I used a dragon lady stiletto tip. Once dragon lady tip has been sculpted, polished with white. All nails were polished to desired color, in my case, white and black for the base and background color of this challenge.
3

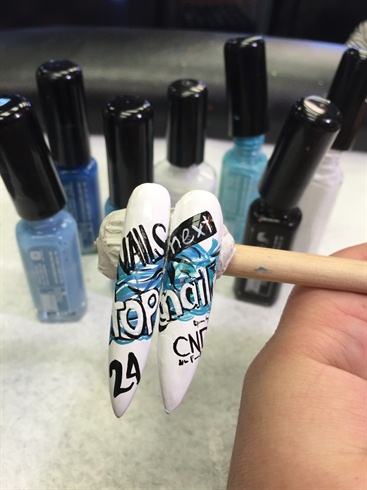
Using various blue stripers, make swirls. Using black and white nail polish stripers, begin to contour lines and begin the writing.
4

Here you continue to use black stripers, finishing the writing.
5
Here, we are done. Now all I do is add a IBD gel top coat and cure to the optimal shine.
6
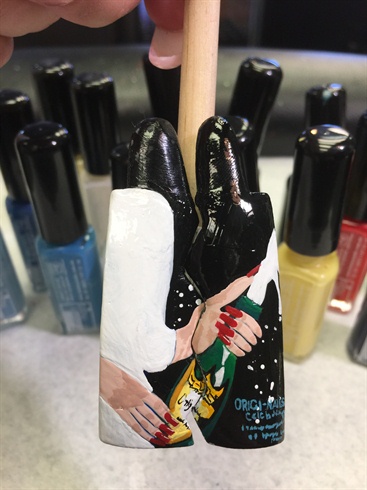
Here I begin on a black base on a previously sculpted magazine puzzle piece nail. Creating the hands using 2 different skin tone nail polish stripers. I used red for the nail polish. I used 2 different greens to create the bottle. 2 different yellows for the bottle. I began the dress with a white base.
7
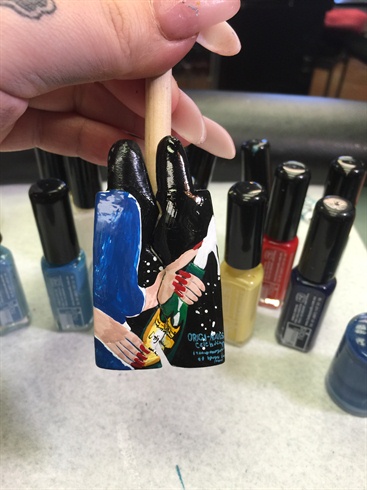
Here I added the blue to the dress.
8
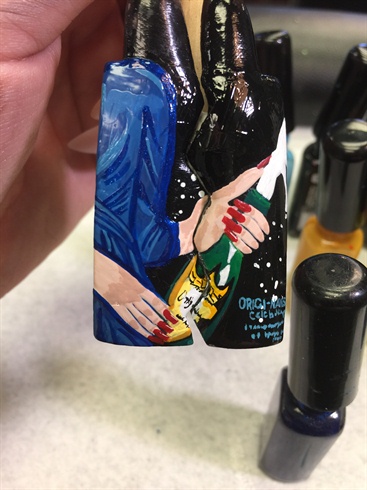
Here adding 3 different blues, I finish the touches of the dress. And by adding white, I create dimension to the bottle, dress, and hands.
9
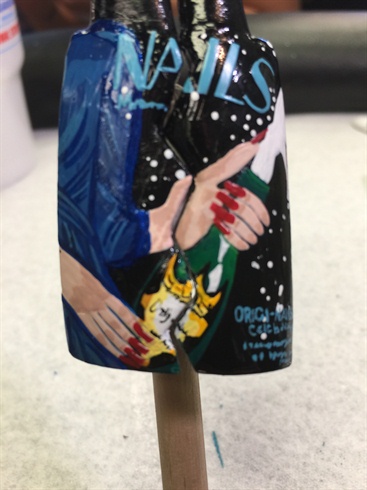
Here I added a turquoise nail polish with the striper to write out Nails Magazine and writing on corner of nail. And glazed with IBD gel top coat and cure.
10
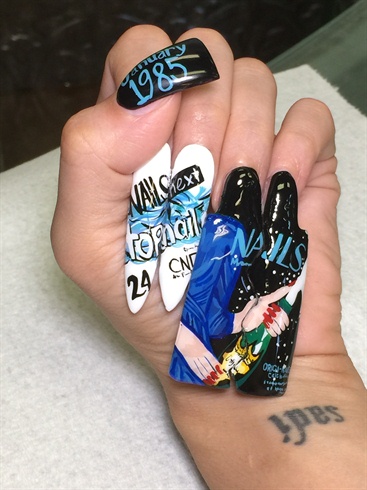
Finally I finish the thumb with black base, turquoise writing with the month and year of the magazine cover. I also finish it with IBD gel top coat and cure. To finalize, I swipe with nail cleanser to remove the last tacky layer. Then I applied pre-made tip to the nails for the final picture.
2 Artists like this Photo
Write a Comment
Submit