For week 6 of NAILS Next Top Nail Arist, Sponsored by Gel II, we were asked to create a skyline using only nail products ( no non nail related items ) and were asked to keep embellishments to a minimum. Gel II's Skyscraper Building Gel and Liquid & Powder nail enhancement systems are the perfect tools to build your own creation from foundation to the top floor! We were asked to take the name of this product to literal extremes, and I chose Seoul, South Korea.
Step-by-Step Nail Art Tutorial
1
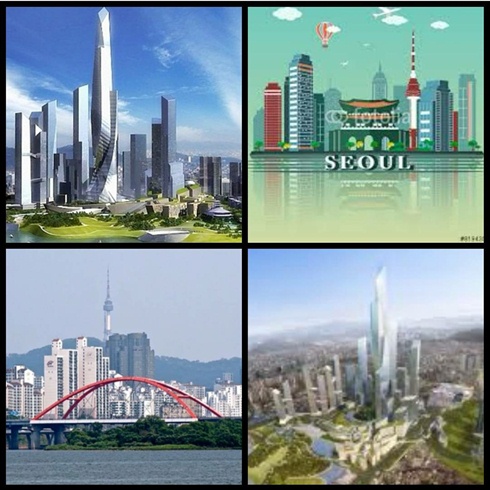
The beautiful arrangement of the "DreamHub" which is still under construction.
2
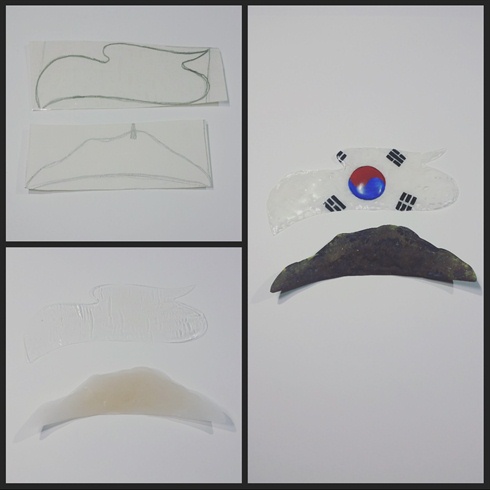
I started with pieces of paper with outlines of the Hamsan Mountain and a Korean flag cloud. I then double sided the paper with clear take for a slick finish to sculpt on.\n\nI layered gel top coat 3 times, curing between each coat. Then I cut the edges with small scissors for a clean edge. I then swirled white gel polish and gel top coat for a cloudy effect, leaving clear spots, but keeping true to the flag and having it predominantly white. I then used blue and red gel polish to create the center of the flag, and then I used black acrylic paint to paint on the trigrams. To make the center look bubbly, I added 3 layers of hard gel, curing between each coat, and then topping the entire piece with gel top coat and curing.\n\nFor the mountain, I used several dry balls of acrylic to create a rough texture for the country side. I then sponged on green, black, and brown acrylic paint and topped it off with matte top coat.
3
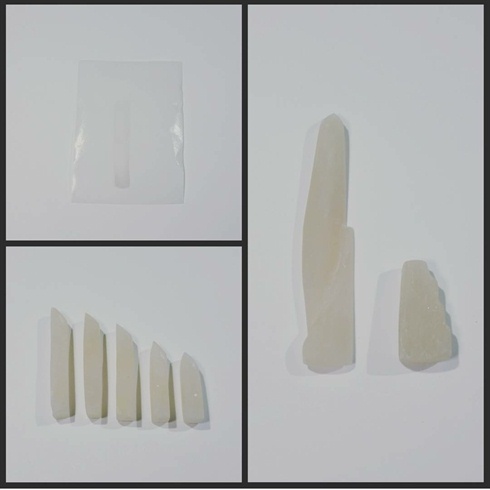
For the buildings, I started with a layer of acrylic in the shape of a long rectangle on leftover form paper. I then continuously layered until the desired volume was achieved, and then I filed the slant at the top and the edges and sides sharp . I repeated this until I had 5 towers, descending in height. For the main skyscraper, I started with the same technique, but sculpted and filed to achieve the desired building.
4
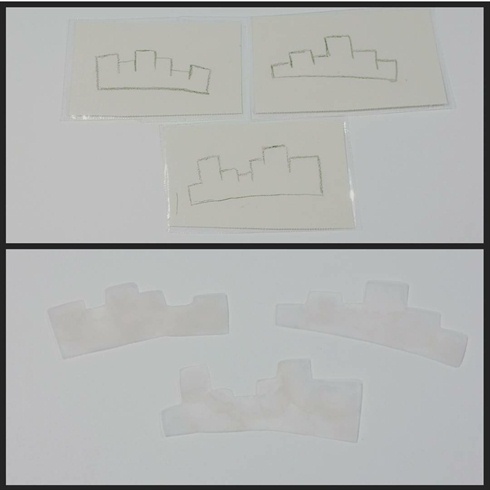
For the background buildings, I used the same technique with the paper and take, and then layed a thin layer of acrylic and filed the edges clean.
5

For the base, I attached 10 nail tips with nail adhesive and sponged on blue and green acrylic paint (for spacing purposes) and I attached the mountain and cloud with acrylic.\n\nI added the N Seoul Tower (red needle looking thing on the mountain) by sculpting it out of acrylic and painting it with red and white gel polish. After painting the buildings silver and adding detail, I attached each building with acrylic, and then added more balls of acrylic at the base to smooth it out. I also attached the background buildings with acrylic after painting them silver and black.\n\nTo jazz up the Han River, I marbled blue and white gel polish, cured, and added foil glue and foiled on aquamarine nail foil for the glistening waves. I also added concrete with a swirling fashion using different shades of grey.
6
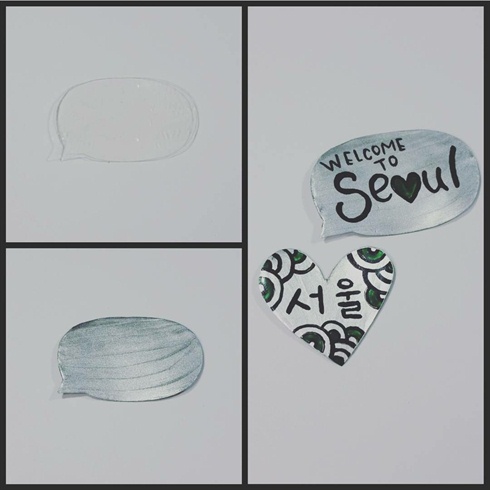
For the speech bubble (Koreans love those) and the heart, I used 2 layers of gel top coat, curing between each layer, and then using small scissors I cut out the shapes. I then painted them silver and added inscriptions with black acrylic paint. The heart says Seoul in Korean.
7
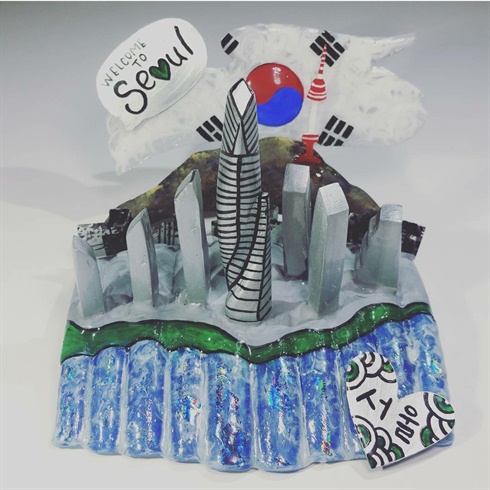
After attaching the silver cutouts, adding grass and outlining the pavement and the river, topping off with gel top coat, my work is complete ! Welcome to the new Seoul !
3 Artists like this Photo
Write a Comment
Submit