<Angelique's Last Curse>
My chosen theme was inspired by Tim Burton's movie "Dark Shadow" and it's one of main character, Angelique Bouchard (played by Eva Green).
I chose Angelique because her passion for her love was so toxic that she died tried to show her love to Barnabas Collins, who she cursed to become a vampire for not loving her back. The climax of the movie is when Angelique is fighting against the Collins, and she dies from taking her own heart from her body while leaning against the beautiful chandelier in Collinwood mansion. This last few moments of the movie and Angelique's death inspired me to create this piece, and I thought the overall story would make a great Halloween nails.
In this mixed media piece, I used acrylic, gel polish, acrylic paints and chrome pigment to create the tips and 3D elements. I embellished the chandelier with metal studs, glass bubbles, chunky glitter pieces, and of course Swarovski crystals and Swarovski crystal pixies.
Step-by-Step Nail Art Tutorial
1
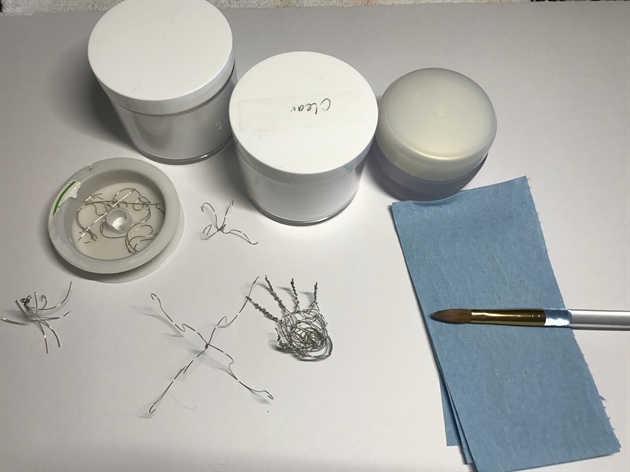
I used thin metal wired to create 'skeletons' to make 3D hand and elements of the chandelier. Having to make wire frames allowed me to make the pieces in the right shape and sizes, and in this way everything can be in right proportions.
2
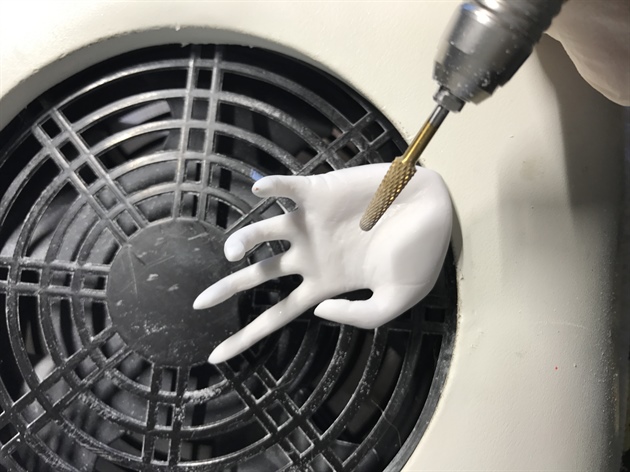
After 3d elements were made and done curing, I used e-file and hand files to shape and smooth them. E-files are very handy when filing between small gaps.
3

I used acrylic paint to color the hand. Then used gel paint to add details, and topped with matte gel top coat. Painted nails were used gel polish and gel top coat.
4
I used acrylic to assemble the chandelier. Then added chrome pigment to add shine and crystal-like look.
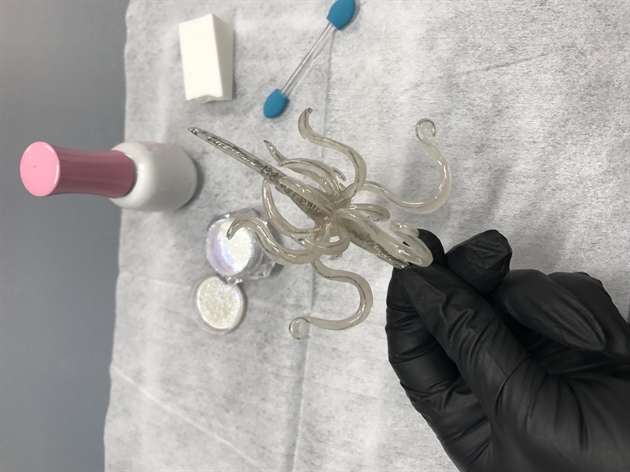
5
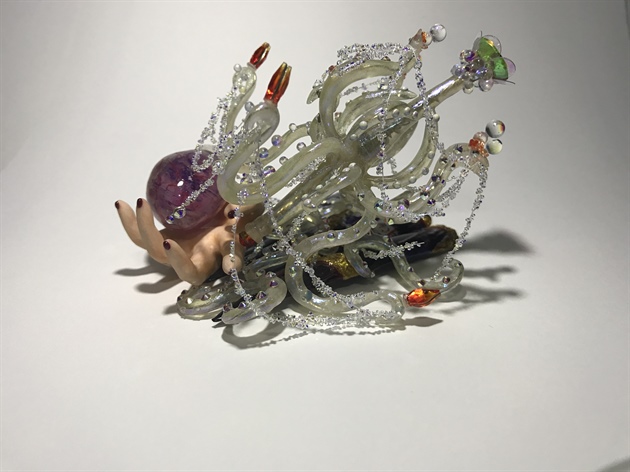
Embellishing - Swarovski crystal AB s3, s5, s7, s9 and different sizes of glass beads to tentacles. I used resin glue and Crystal Katana Tanto while embellishing them.
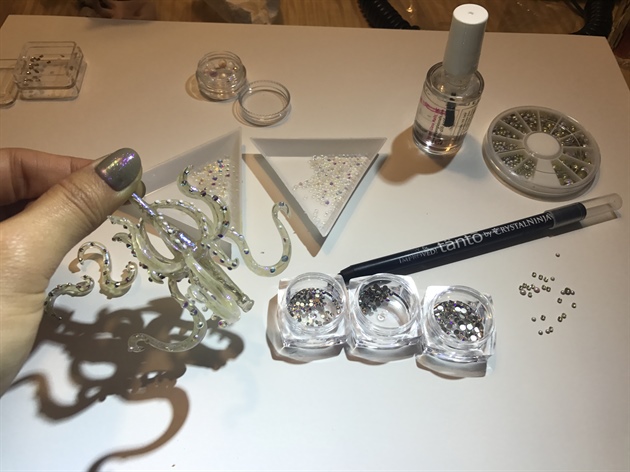
6
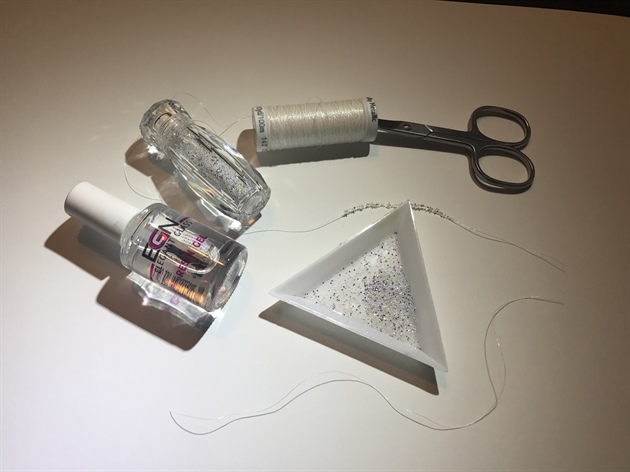
Crystal pixies were glued to thin strings for the chandelier. I used resin glue and resin activator to secure crystal pixies faster. For the delicate look, I swiped glue on string and sprinkled crystal pixie over it, then sprayed the activator to quickly secure them. Strings were cut longer for easier assembly.
7
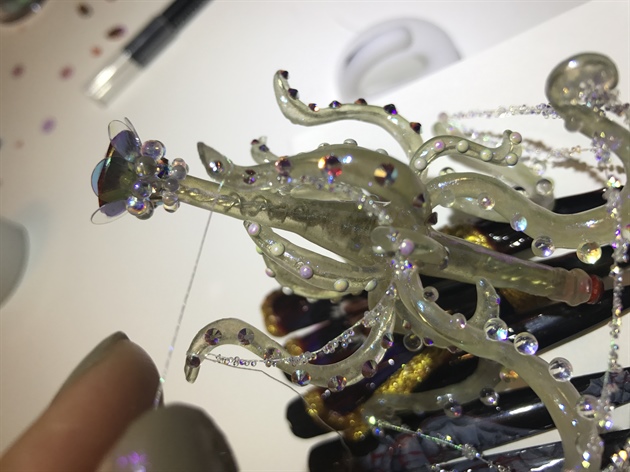
Crystal pixie strings were wrapped around the tentacles and glued. And then using scissors or nipper to cut the remaining strings before adding last pieces of swarovski crystals as finishing touch.
8
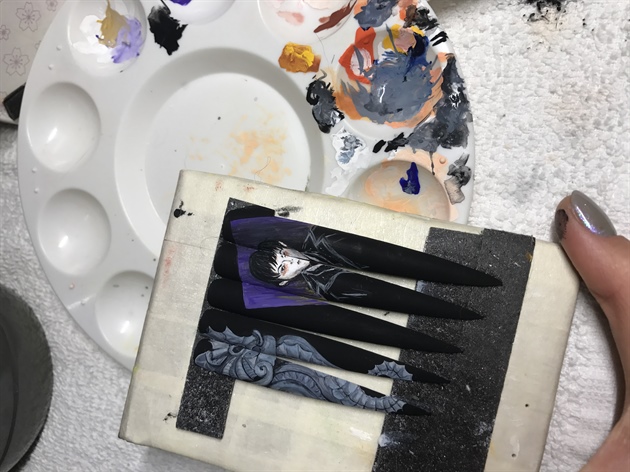
Base tips - Using acrylic paints, I painted the seahorse and picture of Barnabas painting on the stiletto tips.
9
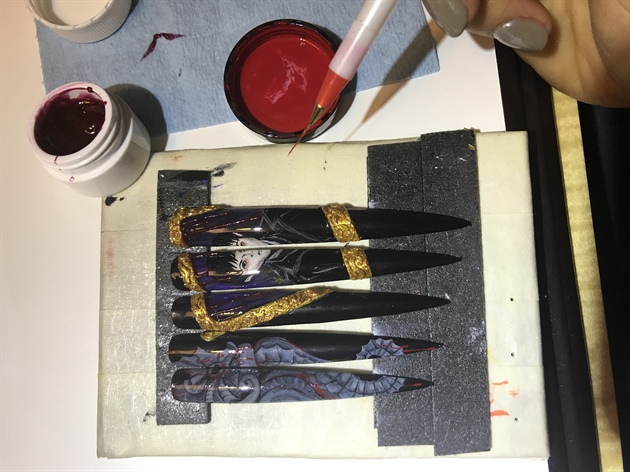
After adding details for the painting frame with gel polish, I used 2 different red gel paints to add dripping blood on the background.
10
Not Pictured: Glass heart is made out of acrylic, handpainted inside and outside with gel polish and finished with gel top coat. \nCrystals used: Astral Pink 12mm, Fireopal 7.5mm (glued together), AB s3, s5, s7, s9, Crystal pixie Fruity oranges and Cute mood.
8 Artists like this Photo
Write a Comment
Submit