The 80's was filled with inventions and paved the way for our technological future. Using gel, airbrush, paint, acrylic and embellishments, this 1980's inspired Nail Art Tip takes you "Back To The Future"!
Step-by-Step Nail Art Tutorial
1
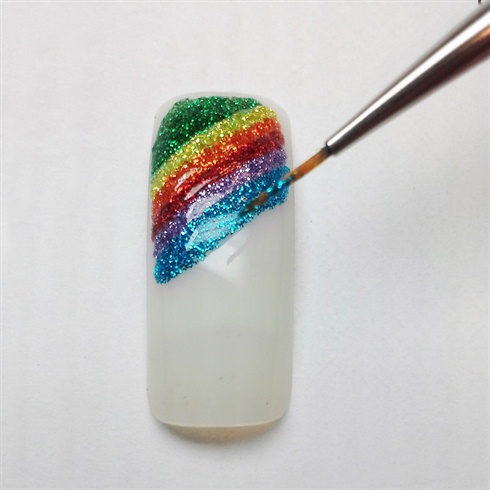
Apply glitter gel in a rainbow pattern over the top of the nail and cure.
2

Draw and cut an Apple logo out of sticker paper and stick over the cured rainbow glitter gel lines.
3
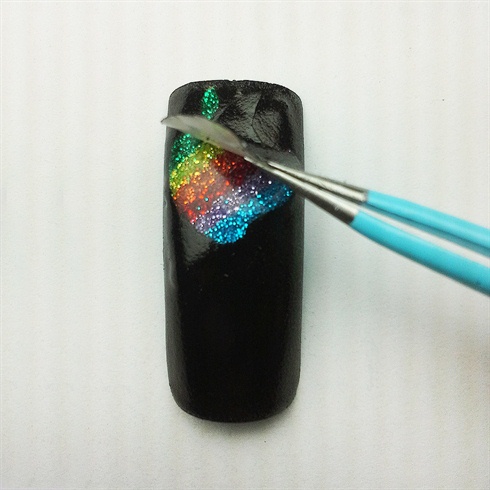
Use an airbrush with black paint and spray the entire nail, then remove the Apple logo sticker to reveal the original Apple logo.
4
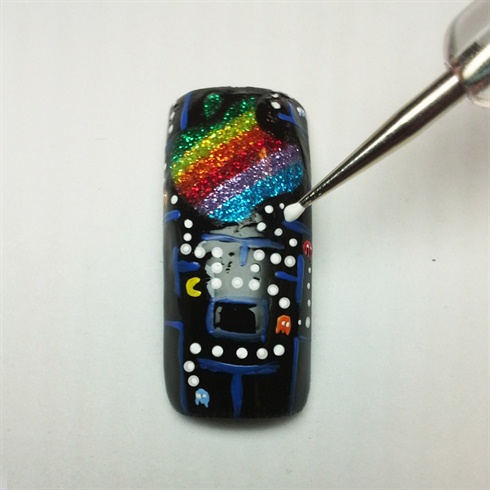
Use paint to create the PacMan game as the background with blue lines, white dots, and don't forget a yellow PacMan chomping them all up!
5
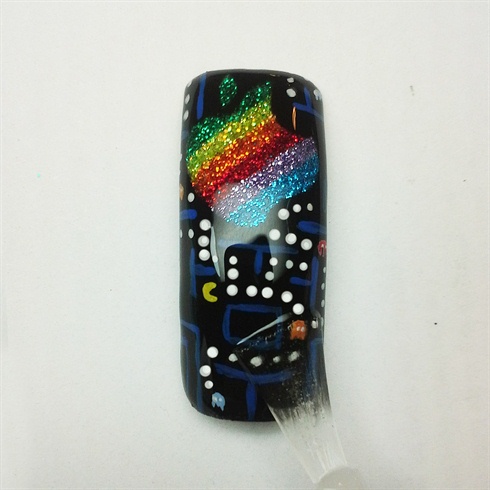
Apply Top gel, cure and remove sticky layer.
6

Create a 3D Rubik's Cube on a form, use white acrylic to sculpt two squares, one taller than the other.
7
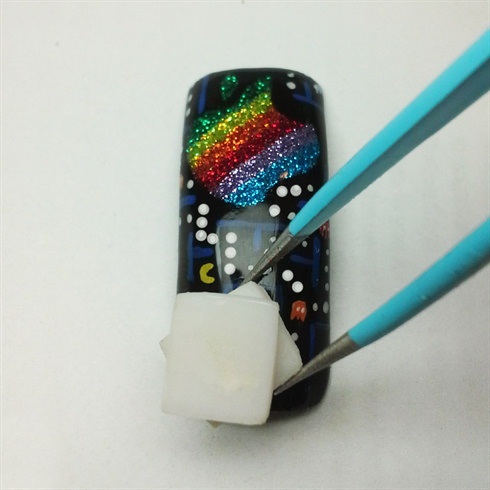
Use a wet ball of acrylic to apply the two squares to the bottom of the nail. Place the taller one first, then twist the second one to look like a Rubik's Cube in action.
8
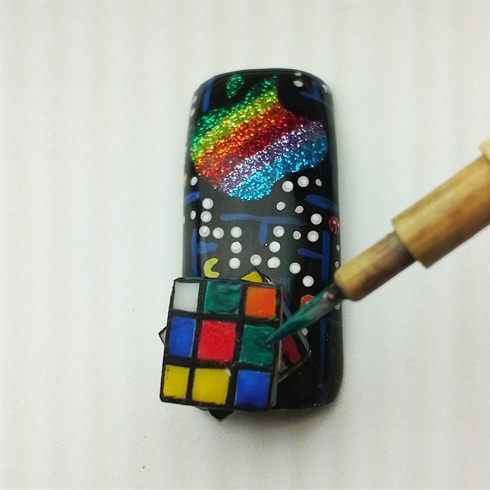
Use paint and a fine brush to paint the black lines then fill in the squares with different colors.
9
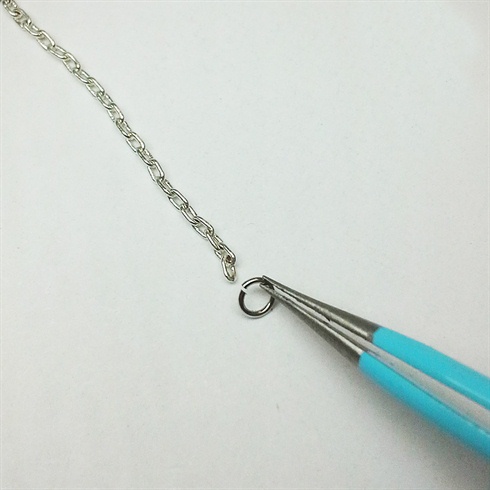
Attach a small jewelry ring to a miniature chain, to create a key-chain and attach to the corner of the Rubik's Cube with glue.
7 Artists like this Photo
Write a Comment
Submit