For this challenge I chose to embody the spell book from the movie, Hocus Pocus. Although "creepy" may bode a better description for the book, it is mysterious nonetheless. The whole art of witchcraft is a mystery within itself. Spells, potions, charms. How does it all work? It is a question we yearn to find the answer to, or at least I do. Is it real or all just a hoax? We may never know. It might be for the better. If we knew, it would be a mystery no longer.
Step-by-Step Nail Art Tutorial
1
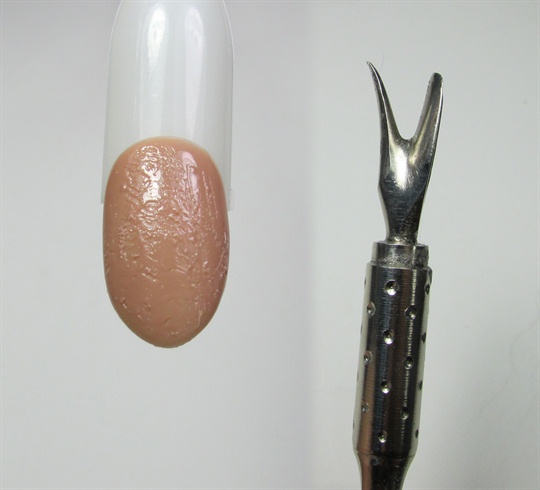
Prep your nails for gel polish application. Apply first coat of nude polish and cure. For second coat of polish cure halfway so it is still moveable. Use the end of a cuticle pusher to make some scratches and dents on the surface. This will give your nails the texture of an old book. Cure polish fully.\n
2
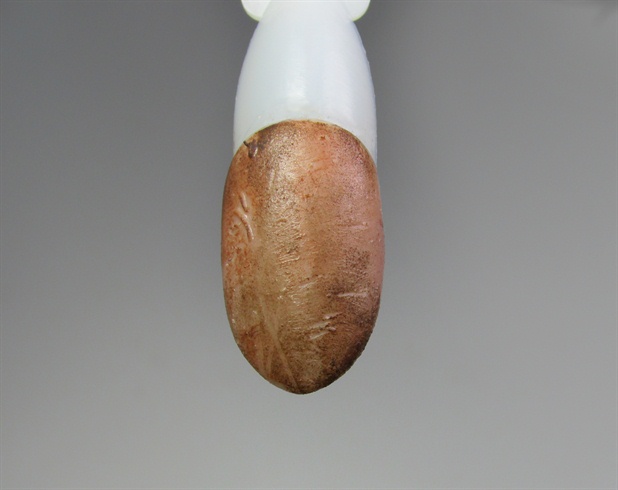
Using a medium brown paint and a makeup sponge, lightly dab the paint onto the nail. When that dries, do the same with a dark brown paint. Make sure to get the paint in the scratches we created to make them stand out. Apply a thin layer of matte gel topcoat.\n\n
3
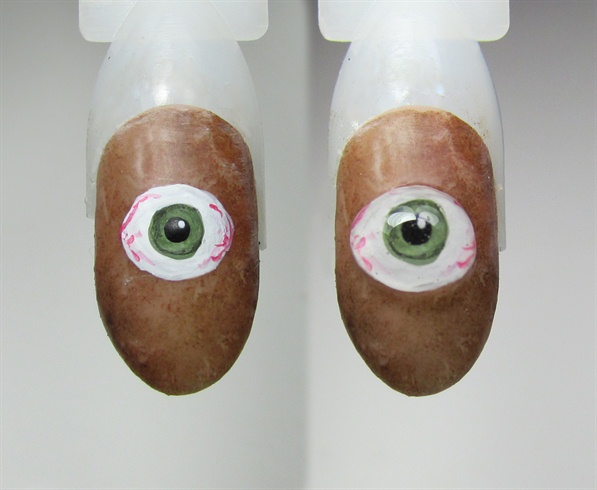
For the eye, use acrylic paint to paint an eye in the center of the nail. Add some red lines to give a bloodshot effect. Let then dry then cap in clear acrylic. Top with gel topcoat to give it a glassy shiny like a real eye.
4
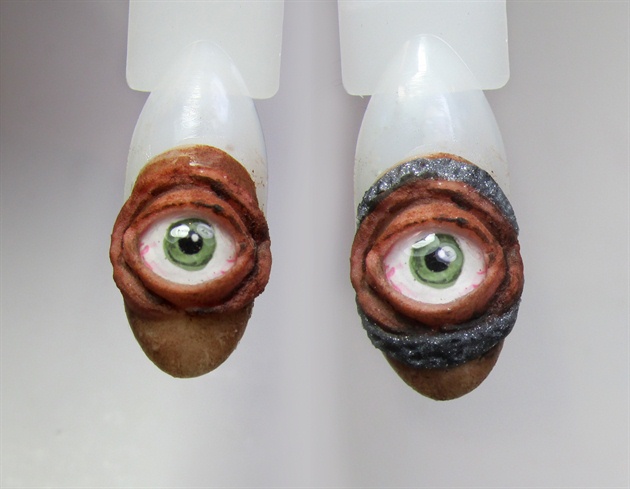
Using nude colored acrylic sculpt the skin around the eye. Sponge on a medium brown paint and add details with the dark brown. Use a silver acrylic to create the metal ring around the eye. Use your cuticle pusher to make smalls holes in the acrylic while its still wet. Lightly sponge on black paint.
5
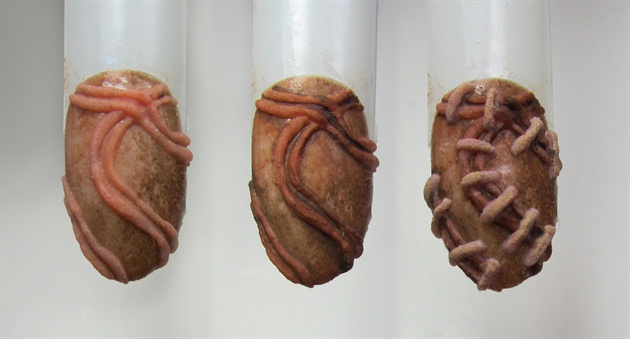
For the stitching use a nude colored acrylic to build skinny squiggly lines. Leave a small space and create a second line next to it. Make some of them overlap each other. You can make these go in any direction you like. Sponge a medium brown paint over the lines you creating and add some detail with the dark brown. Make sure to fill in between the lines with dark paint to create depth. Using a lighter nude acrylic sculpt the little stitches overlapping in the lines. Sponge a light brown polish over them. Carefully top with matte topcoat. Make sure the topcoat doesn't pool up or you will lose your detail.
6
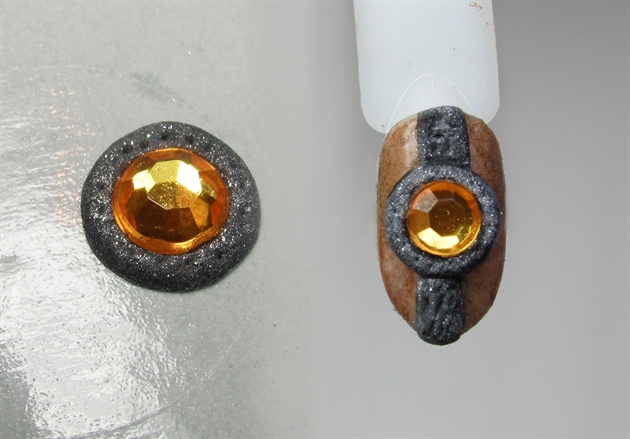
For the gem nail, press a yellow crystal into the center of a ball of silver acrylic. Create the same holes as the eye using your cuticle pusher. Place the gem on the nail using clear acrylic. Sculpt rectangles on top and bottom to create a more finished look. Lightly sponge black paint over the silver acrylic.
7
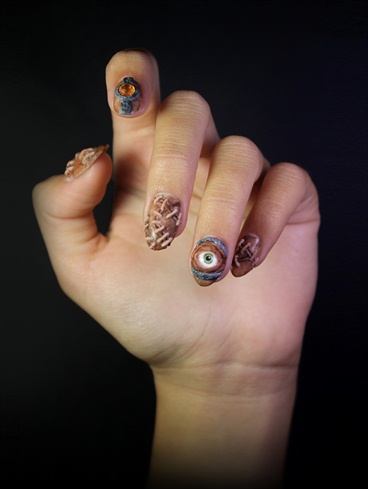
All done!
3 Artists like this Photo
Write a Comment
Submit