This is my entry to NAILS Next Top Nail Artist 2015/16 second pre-competiton challange. The theme was: "Tagline".
We were asked to create our own 3D word tagline across 10 nail tips. The first challenge was to find the 3 word tagline which describes me and my work. Thank you for CND this project, it gave me the opportunity to create my own tagline finally.
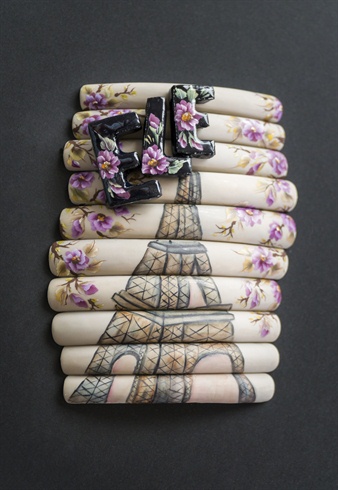
I chose the ELEGANT. ARTISAN. NAILS. tagline, because this is who I am, these words describes me mostly and these words define my nail designs perfectly.
I love the elegant but boheme, the vintage style which enables to mix different techniques. I love to make the extreme elegant, mixing the vibrant colours of acrylic paint on a calm watercolour background, decorated with my custom accessories.
As a professional, I design my nail arts that suits best to my Clients attitude, their style.
You can find here my video about this challenge:
https://www.youtube.com/watch?v=75_rPZbkSCs&feature=youtu.be
I hope that you will enjoy the tutorial and this quick journey to my world. ;) If you have any questions feel free to ask them.
Step-by-Step Nail Art Tutorial
1
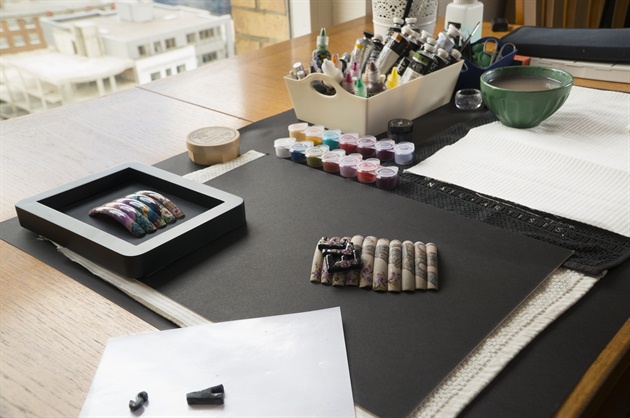
Prepare your tools and products. I used the following materials and products. ******** MATERIALS: acrylic paints, watercolour paints, Young Nails black acrylic powder and monomer, extra long tips, Gelish "Medieval Madness" gel polish, Gelish Top it off, NSI Glaze 'n go finishing gel ******** TOOLS: Harmony 18G LED lamp, Moyra and Nail-Artists fine detail brushes, flat One Stroke brushes, files, buffer
2
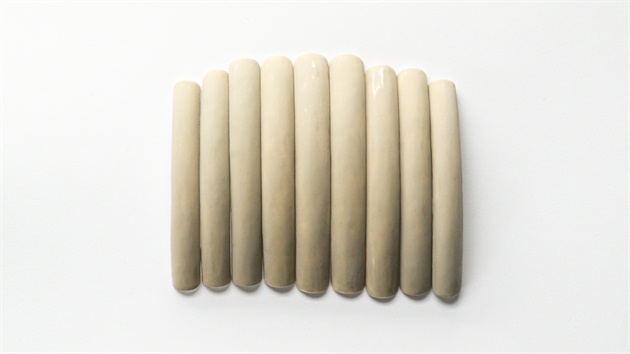
I used special long white nail tips for the base. I started applying the base color, I used "Medieval Madness" from Gelish. It's a neutral light greyish colour. I buffed the surface and I started painting the background.
3
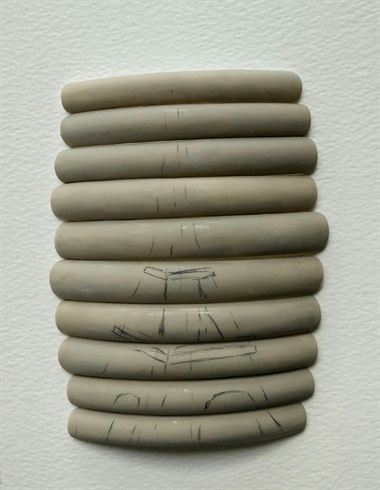
The centre of my design is the Eiffel tower. \nI did a quick sketch with black pencil and after then I painted the tower with fine detail brush. \n\n
4
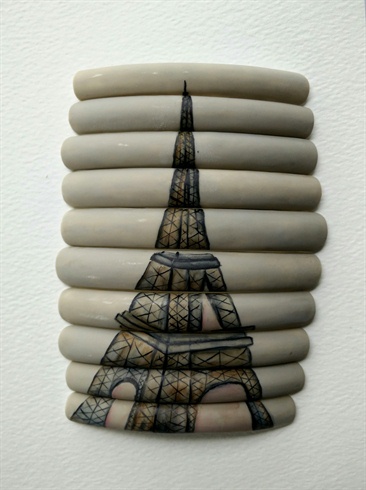
The Eiffel tower were painted using watercolour paints. I used various brown colours and black watercolour paint for the fine lines. The fine lines were painted using Nail-Artists natural hair pointed brush in size 2.
5
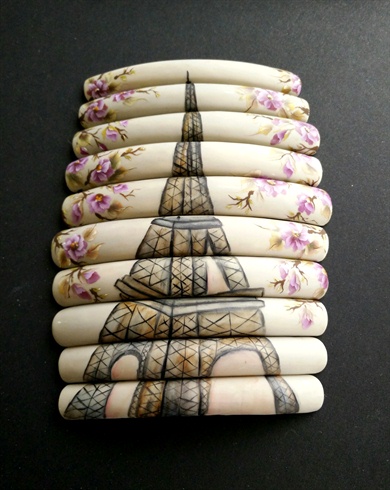
Both sides of my competition entry are blooming trees with loads of small flowers and leaves. The flowers were painted using acrylic paints and they were painted using one of my favourite technique, the One Stroke painting. I used flat brushes is various sizes. \n
6
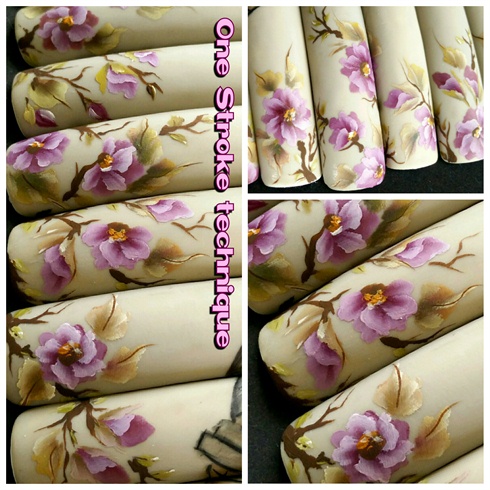
The painting process is the following: a. paint the dark back layer, b. paint the second layer with lighter colours to get a 3d effect, c. paint the middle of the flowers, d. paint the leaves, e. highlight them with white acrylic paint if it’s necessary, f. paint the thin boughs with dark brown paint, g. paint very fine contour lines with fine brush and white acrylic paint\n
7
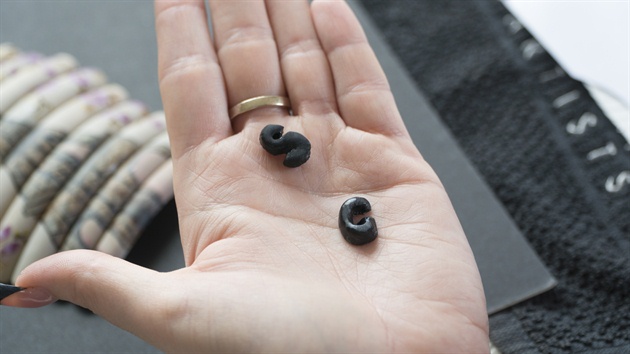
We were asked to create a 3d design across the 10 tips. The 3 word tagline were made using acrylic powders. I made different sized letters, I sculpted them one by one. The small letters were made using Moyra Vamp acrylic nail art brush in size four and the big ones were made using sculpting brush. I used Young nails acrylic system. \n
8
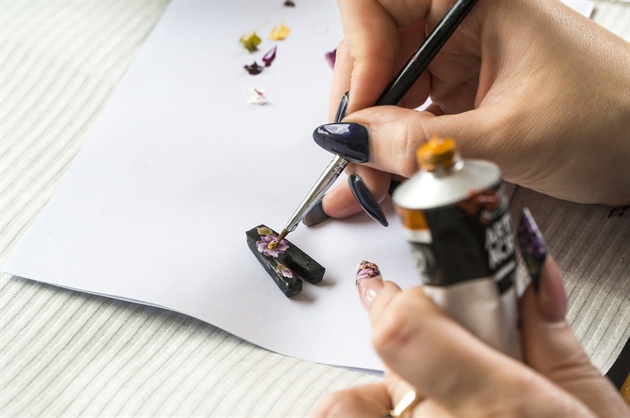
The letters were decorated using the same technique and method. I painted one stroke flowers with a tiny flat brush. I used white, dark red, magenta acrylic paint for the flowers, various green and yellow colours for the leaves, dark brown, ochre and white for the middle of the flowers and dark brown paint for the boughs.
9
Some nonfigurative elements were added in gold colour to create a perfect elegant design. I used regular nail polish for this. I closed with finishing gel and after then some Swarovski crystal and very small gold sequins were added to complete the design.
10
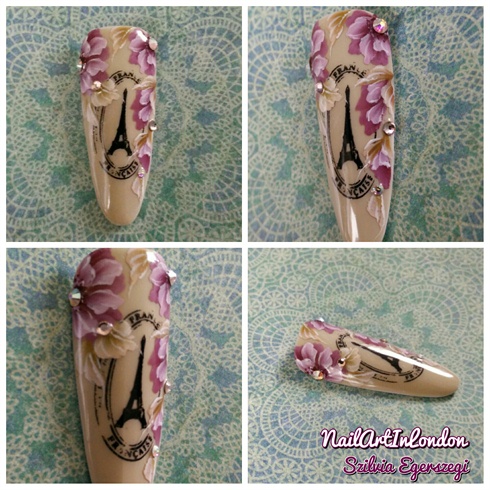
Actually this design gave me the idea and the inspiration. I painted this around one month ago. This is who I am. I love the elegant and vintage style. I love mixing different techniques, combine the hand painted designs with other techniques, for example the quick and stunning stamping technique.
2 Artists like this Photo
Write a Comment
Submit