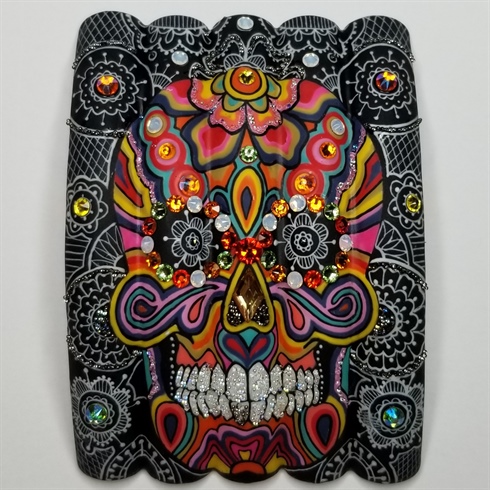
For our first pre-challenge for NTNA season 6, we were asked to create a mural style set of nails inspired by Day of the Dead. I was super excited when we received this challenge because I've always had a fascination with sugar skulls. I first started my research on google looking up different kinds of sugar skulls. I was drawn to a certain picture that showed skulls covered in detailed bead work. each line was a different color, creating intricate details and mesmerizing designs. I drew inspiration from this and decided to paint a skull with lines in different colors to represent the bead work. I outlined the skull with black paint to help define the designs. The second thing that draws me to this tradition is the outfits they wear. Lace plays a big part in their wardrobes, with lace veils and skirts made out of paper to mimic lace. So I painted the background black to show contrast against the color and chose white to paint the lace design. Lastly this challenge was so graciously sponsored by Swarovski. Our design had to be at least 30 percent encrusted with crystal. I wanted to make the teeth on the skull pop out so i used the Swarovski pixie dust to bling them up. Also adding detail to the lace with adding crystals in some of the flower designs. I finished the design by matting the background so the details could stand out.
Step-by-Step Nail Art Tutorial
1
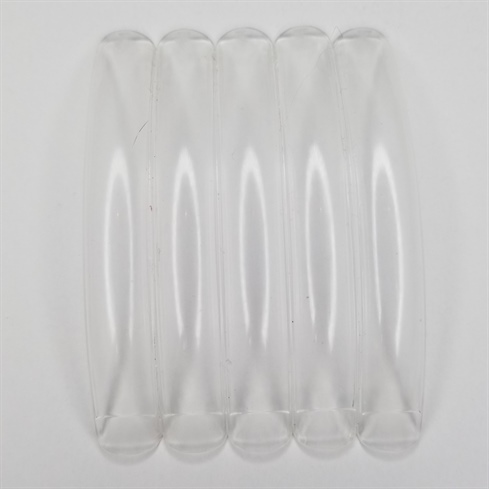
Start off by attaching 5 long nail tips together using a small amount of glue. Once the glue is dry paint a thin line of gel base coat between in nail to completely secure each tip.\n
2

Paint a thin coat of white gel polish on all five tips, making sure it does not pool up between in the tips. Cure for 30 seconds in an UV lamp. Once the white in cured, paint the entire piece with a matte top coat, cure and wipe.
3
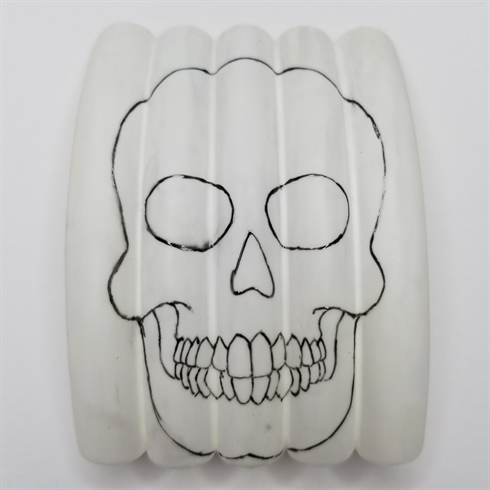
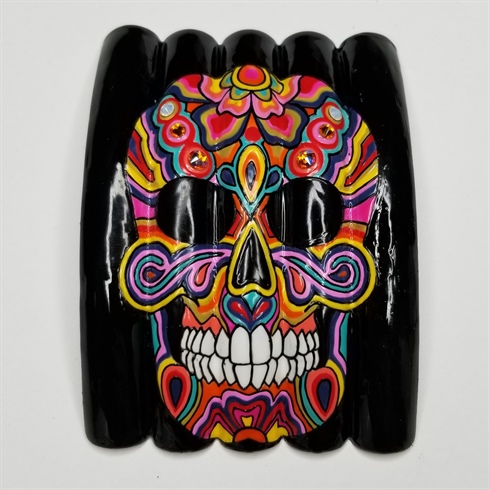
Matting the white will give you a good base to start the design. With a black gel paint, start the outline of the skull, flash curing for a couple seconds in between so the lines stay crisp and dont bleed. \n
4
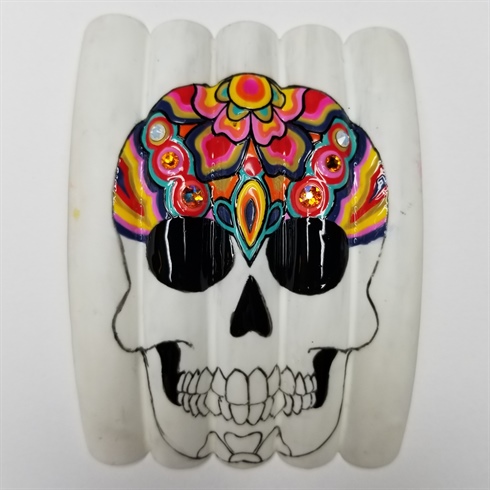
After the outline is cured, using colors, light pink, pink, red, yellow, orange, green, aqua, coral and dark blue, start to paint lines in a flower shape pattern. Flash curing in between each line to prevent the colors from mixing together. I added a couple crystals at this point to map out places I wanted to place them.
5
Finish painting the lines down the skull, making different patterns along the way. Add black gel paint between colors to define the patterns.
6
Once the skull is finished, paint the back ground black using a black gel paint.\n
7
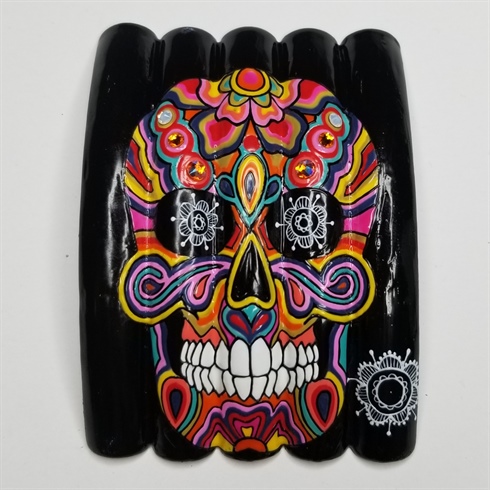
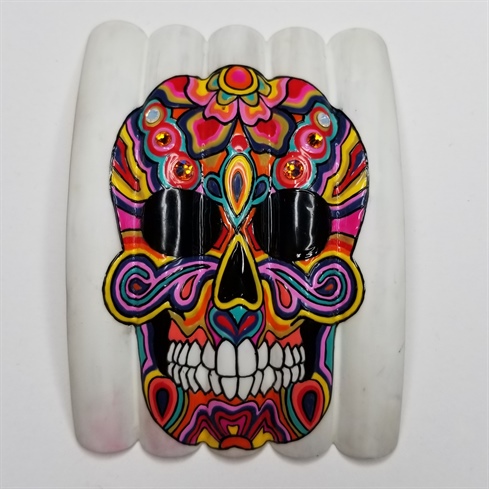
To start the lace, I used a thin detailing art brush to draw lace inspired designs in the skull of the eyes and starting up the sides. Making sure the flash cure after painting a couple lines to keep the crispness of the lace.
8
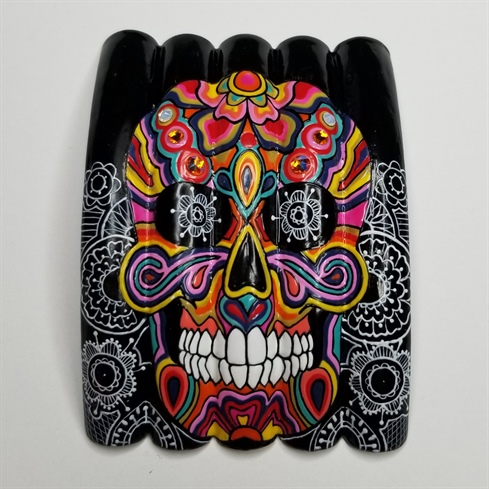
Continuing up the side of the piece with the lace design. Mixing floral designs and lace designs.\n
9
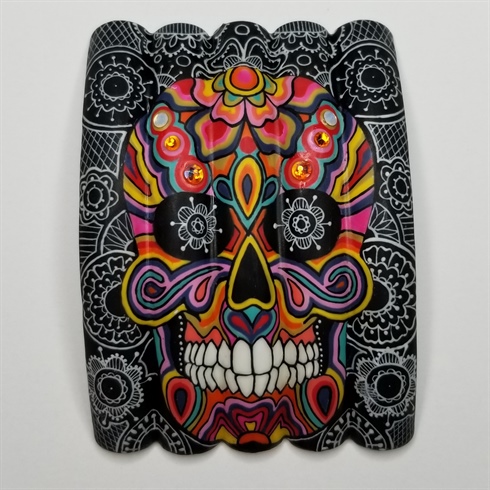
Finish up the nail with the lace design. After its cured finish over the whole piece with a matte gel top coat.
10
For the finished piece, Add crystals around the eyes and on the floral section of the lace. Using the Swarovski pixies to outline some of the lace and lines within the skull. \n\n
8 Artists like this Photo
Write a Comment
Submit