We were asked to think outside of the box and to show something never before seen. I wanted to celebrate creativity by being as candid as possible. This is what my creative process looks like... baby sleeping, both of us still in our pj's, messy hair, doodling in my notebook. With social media, it is easy to seem perfect, we can edit our photos and captions to give the illusion of perfection. I want to show my reality. My truth. My "never before seen" moments.The background is a mock of the NTNA logo, dreamy and perfect, and the portrait, real and raw, is a recreation of a photo of me brainstorming for this project. Thank you for checking out this tutorial, I hope you like it!
Step-by-Step Nail Art Tutorial
1

Begin by sketching a simple version of the desired look. Determine center of the sketch and draw a grid over the whole piece. This will aide in sizing and placement for the nail tips.
2
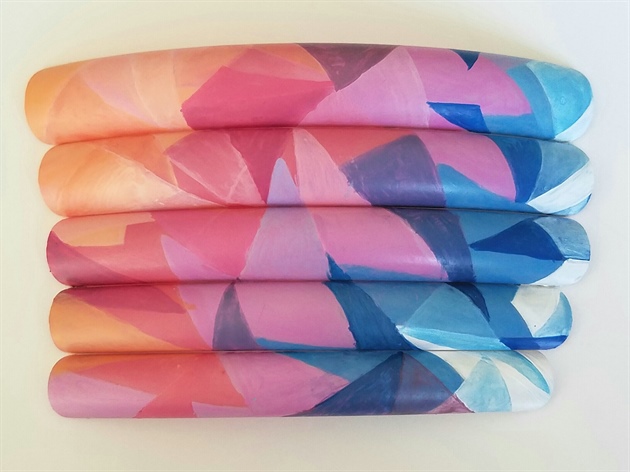
With acrylic paints, place triangular shapes randomly on the nails. Bring some lines across several nails to give the 5 nails a unified look. Overlap the shapes until the desired look is achieved.
3
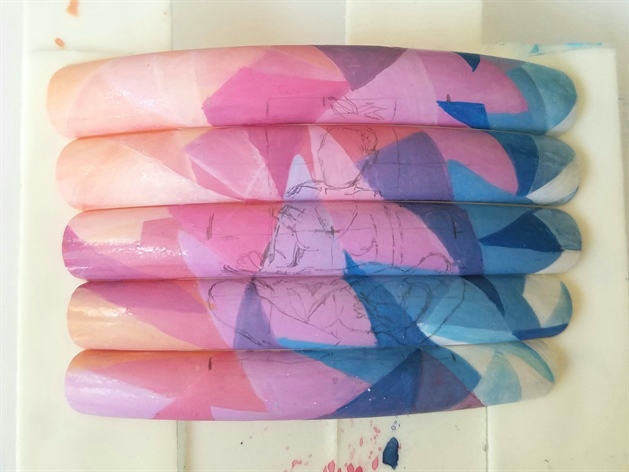
Using pencil, mark the center of the portrait and create a grid in the same fashion as the sketch. Continue to draw in the outline of the portrait using the grid as a guideline. Once finished, erase all markings that will not be covered with paint.
4
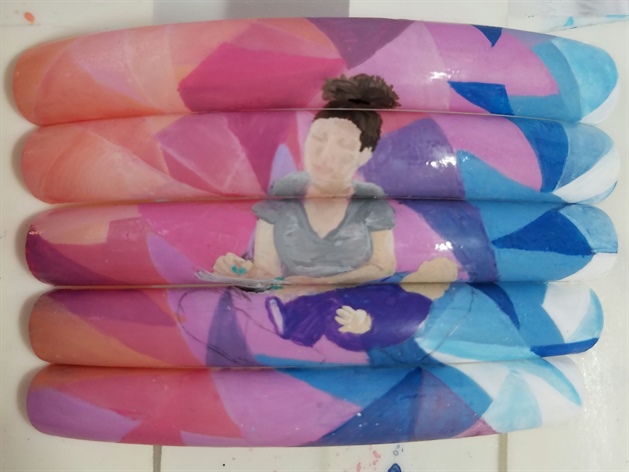
Begin to fill the design with paint. start with the lightest and darkest shades of each area and add in general shading and highlighting.
5
Always going from general to specific details, continue to add layers. Allow paint to dry in between to achieve a more seamless look. Continue to highlight and shade the piece. Pay attention to where the light would be hitting each area and where shadows will appear when adding these details.
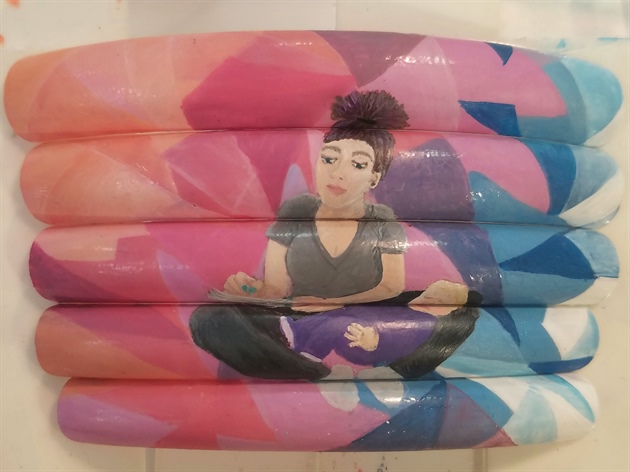
6

Finish adding in fine details, highlighting, and shading. Apply layers of a quick drying top coat until everything is smooth. (3 thin coats were used here)
7 Artists like this Photo
Write a Comment
Submit