In honor of Orly’s Spring collection, Pastel City, contestants were to create a street art-inspired set of nails with a pastel palette only. Art must be completed on 10 nails (on a model) using lacquer and gel-polish only - no embellishments, other Orly products can be used as well, but PASTEL ONLY.
Step-by-Step Nail Art Tutorial
1
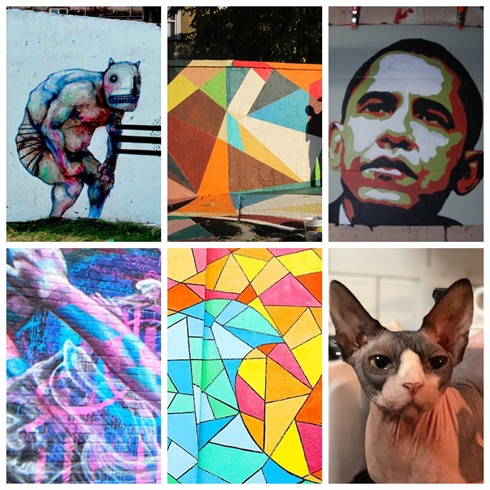
This is my mood board. I was heavily attracted to blocks and splashes of colour along side geometric shapes for an abstract/realism take on Urban Art and my Sphynx, Reggie. He is my reference, this week, to something I am passionate and enthusiastic about.
2
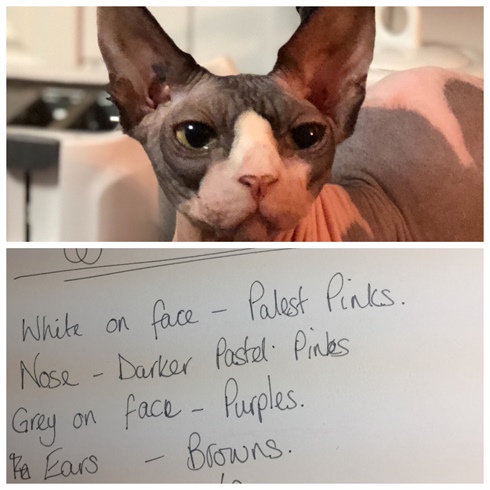
Study the face and decide where you are putting each colour group. Abstract is really great because contrasting shades compliment each other like in no other situation.
3
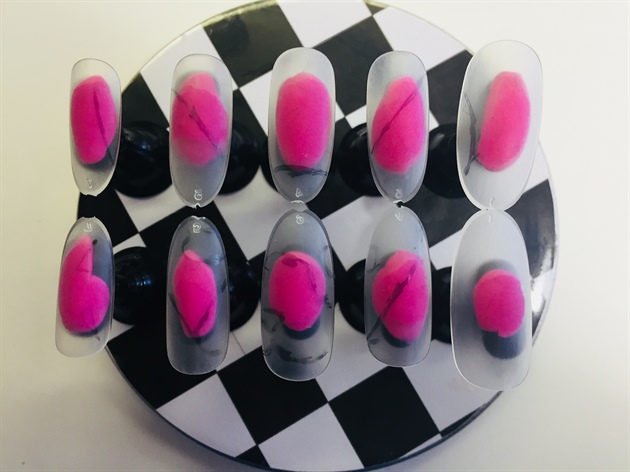
Start by mapping out your basic design using pencil or a fine tipped sharpie pen. Its important to think about the placement of the nails, especially if you are taking a picture of them. These nails will look completely random as two separate hands but, once they are joined together, will reveal a fresh abstract/realism mural. Like having a hidden meaning manicure!
4
Lay down the foundation colours for each section of Reggie. Remember to work swiftly because we are working with Lacquer, not gel polish. Clean your brush off regularly to avoid excess product building up as it dries.
5
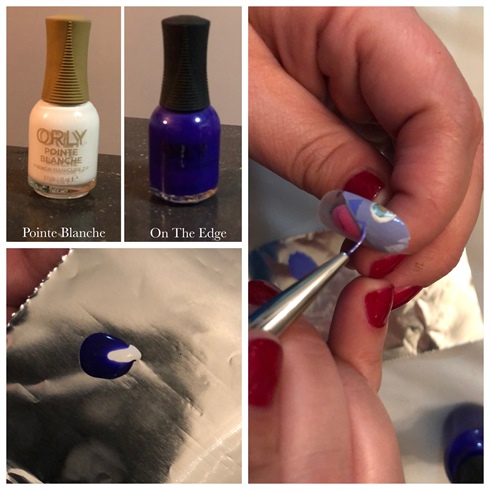
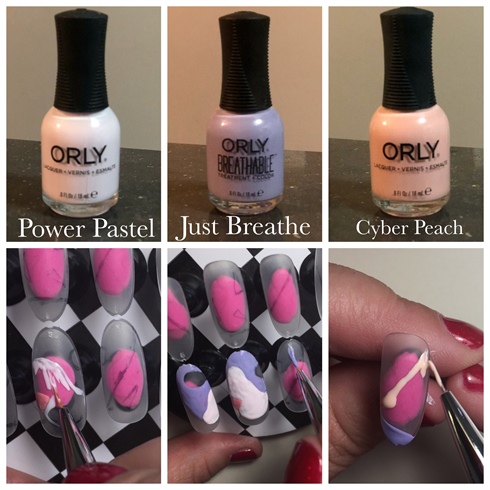
Mix Pointe Blanche with On The Edge in differing degrees. Add shadows and highlights using geometric triangles only. Starting with the darkest pastel mix first, make sure you paint all the areas you want to before continuing on and mixing a lighter shade. Keep the previous shade close by so you can make sure the next shade isn't too close in colour.
6
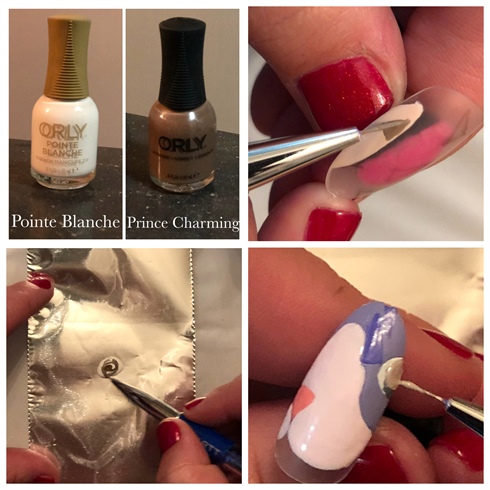
Repeat this technique for Reggie's ears but with light shades of brown. Add one of the lightest shades of brown to the pupil of the eye and add the iris using Electric Jungle. Add a small triangle highlight to the eye using Fresh Start. Take a step back from time to time to observe your overall image. This will help you to keep the design balanced.
7
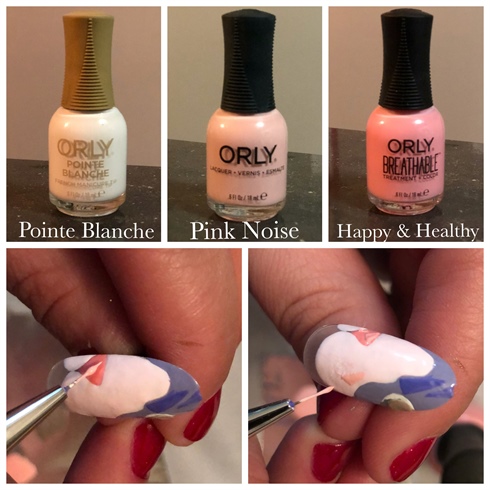
Using Pointe Blanche, Pink Noise and Happy & Healthy, add triangles to the muzzle area. Use 3 different custom blended pinks for this to give dimension.
8
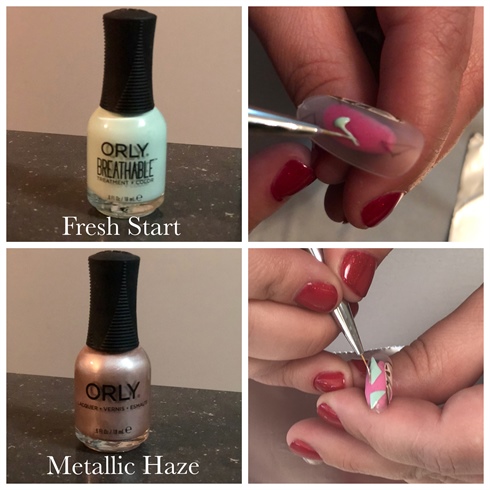
Add "floating" triangles of Fresh Start on the negative areas of the tips and outline them for definition using Metallic Haze.
9
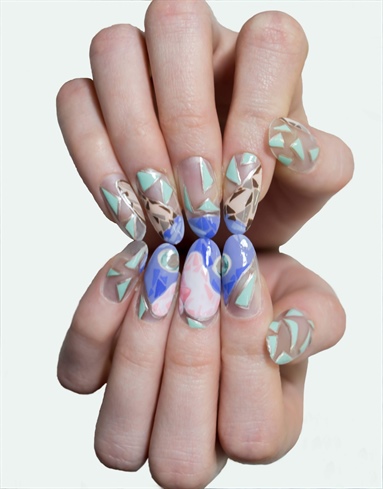
Go over just the painted areas with Orly's Glosser, High Shine Topcoat to give differences in texture, just like on the street!
5 Artists like this Photo
Write a Comment
Submit