I based this week’s challenge on the works of Alphonse Mucha, the father of the Art Nouveau movement. I really love how his work embraces the beauty in everything. He saw that life itself was art, and captured that in his now famous paintings, posters and advertisements. His work brought together feminine beauty, and the natural design of nature. That closest represents me as an artist.
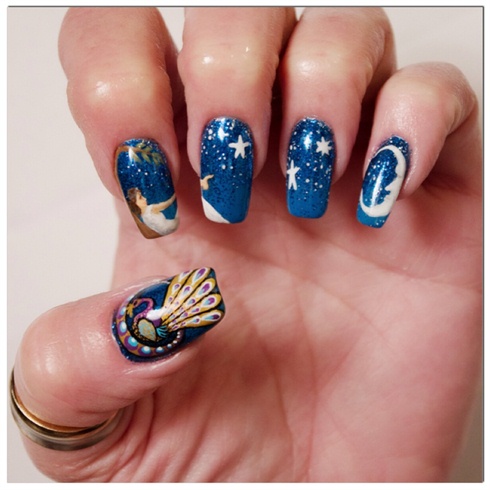
The girl on this nail is a dreamer, reaching for the stars. The peacock represents beauty, integrity, compassion and soul, which is the foundation that allows her to reach for her dreams.
Step-by-Step Nail Art Tutorial
1

Always begin your nail art designs with some ice cream! (Optional)
2
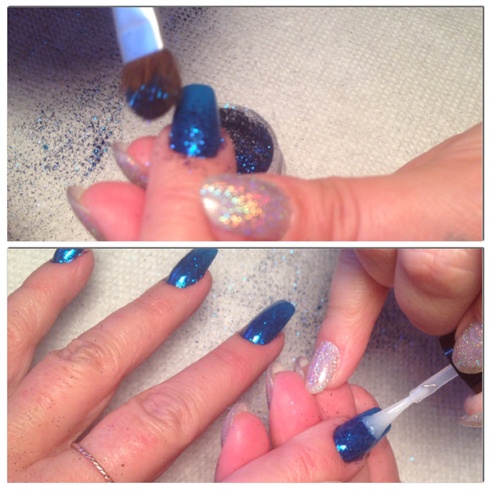
First, apply two coats of cobalt blue gel polish. I then applied a custom mixed blue glitter to represent the night sky.
3
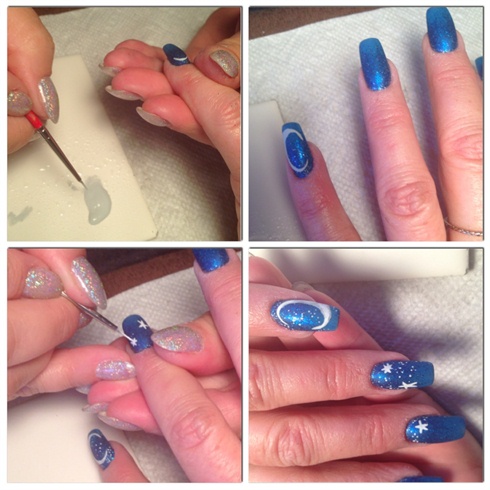
I then painted a crescent moon shape and added depth with different shades of grey and white. Stars were also added to mimic the night sky.
4
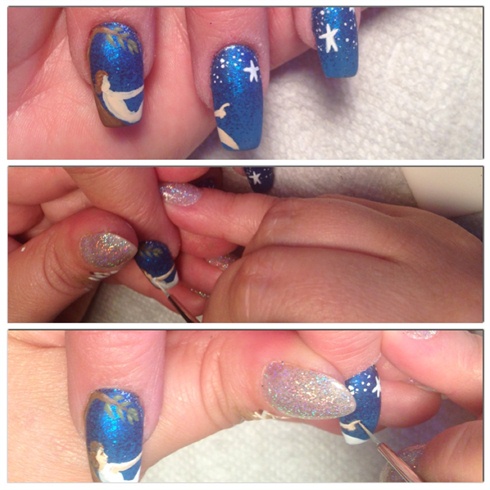
After adding a tree for the dreamer to lean on, I blocked out her basic shape. I then added basic hair and facial features.
5
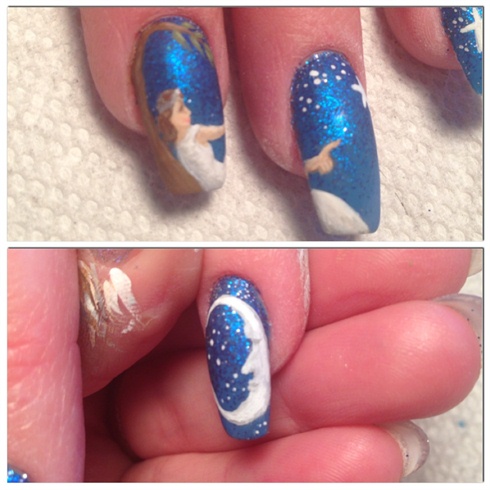
Detail was added, along with highlights and lowlights. I also added a face in the moon.
6
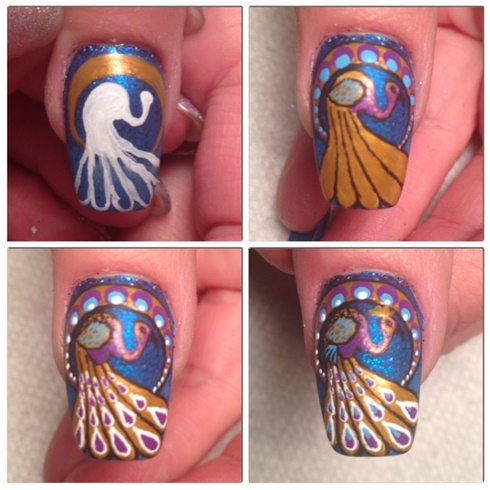
To make the peacock, I started with a golden crescent shape near the cuticle line, then blocked out the basic shape of the peacock in white. I added multiple layers of color and detail to bring the peacock to life.
7
Apply topcoat, and enjoy! (Reward yourself with more ice cream!)
20 Artists like this Photo
Write a Comment
Submit