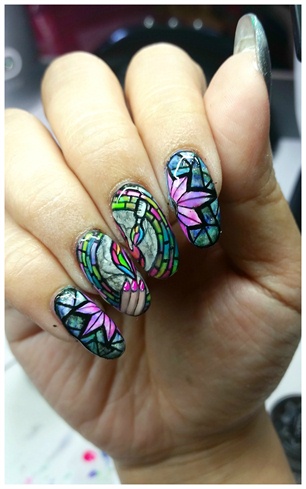
For this week's challenge, we were asked to create a hand painted design inspired by an issue of NAILS magazine. Did you know that the first issue of NAILS Magazine was published in 1983?!?! WOW!! Browsing through the covers, the October 1983 issue caught my eye instantly!! For my creation, I wanted to give it more of a modern spin, while keeping the stained glass concept, as well as the shape of the nails. With it being a hand painting challenge, I decided to actually recreate the texture of the glass pieces instead of sculpting I achieved this stained glass inspired design with various gel polish and paint. I am extremely happy with the turn out as I love recreating different textures! You can read more about this issue here: http://www.nailsmag.com/magazine/1983/10
If this was an actual stained glass piece, I would buy all of them! Because I need all the nail polish emoji related items! I had so much fun doing this challenge! I hope you enjoy it as much as I did creating it!
Step-by-Step Nail Art Tutorial
1
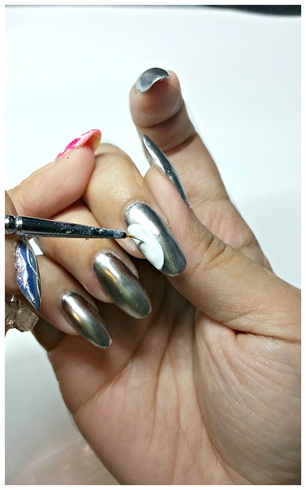
We start this design by shaping the nails round to match the cover and painting all 5 fingers with a chrome silver polish as base. Having the silver as base creates the mirror effect in many stained glass pieces.\n\nProceed to colour in two half circles with white gel paint in the middle and index fingers.
2
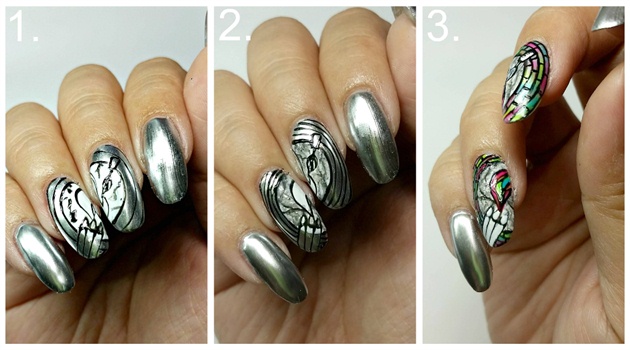
1- Using Presto Black art gel and a tiny detailing brush, I draw out the outlines roughly.\n2- I then added the marbling detail to the centre piece\n3- once the marbling is done, I begin to colour in vibrant colours to mimic the stained glass finish
3
Once the colouring is complete, I go back in to add in more intricate details and VOILA! my centre piece is now complete.
4
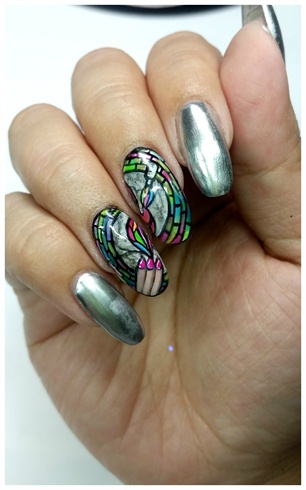
Moving on to the surrounding fingers, I, once again use Presto Black art gel to outline the designs.
5

Using 6 different gel polish colours, dab on the colours onto the outter layer using a detailing brush. Drag brush around before curing to create that marble look.\n\nThe concept is the same for the centre flowers, using pink purple and white gel polishes.
6
Once that is cured and finished, continue to draw random lines to resemble the broken glass look using black art gel. Add shading to a few pieces to enhance the stained glass effect!
7
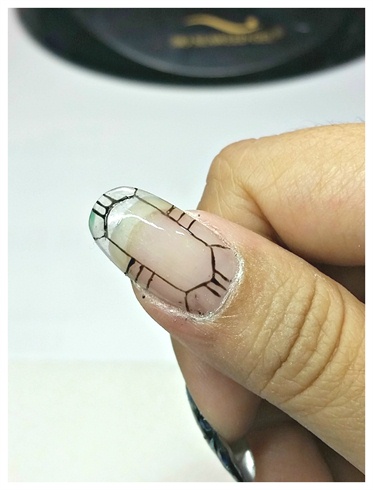
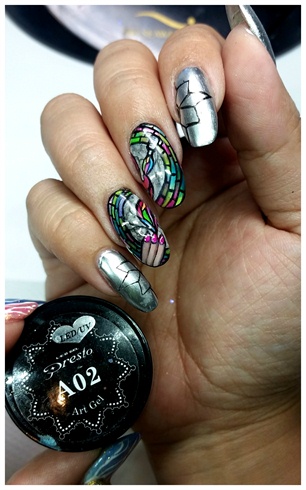
For the thumb, I decided to put on the iconic NAILS logo. To start, I outline the desired shape for the lettering. Flash cure once finished.
8
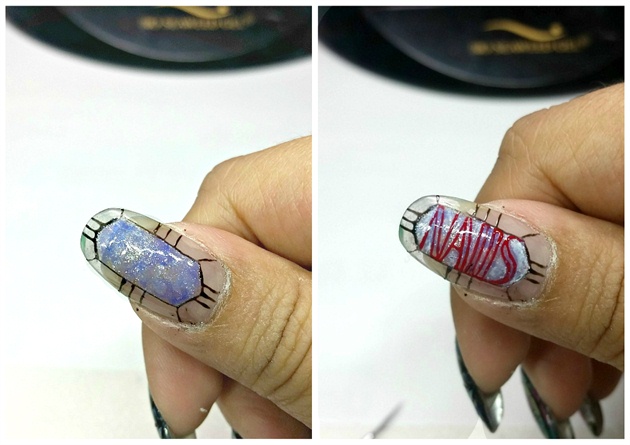
Then I created a frosty texture for the background of the logo. Once that is complete, proceed to draw out the logo using a fine detailing brush! For the paint here, I used Presto Gel-Tokyo Swag in red.
9
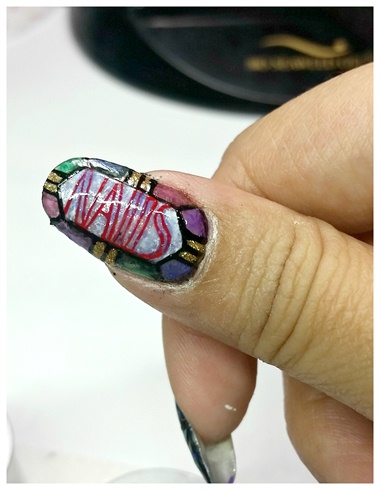
Using the marbling technique, I coloured in the rest of the windows to give it that transparent look. To enhance the look, I added more details and shading to each "cell".\n\nLogo nail is now complete!
10
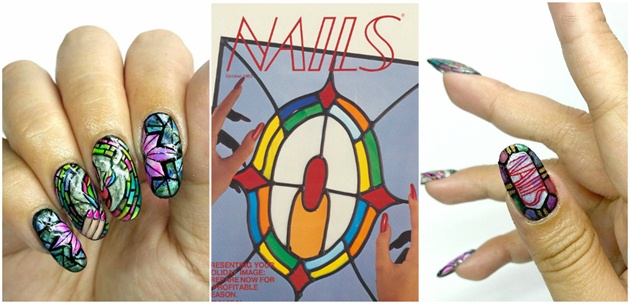
AND HERE IT IS! My design inspired by the NAILS Magazine cover in October 1983!
23 Artists like this Photo
Write a Comment
Submit