We had to do a sculpted set of pink and white nails on one hand and do a step by step. We then had to transform them with haute Couture.
Haute couture, by definition, means high sweing, or high fashion. It has been around for ages and only the best of the best can be a part of the council. It means making everything by hand and being as delicate as possible and fitted to the body of the model and never reproduced.
I wanted to elaborate on that with inspiration from the actual runway. I wanted to handcraft everything onto the nail and use a lot of white and a little bit of black for contrast. For this piece I did not add any charms or crystals, so as to not take away from the craftsmanship of the design.
Step-by-Step Nail Art Tutorial
1
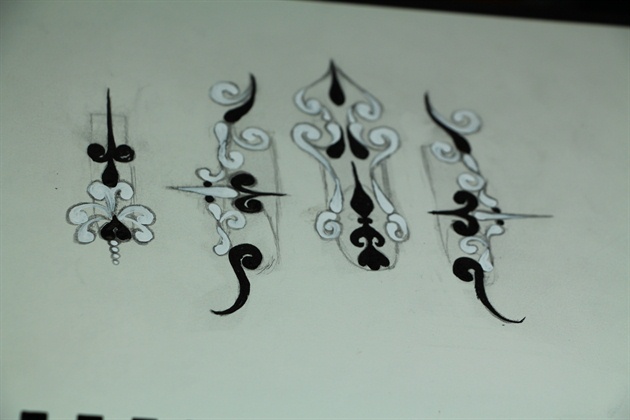
I drew out the style I wanted to do to give me a guide as to what I wanted to apply to the model.
2
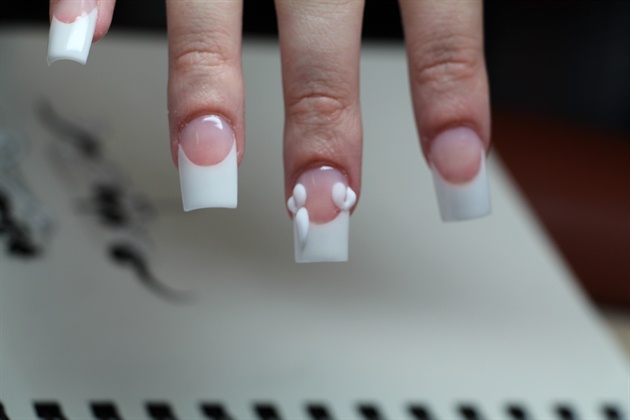
I started with the same entity white I used in the nail and added each element one sculpt at a time.
3
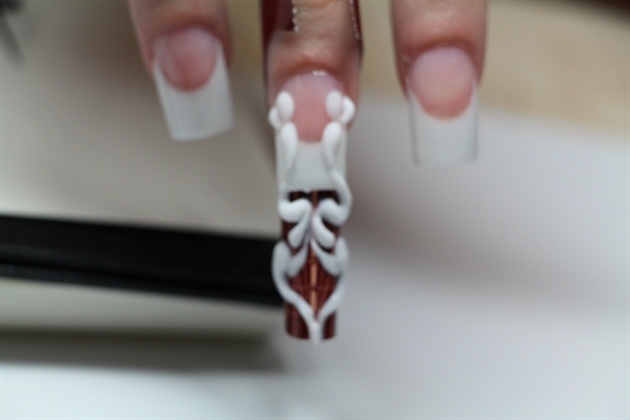
I added a form to extend the nail for the hollowed out pieces
4
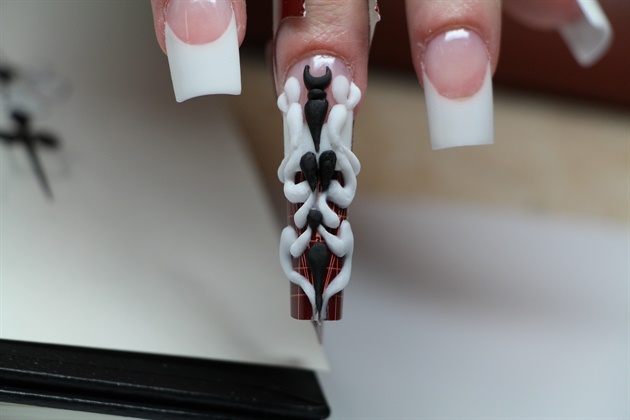
I then added my black elements, which are very messy to work with, as if you touch the white, just a little bit with your brush, then you can dye the white part.
5
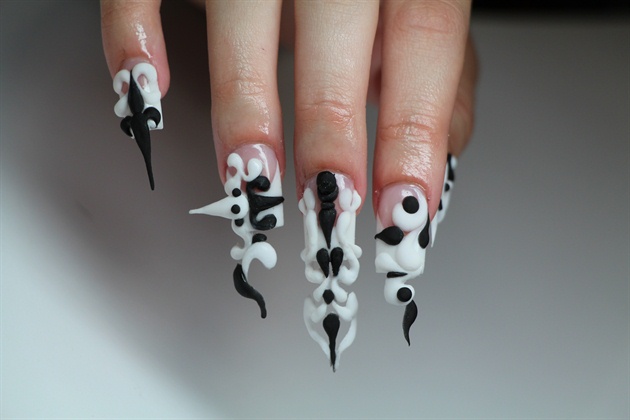
I altered the style a little bit, because the models nails were not as long as I factored and I had to compensate for it. That is the awesome thing about nail art, you can improvise and end up coming up with something different and be even better
6
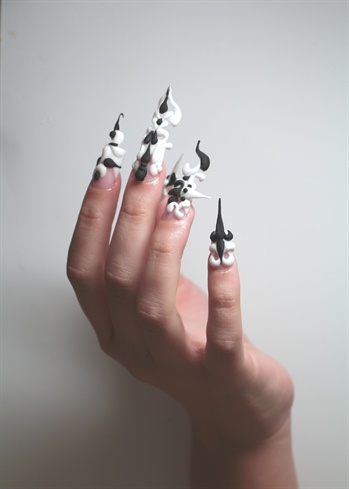
This is my finished product, I added different lighting to enhance the angles of the decor and show depth in the nail art
4 Artists like this Photo
Write a Comment
Submit