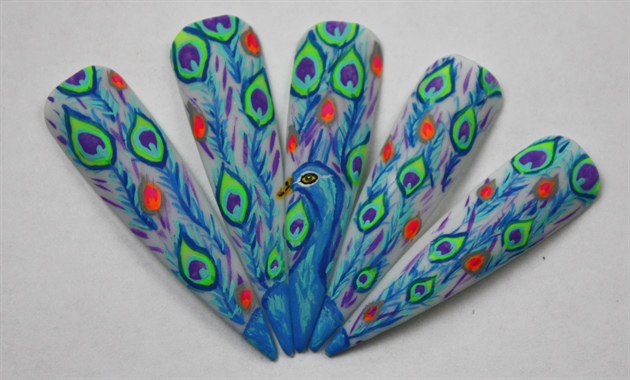
For the first pre-challenge we were only allowed to use gel polish, polish, and acrylic paint to complete our set of nails on five nail tips. While I was sitting there trying figure out what I should do I placed all the nail tips by each other and saw that it made a wonderful tail design so I used that to my advantage. I decided to paint a peacock because they are beautifully colored animals and I wanted to incorporate bright colors into my piece. I also chose the peacock because they symbolize vision, royalty, guidance, protection, and watchfulness. I feel like the peacock is a very suiting subject for this first challenge because of what they symbolize. I also got inspiration from impressionist painters and tried to add a little of that technique to my piece. This was a great challenge for me because it has gotten my creative juices flowing and it got me to try something I haven’t done before. I am super excited with the outcome of the final piece! For this piece I used a white gel polish base and everything was painted using acrylic paint and it was finished off with a gel polish top coat.
Step-by-Step Nail Art Tutorial
1
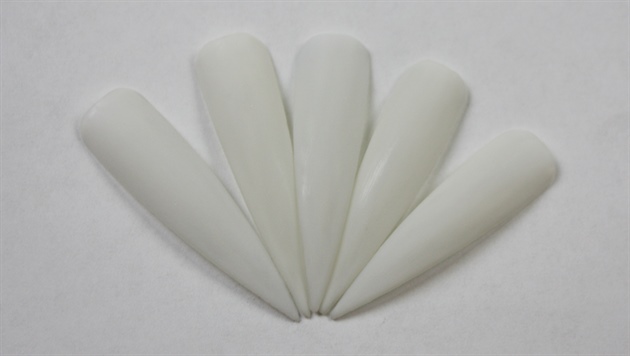
Use a white gel polish as my base. After curing buff the shine off.
2
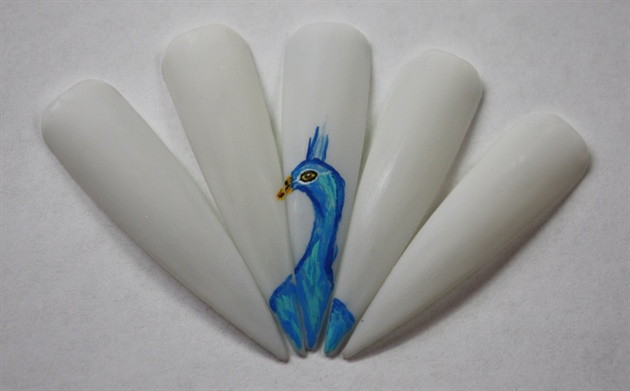
I placed the nail tips together and just started working on the body of the peacock since I wanted him to be in the center of my design. I used a dark blue, light blue, and a teal color.
3
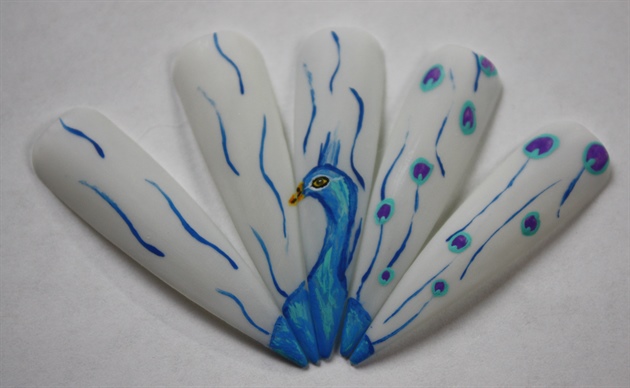
Next I started on placing the feathers on the nail tips. I started off with making small purple dots around the tips followed by a ring of light blue then a bright green was added.
4

After creating the "eyes" of the feathers I went in and made light strokes to simulate the wispy feather look.
5
Then continued with the purple I used earlier in the "eye" in light stokes to help fill in the open areas.
6
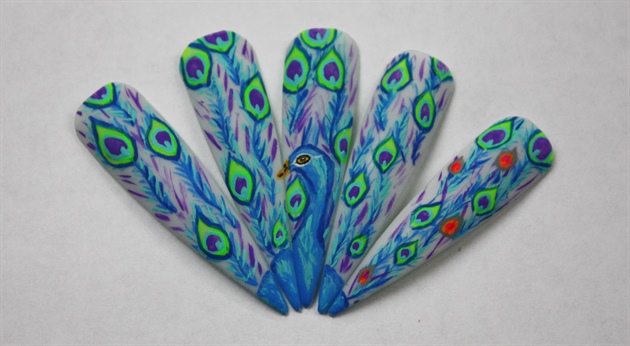
Then I added brighter looking "eyes" using a bright pink, bright orange and a silver to bring more pops of color.
7
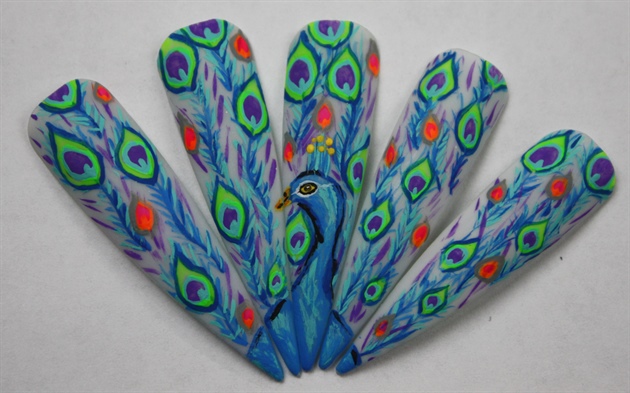
Outlined his body with some black and finished his crown using the same blue, light blue, purple, and teal. And then doting yellow at the top.
8
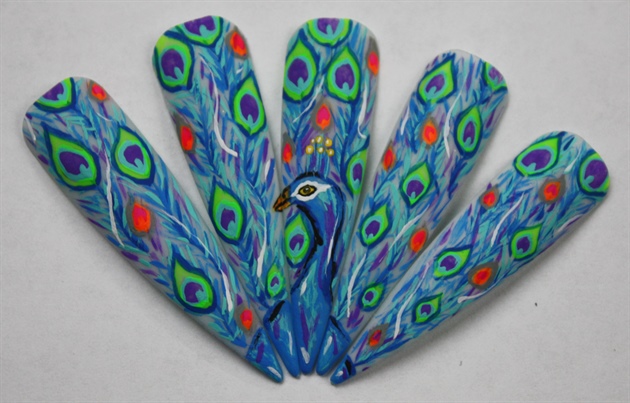
I went back in with white to add some highlights through the feathers in light strokes and added more around his eye.
9
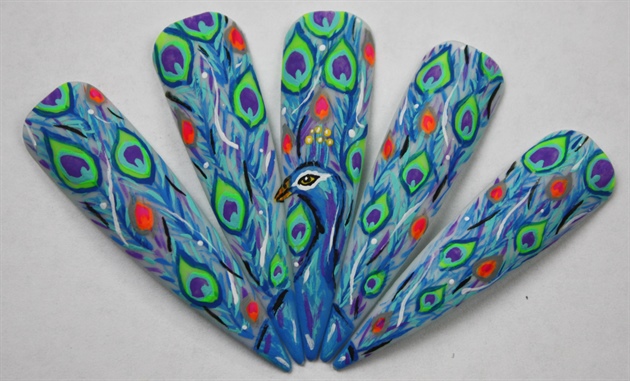
After adding white I added some black throughout the feathers to give him more contrast and added small white dots to help complete my piece.
10

After adding the final touches I used a gel polish top coat to finish my look.
12 Artists like this Photo
Write a Comment
Submit