For this challenge we were asked to create a modern LA focused French. When I think of Los-Angeles I think of famous celebrities and their paparazzi. I wanted to create a look for a famous celebrity that wanted something classy and elegant for the day, but could also be dressed up for a night out on the town and look fabulous! It had to be something that would catch the eye of the paparazzi and would have them ask “Whose nails are you wearing?!” When I think about French nails, I always think about a classic squared nail, so I chose to do my design on a squared nail. The modern twist would be the choice of accent nails, added gold polish and crystal embellishments. The white tip goes with any outfit and the gold will match every gold accessory you can buy in Los-Angeles! This design is very versatile in salons, as you can switch up the gold accent colour to match any event colour theme, such as a wedding.
Step-by-Step Nail Art Tutorial
1
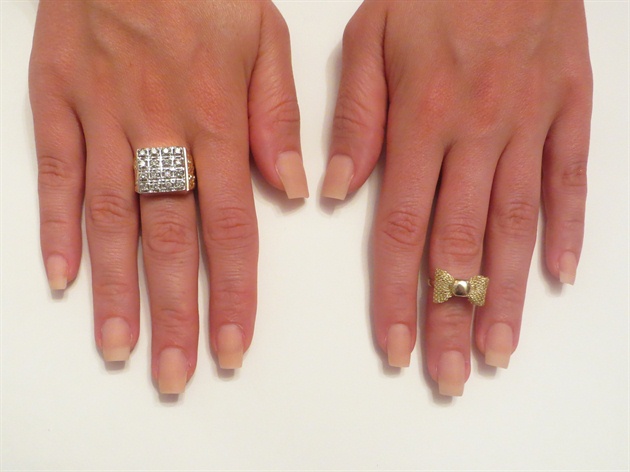
To achieve this modern day French look, you will need: a curing Lamp, white, black and gold gel polish (you can also use acrylic paints), stamping plate of your choice, white and black quick dry polish, nail stamper & scraper, tweezers, glue/resin, crystals/rhinestones and a top coat. I started with acrylic nails and removed all previous gel polish colour. Once cuticle work and prep is done, you’re ready to start!
2
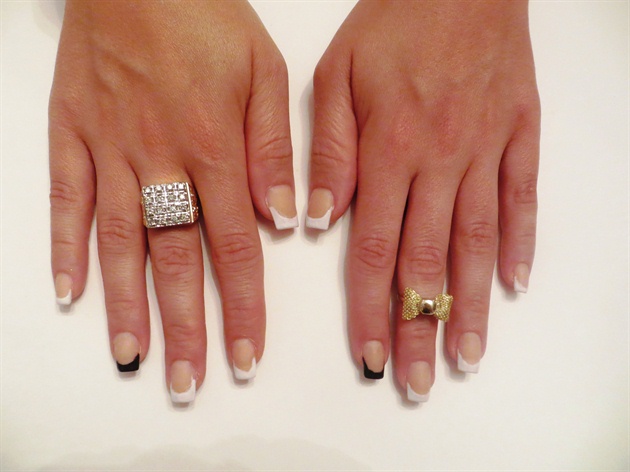
Apply two coats (curing in between each layer) of white/black gel polish to all nails creating a messy French look. This is the best part because you don’t have to apply a perfect French! I chose to accent two random nails black for added excitement. You can even add an additional black accent nail if you wish.
3
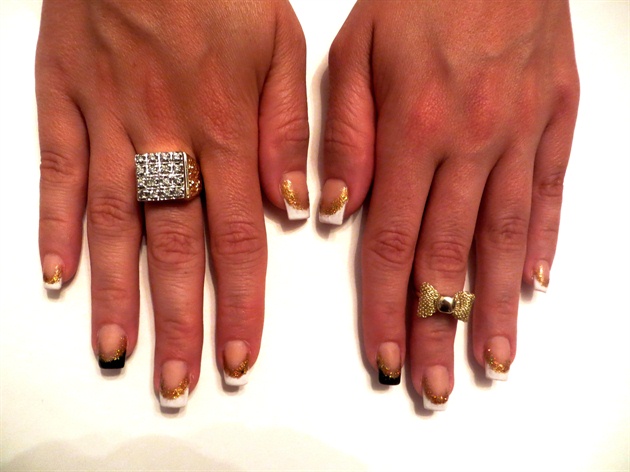
Then, apply two coats (curing between layers) of gold gel polish to surround your French smile lines. (I’ve done this design several times and any colour looks good, so feel free to experiment with different colours! I wear a silver version to go with my jewelry.)
4
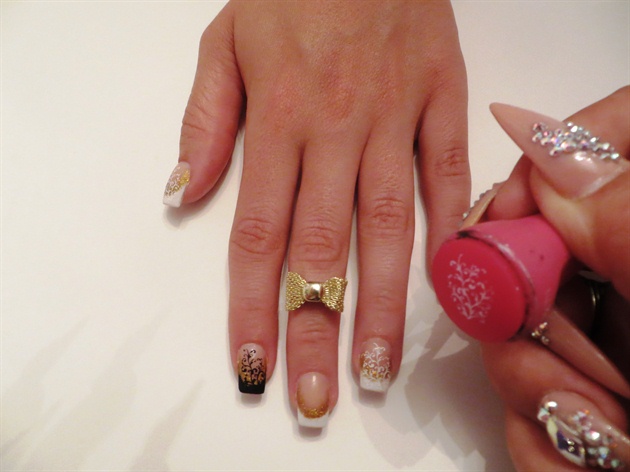
Once cured, wipe away the sticky layer. I chose to use BM-225 stamping plate. Apply a thin coat of polish to the image plate, scrape excess polish away and pick up your image on an angle and then transfer onto nail.
5
Once your desired nails are stamped, apply a gel top coat to all nails.
6
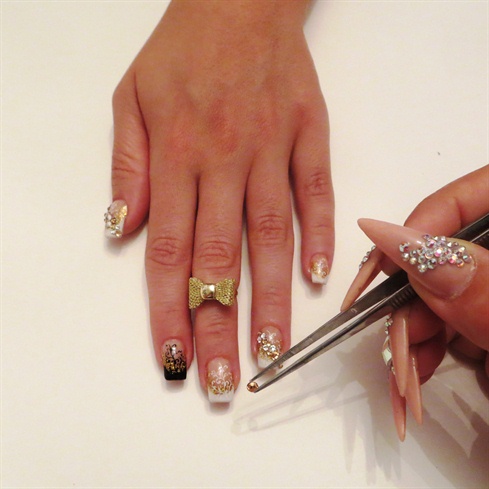
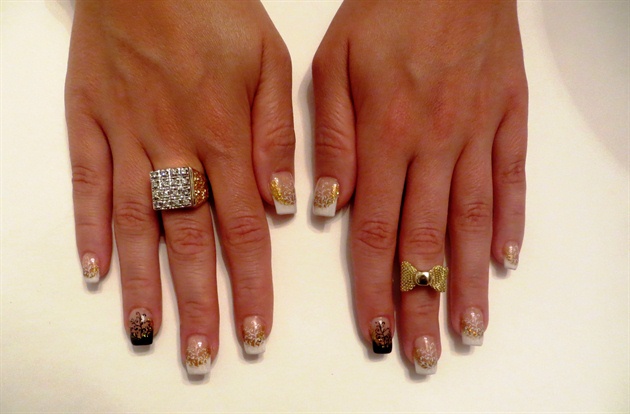
I didn’t want the crystals to outshine the design so I only accented a total of three nails with clear and gold crystals. I applied a small amount of resin where I wanted the crystals, then using my tweezers; I carefully applied them in a scattered line. This adds just enough sparkle to feel fabulous when you go out.
7
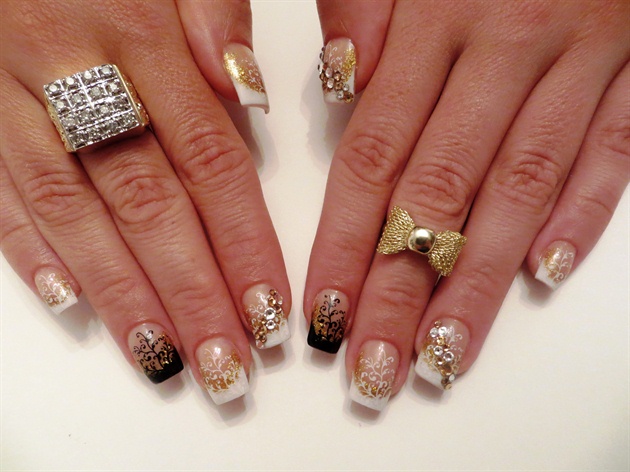
This modern day French is great for the day as it is classy and elegant with the white tips and the floral design. The random black accent nails add a trendy element to the design. When you’re ready for a night out you can dress them up with gold accessories. The crystals add just enough sparkle to catch your eye.
9 Artists like this Photo
Write a Comment
Submit