This tutorial is for Nails Magazine Next Top Nail Artist 2014 Top 18 Pre-Challenge 2. Wasilly Kandinsky is considered by many to be the father of abstract art, and here I've used some of his line and shape elements. I did take a bit of license with the color choices in some cases, but I like things a bit brighter than Kandinsky seemed to. Base colors used are CND Vinylux in Cityscape and Cream Puff, all the colors are acrylic paints.
Step-by-Step Nail Art Tutorial
1
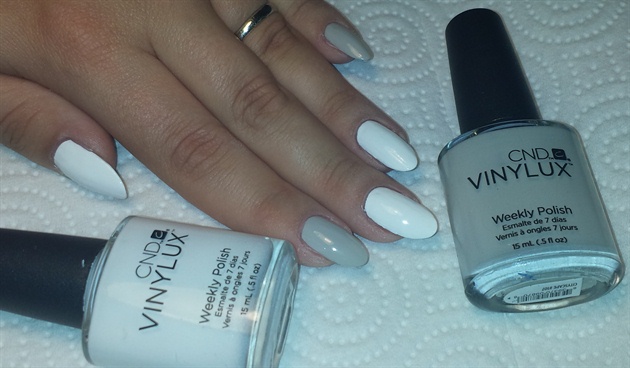
Paint the index and pinky fingers with CND Vinylux in Cityscape. Paint the remaining nails with Vinylux Cream Puff
2
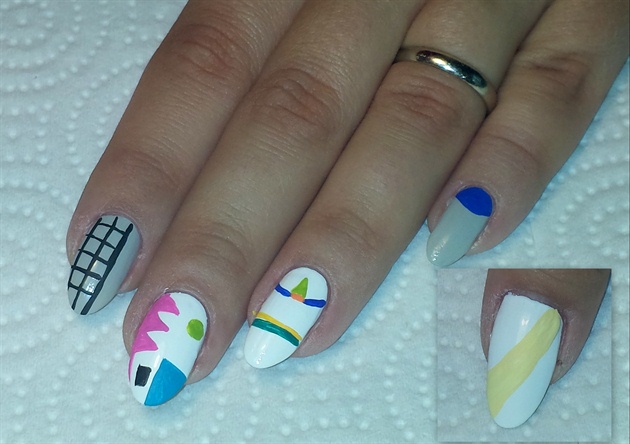
Paint the base of all the design elements with acrylic paints. An ochre diagonal swoop on the thumb, the beginnings of a checkerboard on half of the index, bright abstract shapes on the middle, random lines on the ring, and a half moon on the pinky
3
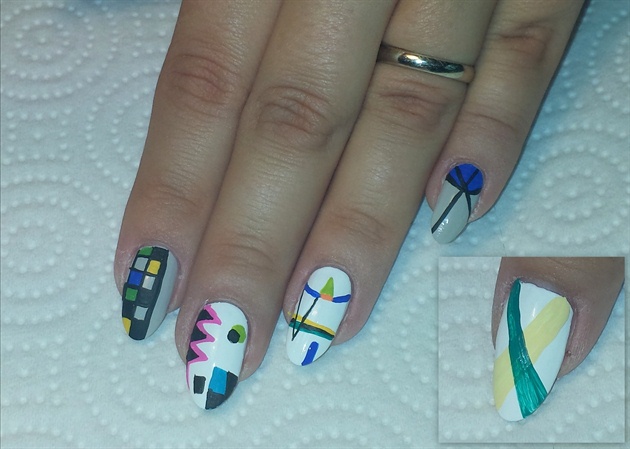
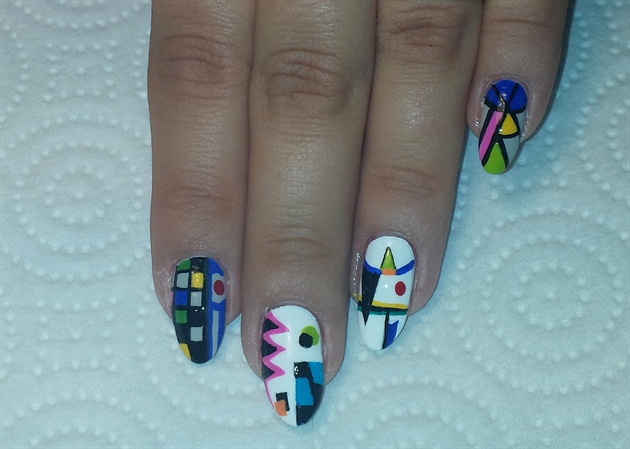
With acrylic paint, add a bit of detail: Add a teal swoop on top of the ochre one on the thumb, begin to fill in the boxes on the checkerboard with some colors. Add black detailing to the abstract shapes on the middle finger, add a couple triangles to the lines on the ring finger, and draw two lines from the base of the pinky nail toward the end of the nail and make them intersect in the middle
4
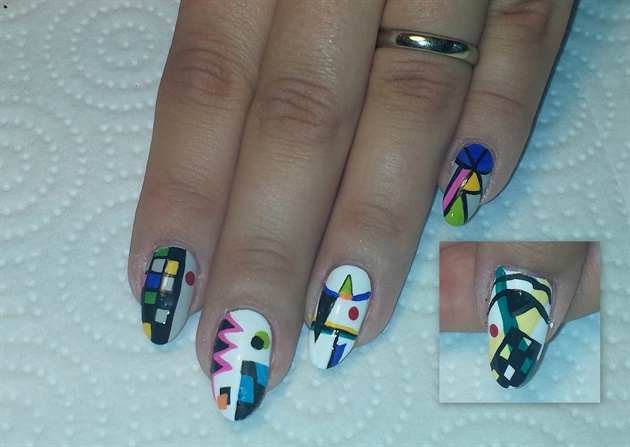
Add a dot to the empty space on the index finger, fill in the black triangle on the ring finger and add some lines radiating off the two long lines on the pinky and fill in the resulting shapes with color. For the thumb add a square, fill it with vertical and horizontal lines and fill in every other one, checkerboard style. Then add some curving lines and shapes, and a red dot for a Kandinsky-esque accent
5
I added a couple blue lines to accent the red dot on the index and used my acrylic paints to clean up all my lines
6
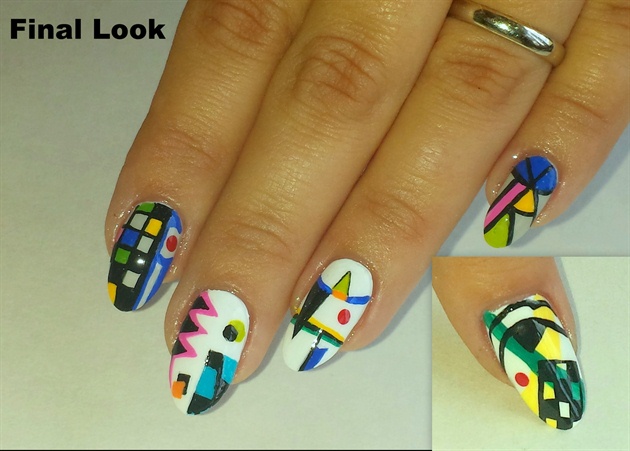
Add a coat of CND Vinylux Top Coat to seal!
10 Artists like this Photo
Write a Comment
Submit