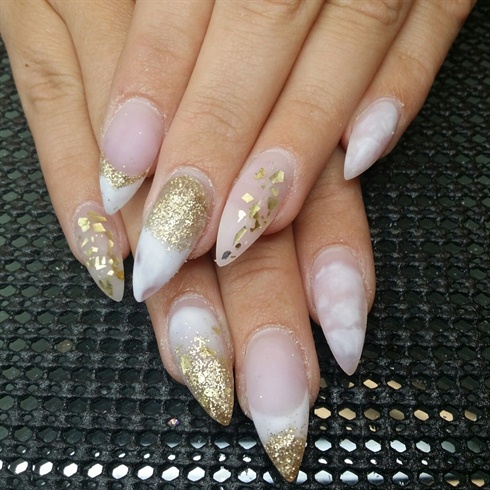
For the second preliminary challenge I wanted to again, step out of my comfort zone. As an artist, I consider my work very neat and clean. I have a very literal style, and I pride myself on that. While researching many artists, I decided to go with my first instinct. I chose Pablo Picasso. He has a style very different than my own. He saw the world in a very bold, abstract manor. This had a huge impact on his art, and on how art was "supposed' to be in the mid 1900's. His type of envelope pushing creations, are very easy for people to connect with. This is what made his work as popular as it was, and still is today.
Step-by-Step Nail Art Tutorial
1
First stop on my Picasso journey was filling my clients nails with clear acrylic. For time purposes, I left her previous acrylic design intact before adding gel polish.
2
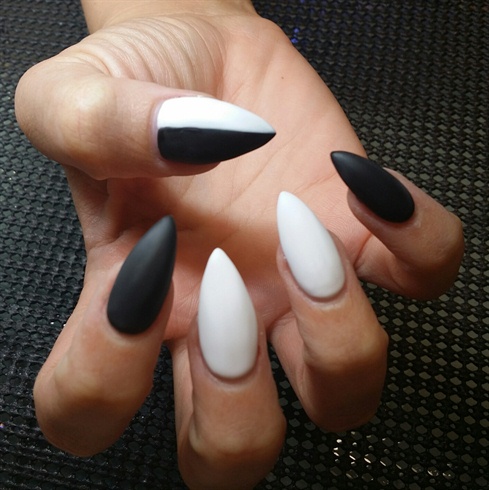
After the nails were filled and prepped for polishing, I chose to paint them with white and black gel polish, and topped with a matte gel top coat. I chose the matte finish for my base colors because I thought it would be an easier finish to paint on.
3
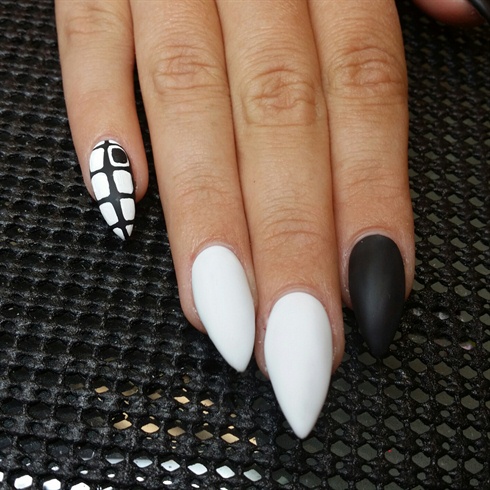
Next, I decided to attempt using acrylic paint for the first time. I enjoyed the opaque texture when painting with it. I used white acrylic paint and a small detail brush to create some abstract squares. These squares were the first step in creating my abstract background.
4
I continued to use acrylic paint to add the bold details in my designs background.\n\n
5
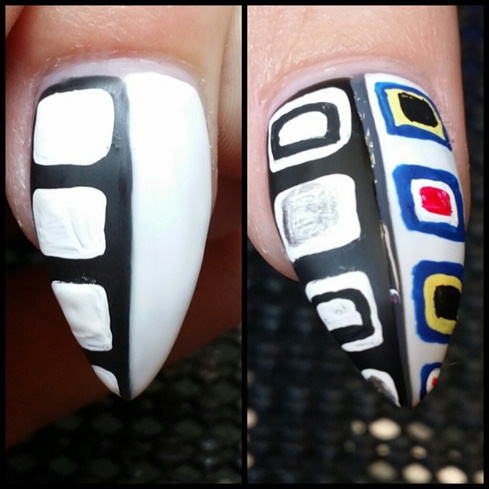
I also used the same acrylic paint technique on the thumb nail.
6

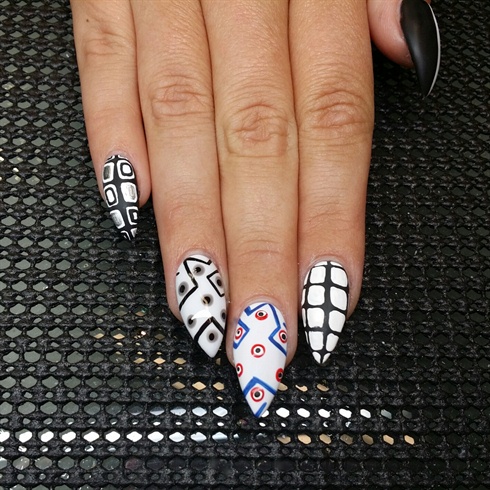
After finishing all my backgrounds. I added a layer of gel top gloss to the ring and middle finger. I wanted to use some gel polish in the foreground of these nails to add an additional effect
7
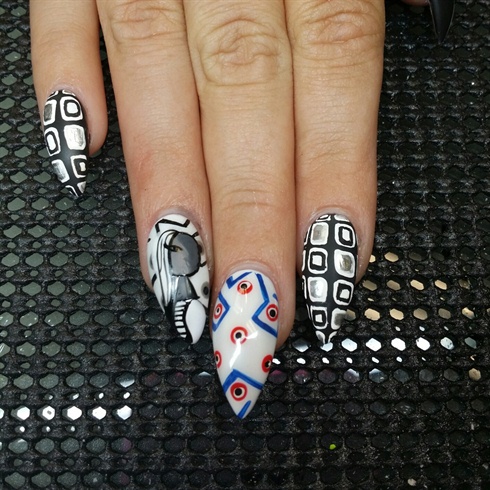
I started my foreground design my using gray and white gel polish to begin my first woman. After curing the gel polish, I began to add some fine details with black gel art paint.
8
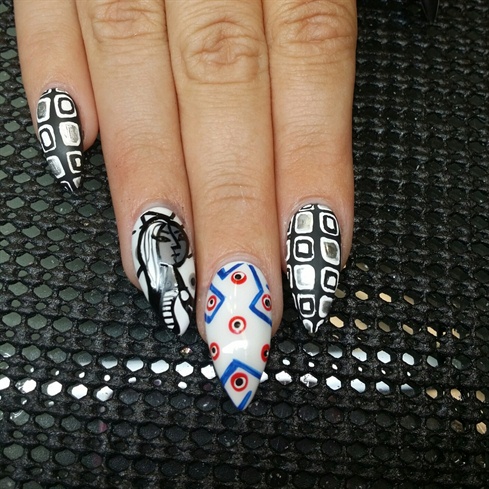
After finishing with my gray scale lady, grabbed some primary colored gel polishes and prepared to create my colorful lady.
9
For my colorful lady, I used the same process as my gray scale lady only I added several colors of gel polish to make her pop. When I was finished with my second lady, I made sure all the nails were thoroughly cured and dried, before adding a final coat of gel top gloss.
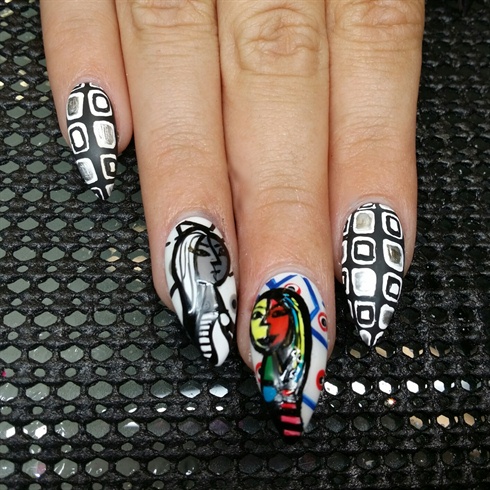
10
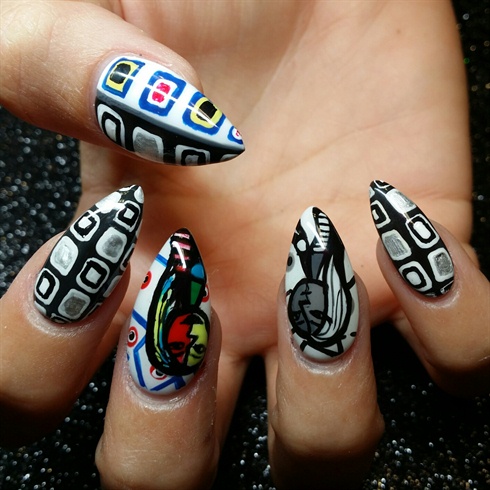
Here is a shot of the finished design.
7 Artists like this Photo
Write a Comment
Submit