For this week's project, we were asked to use ENTITYS ad campaign from their first year to inspire a set of nails. They are supposed to be a set you would want to wear to their 10th year anniversary party. So first I wanted to do some research on Entity as a company. They are branded in such a elegant way. Everything is light and muted. Subtle but gets their point across. They use fonts and a logo that compliment that. Entity is about beautiful timeless nails. The ads were minimalistic as far as the nails. They used a soft French manicure to create imagery. Each ad had a theme adding to the focal point of the nails. Each ad had movement. Tons of movement. Whether flames or silky fabric blowing in the wind, the ads definitely envoked a feeling of elegance and movement. So I knew which direction to start thinking. My second task was to look into the history of a "tenth anniversary". Ten years is definitely an admired milestone from a business perspective. You've made it. You are no longer a fresh start up company. People know you're brand, trust it, and recommend it. Its a great achievement! (Congrats ENTITY!) A ten year anniversary also is known as the diamond anniversary. So I knew I wanted to incorporate lots of bling. In olden times, it was known as the metal or aluminum anniversary. So, I wanted to add lots of metallic tones also.
After researching and starting my concept I knew I wanted to keep it clean. The Entity ads all had a French, so I wanted to incorporate a French into atleast some of my design. The ads all had some element of movement, so I knew I wanted to create a flowy illusion. I liked the feeling the feathered ad gave me, so I knew I wanted to incorporate a small wearable feather. I also liked the fabric ad with the pearls, so I knew I needed to include some pearls. I knew I wanted to include Entitys logo. And I knew I needed to add the elements that represented a ten year anniversary (diamonds and aluminum). We also needed to use a combo of mediums, so I used hard gel, gel polish, acrylic, and art paint. I used a marble like technique to create movement on some of the nails. I added some raised elements, like an acrylic number 10, pearls and crystals, and a handmade acrylic feather. I kept the color pallet muted to keep the overall feel of the Entity brand. Thank you to all the amazing people voting for me each week!
Step-by-Step Nail Art Tutorial
1
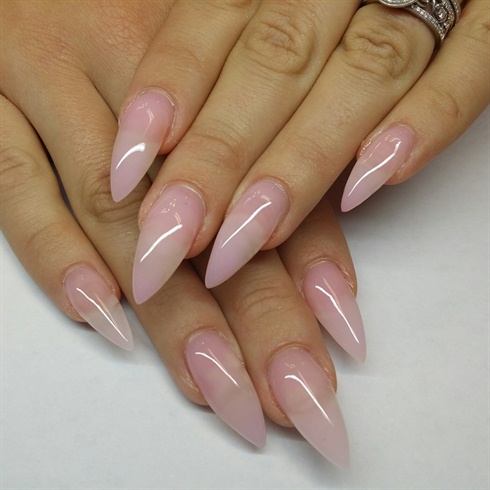
STEP 1: I used a cool pink gel to fill my models nails. I also applied a base coat of gel polish and cured it. (I like using the same type of gel for each fill. It keeps the nail looking cohesive and fresh. If you switch between different shades of pink or clear your fill marks will be more apparent, even without damaging the nail bed. And..... nobody likes that!)
2
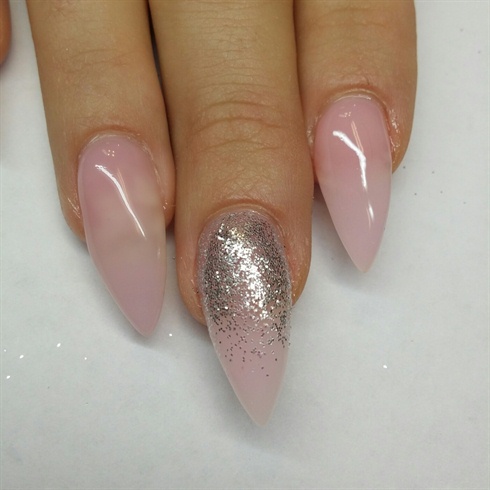
STEP 2: Using a loose metallic platinum glitter, I patted it onto my two middle fingers from the cuticle downward. Using the tacky dispersion layer as adhesive. And cured it again for two minutes (uv).
3
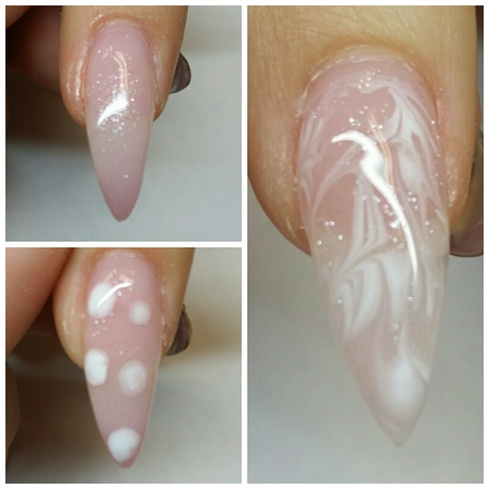
STEP 3: On four of my nails I used this feathery marbelizing technique. I first applied a coat of a transparent gel polish with fine silver sparkles. With out curing it, I dropped in a few dots of white gel polish. I Then used my detail brush to create movement on the nail, feathering the two tones together. When I felt like I had the effect I wanted I cured it all for two minutes (uv).
4
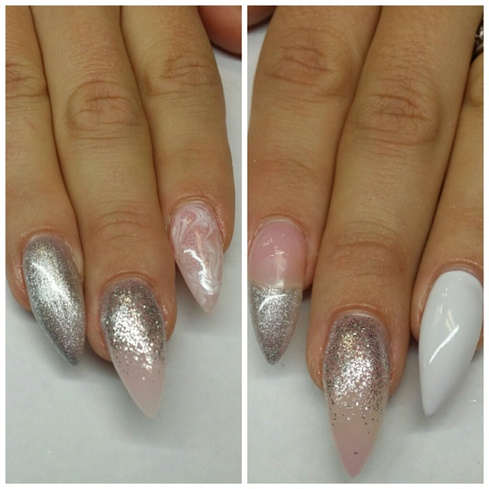
STEP 4: I finished laying the base shades on all my nails. I used a metallic silver gel polish, and a white gel polish then cured them.
5
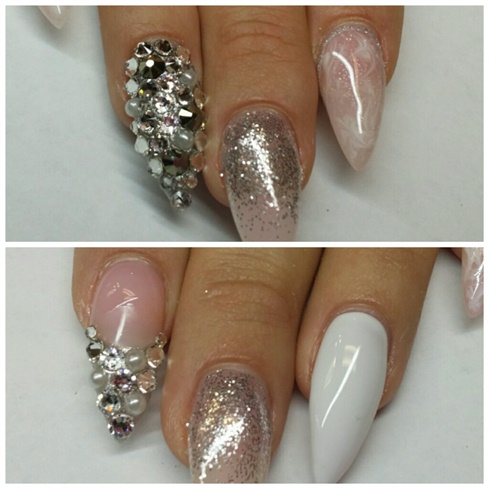
STEP 5: I used a silver glitter art paint to create curves at the cuticle on the white marble nails. Then I used a gorgeous combination of swarovski crystals and pearls to add some bling. A tenth year anniversary isn't complete with out "diamonds"! So to adhere them to my nails I used a thick gel to set the crystals into one by one. After I finished each nail with stones on it, I cured it and the used a detail brush to surround each stone and pearl with a thinner gel. I then have the client cure it again and roll her finger back and forth in the light to ensure it cures completely.
6
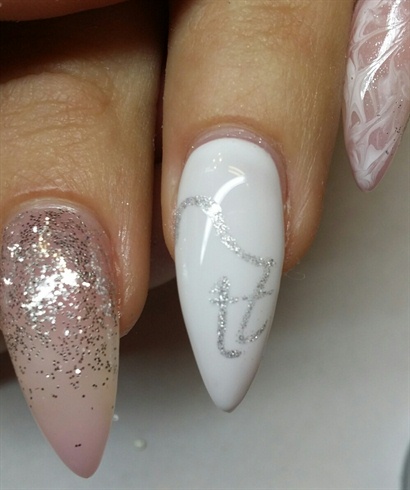
STEP 6: On my all white nail, I used a silver gel to create the entity logo. I used a small deatil brush to create the symbol and cures it fully. I went back and added a second layer of a thin glitter gel over the symbol to give it some sparkle. I then cured it again.
7
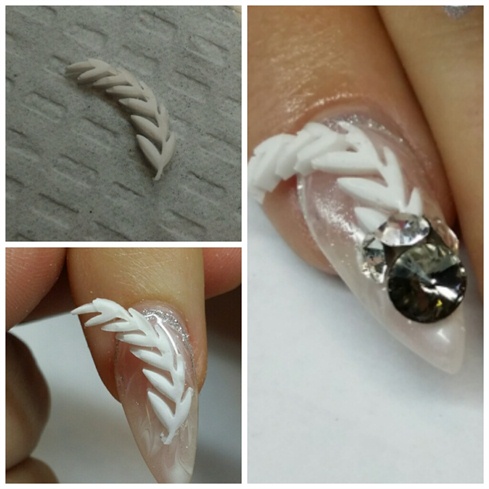
STEP 7: I used a ball of modeling foam and carved a feather like shape into it. I let it air dry, and I had my mold ready. I put white acrylic into the mold and allowed it to set. I then popped it out of the mold and used a buffer to smooth the edges. When my little feather was ready, I used clear acrylic to attach it to the pinky nail. I then went back in with swarovski rivoli stones and created a heightened diamond cluster at the base of my feather. I used a thick gel to set the stones in and cured it fully.
8
STEP 8: I used silver acrylic to hand make a number ten in a flowy font. I used a small round acrylic brush to do so. (I originally wanted to make a Roman numeral ten which is an X but I didn't feel it vibed with the rest of my design.) After finishing the number, I used a ball of the same silver acrylic to adhere a crystal in the middle of my zero.
9

STEP 9: For my second thumb I used stones and pearls to create a bling French tip. I adhered them using the same method from Step 5.
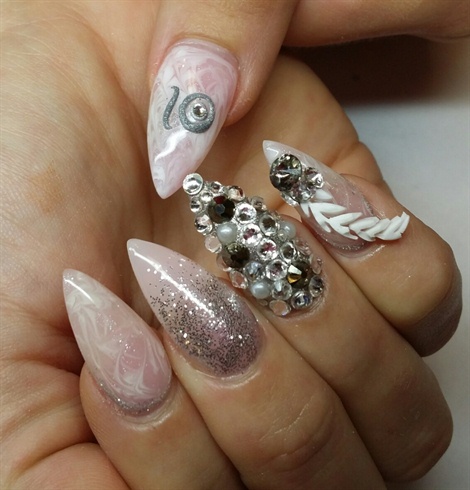
10
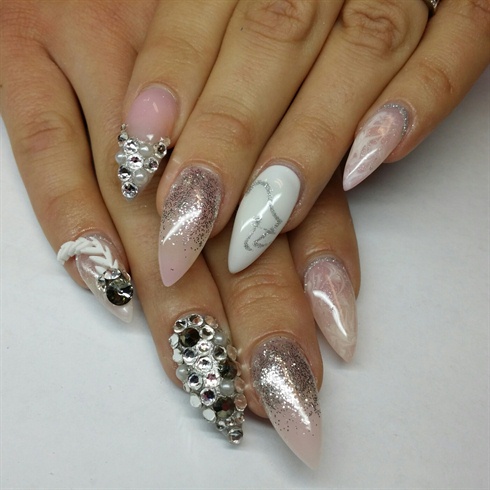
STEP 10: Here is my finished design for the nails I would love to wear to Entity's 10th year company anniversary party! Thank you all for viewing my tutorial. I hope it was informative! Please don't forget to go vote for me! Thank you all!
18 Artists like this Photo
Write a Comment
Submit