We were to create nails for Entity Beauty's 10 Year Anniversary. After being given four photos, they asked us to create a design based on the feeling the photos evoked in us when we looked at them. I automatically thought, "decadent," "regal," and "ethereal." There's something about the timeless beauty of a pink and white set of nails and the way Entity Beauty captured the beauty of the nails was nothing short of opulent. So it inspired me to do something with crystals and gold foil with a damask design.
Step-by-Step Nail Art Tutorial
1
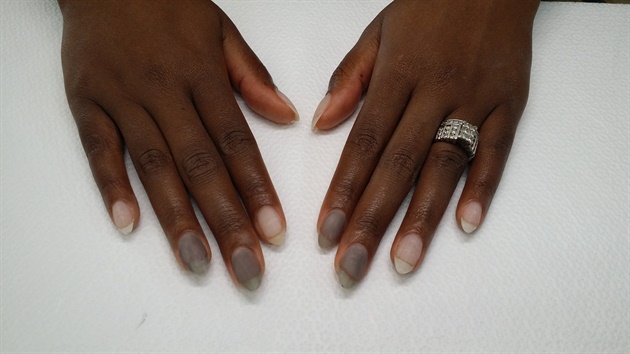
I started with a smokey black color for my base. I mixed a gel black with a clear gel top coat to make this color.
2
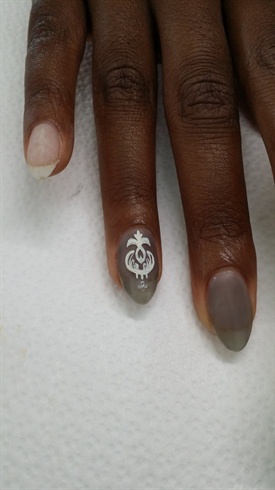
I started my damask design with a buff and white acrylic paint mix.
3
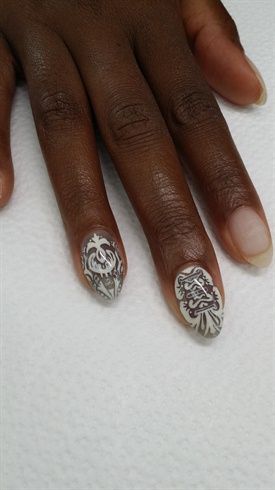
When I finished the design, I polished a standard clear top coat on, allowed it to completely dry and finished it with a clear gel top coat. I did this because without the standard polish between the design and the gel top coat, it would chip away.
4
I completed the other two nails using the same method.
5
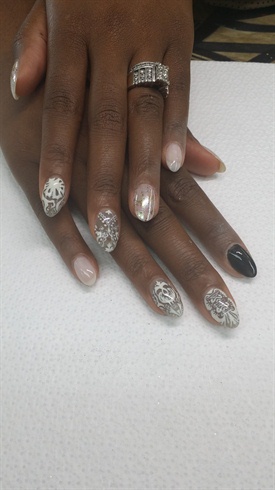
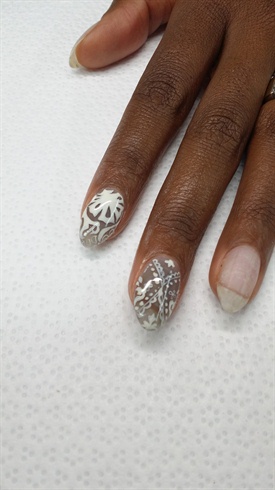
I polished the right index finger with a black gel color and the rest with CND's Romanique. After which, I used a opalescent transfer foil to cover the entire nail and applied a small amount of gold transfer foil on top of that.
6
I used CND Brisa Gloss gel top coat to apply my stones and chains. I polished a line of gel top coat and laid my stones one line at a time and cured between applications. I buffed away the gel top coat shine and used clear gel polish to make my damask design. I cured it and wiped away the inhibition layer.
7
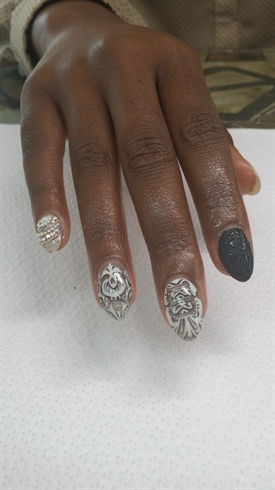
I did the same thing on the other hand on the ring finger. On her pinky, I drew gold lines in a cross pattern and laid gold caviar beads on each cross point.
8
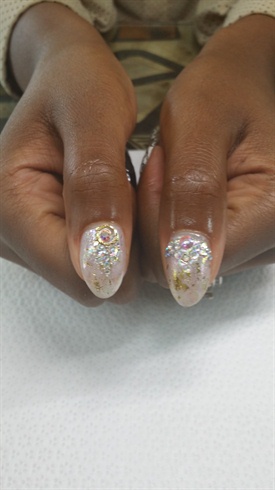
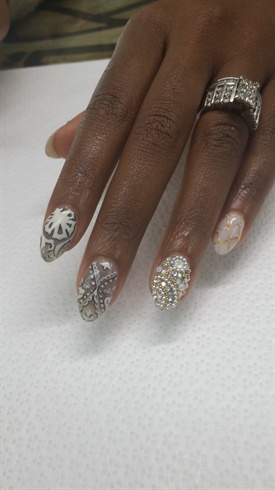
I applied stones and metal pieces on her thumbs using the Brisa Gloss Gel Top Coat.
5 Artists like this Photo
Write a Comment
Submit