The Deep. Balance..Peace and chaos..darkness and fear..light and exuberance. Color dims into shadow and light illuminates the reality.
To me creative play is about using your imagination to view the world from a unique perspective, to spark ideas and absorb into another reality. A place to be free from the confines of the everyday norm. The dark deep ocean under the moonlight, inhabited by creatures unknown. The flip side is the sunrise over the sea, revealing the glee of dolphins, free to play and explore the vast possibilities of their domain. Two moments captured in the same space, depending on your viewpoint.
Step-by-Step Nail Art Tutorial
1
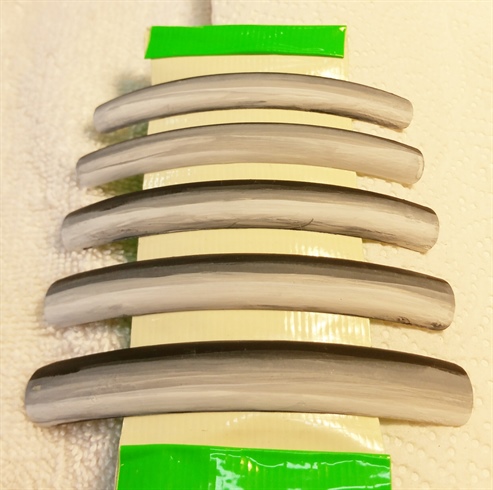
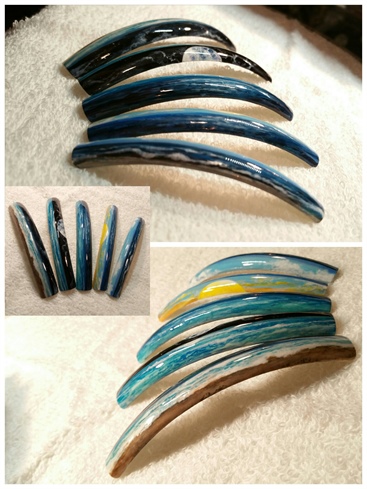
Begin with black and white acrylic paint, and create an ombre effect.
2
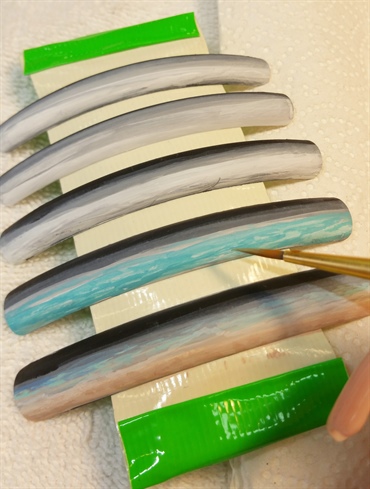
using a small point brush paint in the water details.
3
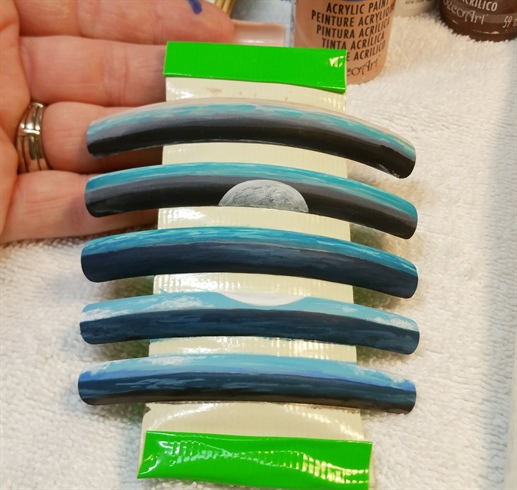
I used a strip of duct tape to hold my tips in place, allowing me to view my design from all angles as I painted.
4
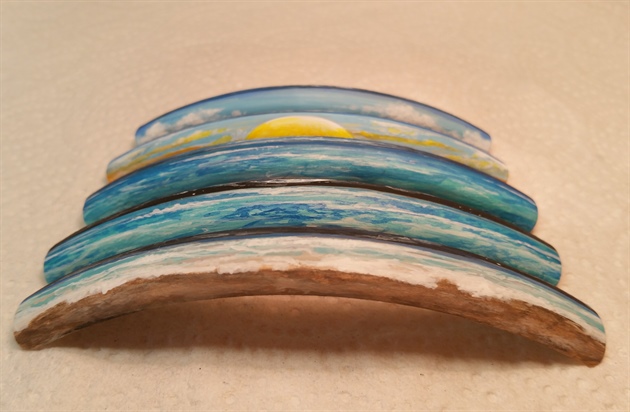
fine details of the day side, looking at my image so that day doesn't spill into night.
5
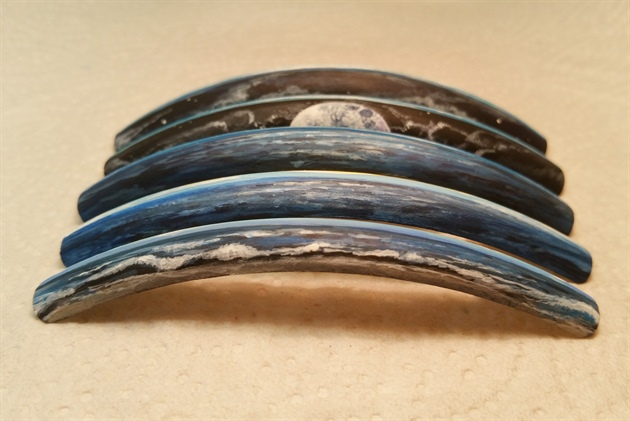
detail with moonlit clouds and stars in the night sky, focusing the water reflection towards the center.
6
I used a clear no cleanse gel top coat over all five nails.
7
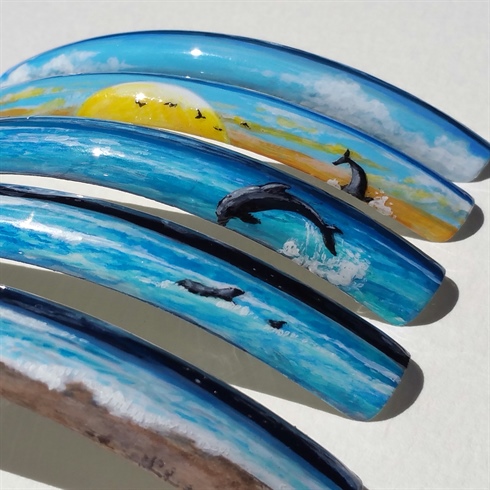
using my smallest brush I added in the dolpins, birds and floral in the corner.
8
I used a fine tip metal tool to scrape away any unwanted paint to ensure the finest detail. The gel topcoat kept the under painting safe.
9
I used the no cleanse gel top coat to seal just the added flora and fauna.
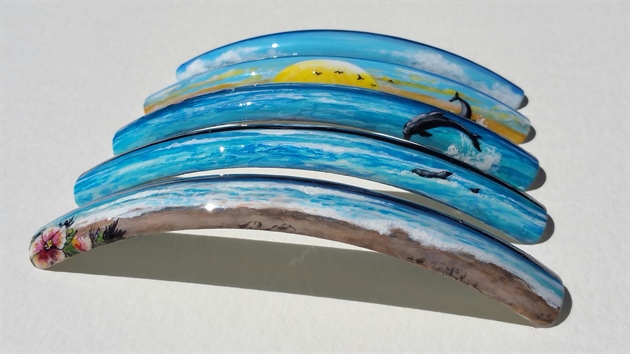
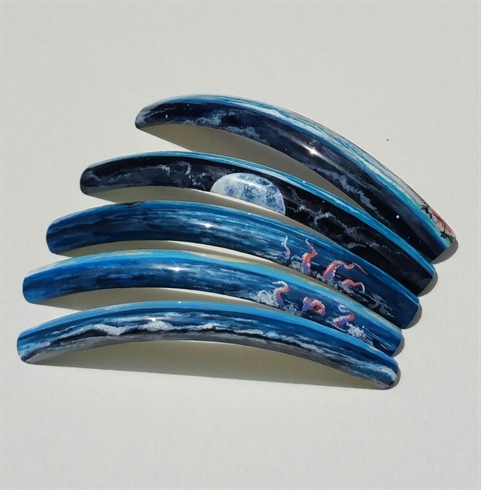
10
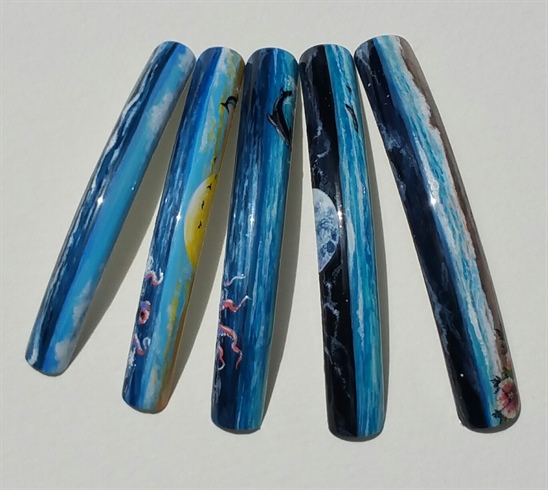
view of the completed design from above.
8 Artists like this Photo
Write a Comment
Submit