I got this challenge the day I was leaving for the Premier Beauty Show in Orlando. Being there for the weekend gave me the inspiration for these nails. Seeing all the crazy hair designs and colors made me want to add that to my set of nails. My theme behind this is a Gypsy woman. She has big free flowing hair to go with her free flowing personality, letting her heart be her guide. She has flowers and feathers and a dreamcatcher wrapped in her big lush locks. Colorful and free, just how a Gypsy needs to be.
Step-by-Step Nail Art Tutorial
1
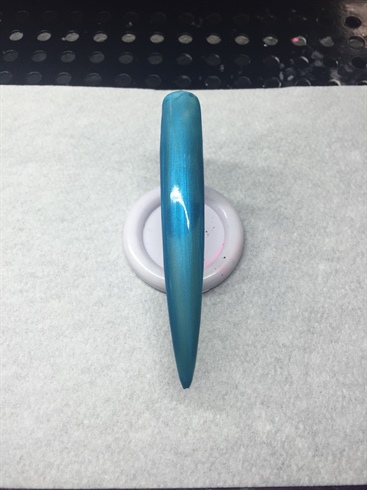
I started with my main tip first. I applied 2 coats metallic blue Shellac and a top coat.
2
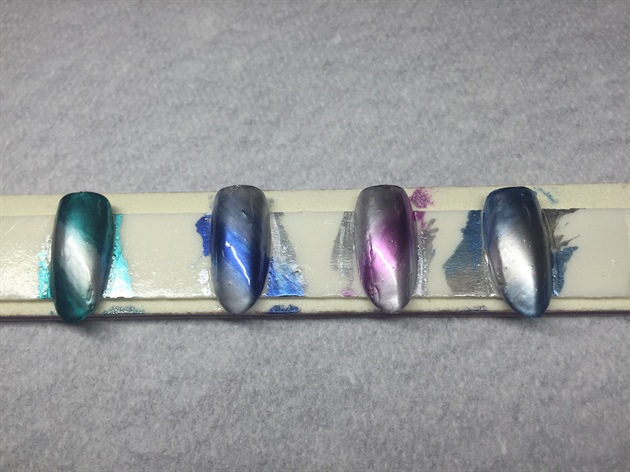
Then i moved on to the other four nails. I decided to use Mirror Gel for the background on these nails. I chose four different colors and faded them in with the champagne mirror gel.
3
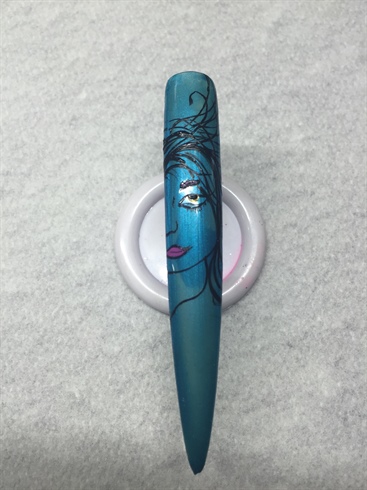
I sketched out what I wanted my main nail to look like. I drew the side profile of her face with acrylic paint. Highlighting her lips and eyes also with acrylic paint.
4
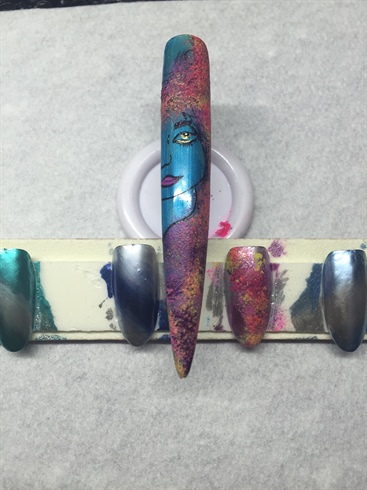
My next step I took 5 different bright polish colors and applied them around her face and flowing onto the other nails with a sponging technique. This is the background for her hair. It gives the hair a little more texture.
5
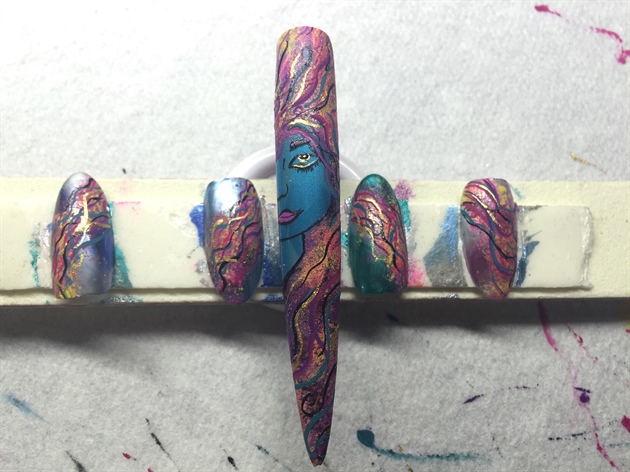
I took acrylic paint with a Number 2 thin art brush and applied swirls over the sponged paint. I wanted to give it the effect of flowing strands of hair.
6
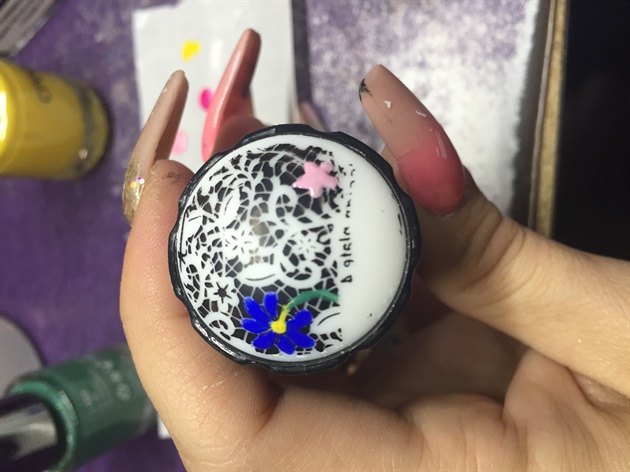
My idea was to add in flowers and other "gypsy-ish" elements to her hair. I hand painted somethings. The other decorations I worked from a stamping plate. I chose what I wanted on the nail, stamped it onto the stamping pad and let it dry for a minute. I then went over the design and filled in the negative space with assorted polished. Once dry I used a polish top coat and waited for the to dry. After a few minutes for it to set up, I then peeled the design off with tweezers and turned it upside down so that you could see the outline of the design and the color i had added. Then I just suck it right onto the nail. Since it is so thin, it laid easily.
7
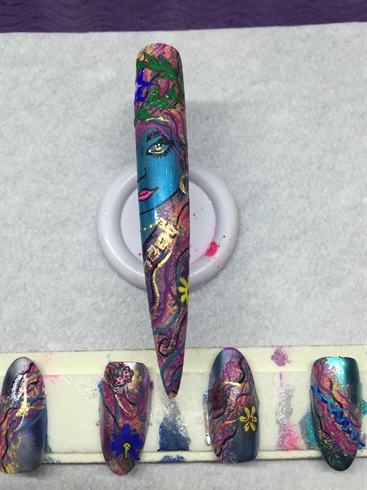
I added handpainted embellishments around her face and on the rest of her nail. I added some jewelry to my Gypsy and vines and flowers in her hair.
8
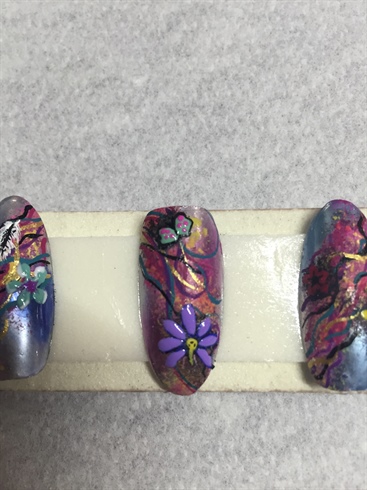
The flower and other decorations i had added looked a little flat and blended into the background so I decided to go back in with gel polish over my embellishments to give them a little more depth. I figured it would make them stand out better.
9
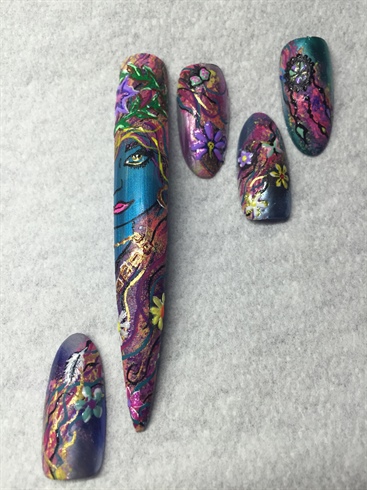
I touched up some highlights around her face and on the other nails to give her a little more life. I gel top coated some parts of her hair and some embellishments in her hair to make them pop a little bit more. Then i was finished.
9 Artists like this Photo
Write a Comment
Submit