For challenge 2 of Next Top Nail Artist, we were asked to create a 3-D nail design for the "You've always been... Mysterious" ad campaign for Entity. The beauty of a mystery is the unknown. I chose deep blue tones with some opalescent glitter to represent the night sky and created a 3-D scene of magic. With a magician's hand, smoke and a crystal ball, I leave you to create your own story.
Step-by-Step Nail Art Tutorial
1
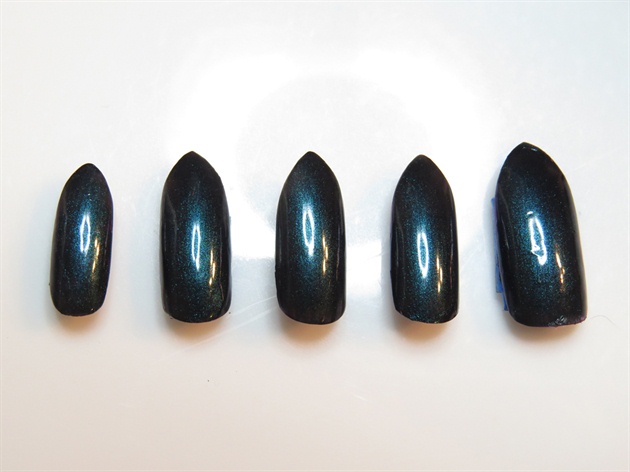
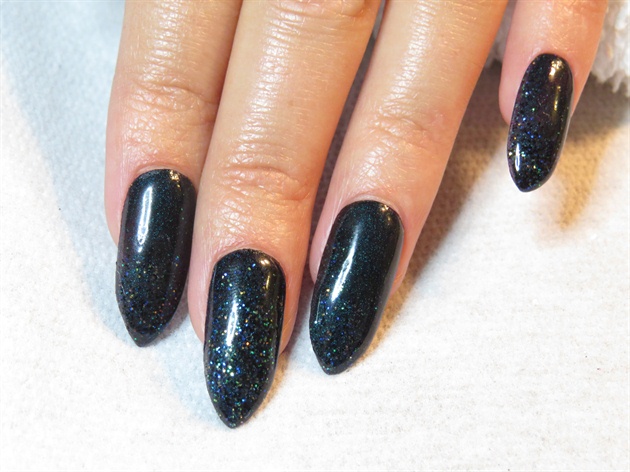
Polish nails a deep shimmery teal.
2
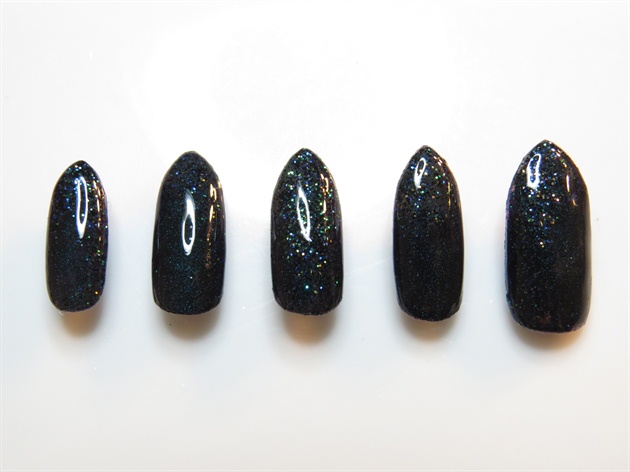
Apply opalescent glitter and topcoat.
3
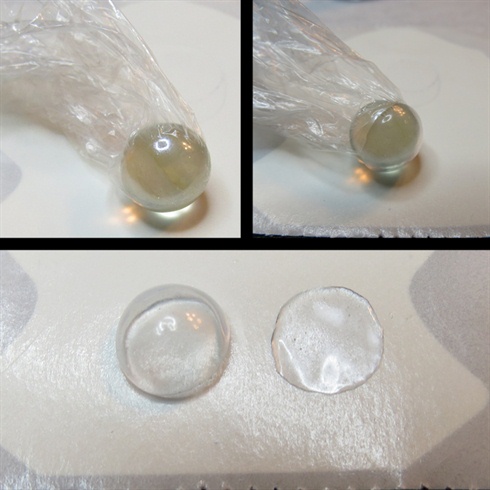
Wrap a marble in plastic wrap, apply 3 layers of gel topcoat on half of the marble. Cure between each layer and when done, carefully remove from plastic wrap. With gel topcoat, make a small flat circle for the bottom of your bubble and cure.
4
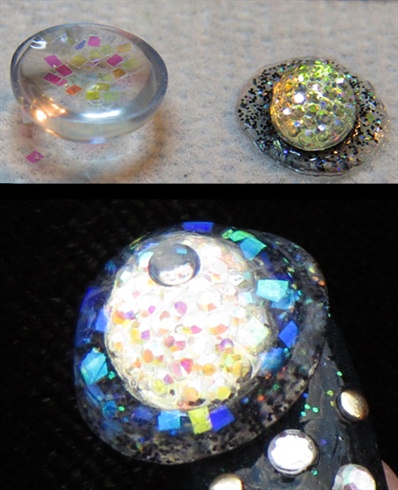
Fill your half bubble with water and glitter. Cover your flat circle with glitter and glue a rainbow jewel in the center. Place the back on to the water-filled bubble and seal with acrylic.
5
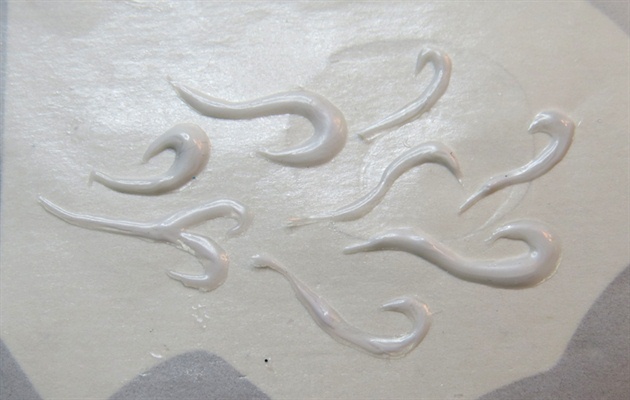
On non stick paper, marble white and clear gel and create several curly lines to resemble smoke.
6
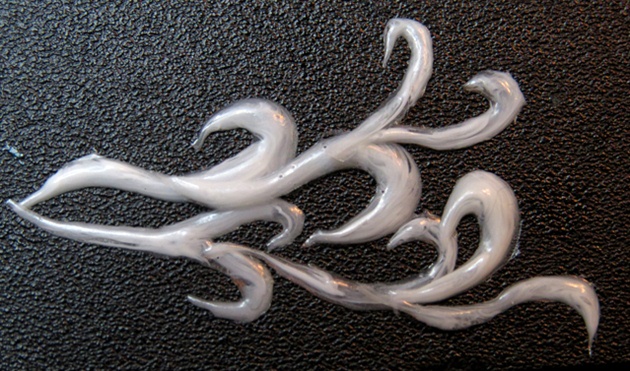
When cured, glue the pieces together to make 2 separate smoke pieces.
7
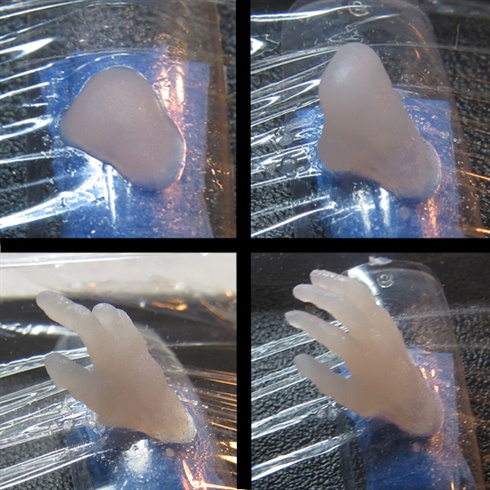
On plastic wrap, begin building the base of a hand and wrist using natural colored acrylic. Build knuckles and then fingers reaching out.
8
Apply the nails to your model.
9
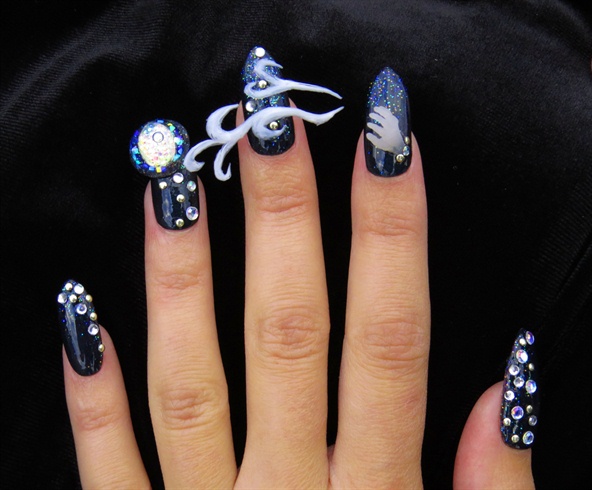
Strategically place your 3-D art, the smoke should begin in the hand and lead into the "crystal ball." Spice up the nails up with several varying sized rhinestones and you're ready for a photo shoot!
4 Artists like this Photo
Write a Comment
Submit