NAILS Magazine's Next Top Nail Artist Challenge for week #2.
You've always been... Mysterious
I chose a locket ring as my 3-D nail art to capture the concept of "mysterious". Rings like this have been used throughout history to carry perfume, locks of hair, poison or a pill, devotional relics, messages, and other keepsakes, so they have also been known by other names. A ring like this creates quite a mystery because you never know what's inside.
Step-by-Step Nail Art Tutorial
1
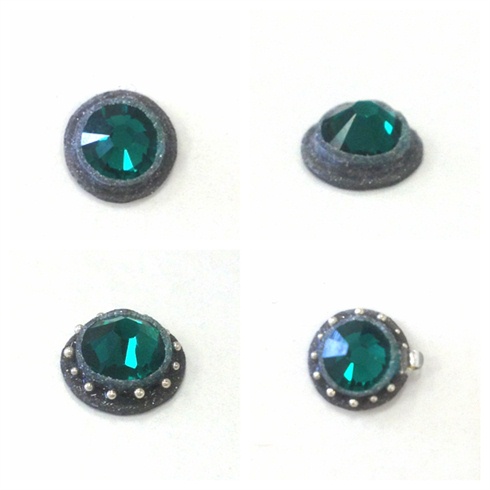
I start by placing a large emerald Swarovski crystal into a round bead of silver acrylic. Then I carve out a groove using my electric file. Next I use gel to adhere some tiny silver beads. Lastly, I carve out a little space on the side and use gel to add a seed bead to use as a hinge.
2
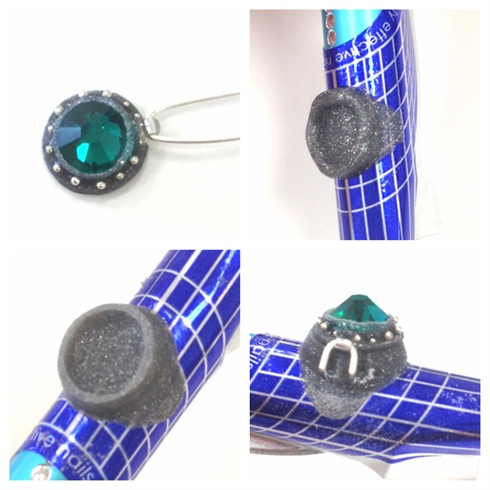
I place the jewelry wire through the bead, and clip the length. Next I begin sculpting the ring. I use a rounded surface to mimic the nail. I use my electric file to clean it up, and then I make sure it fits properly. I used a swiss bubble bit on my electric file to carve out grooves for the hinge.
3
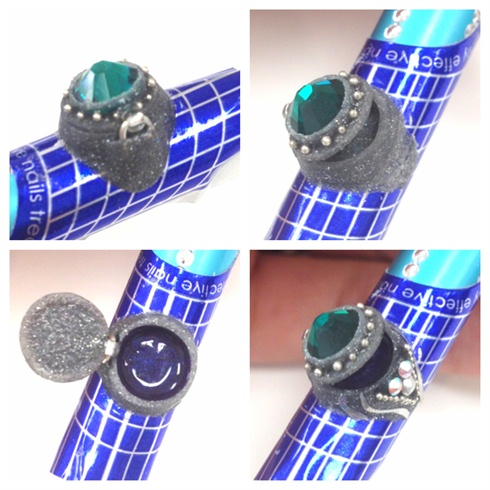
I encapsulated the ends of the jewelry wire to secure my hinge. Next I used a dark purple gel inside the locket. Lastly, I used crystals to embellish the locket.
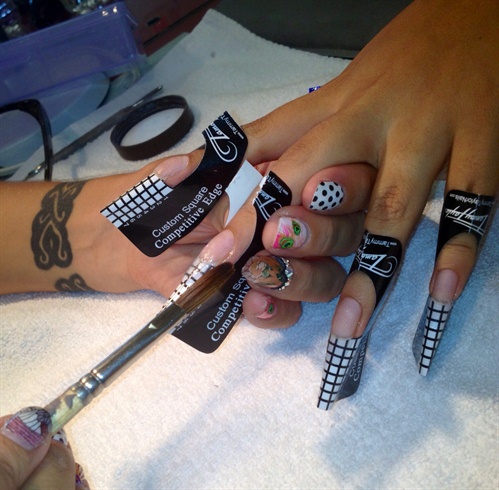
4
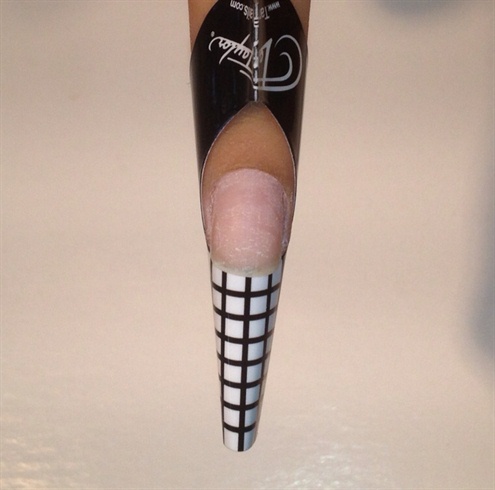
I prepared the nails for sculpting.
5
I used clear acrylic to sculpt long, thin almond shaped nails.
6
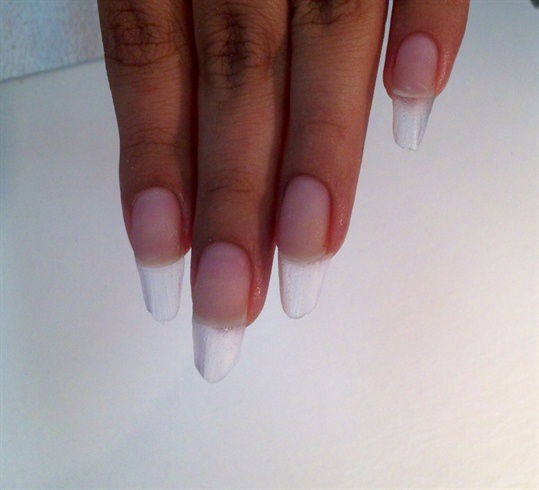
I removed the forms.
7
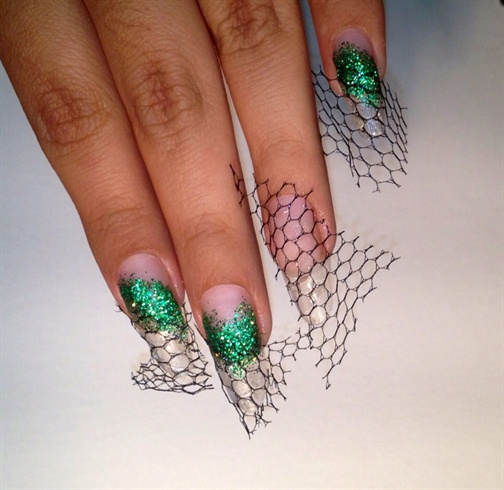
Next, I spread some emerald glitter over the nail bed and smile lines, and also attached some fishnet using nail glue.
8
I encapsulate the nails with clear acrylic.
9

Finish file the nails.
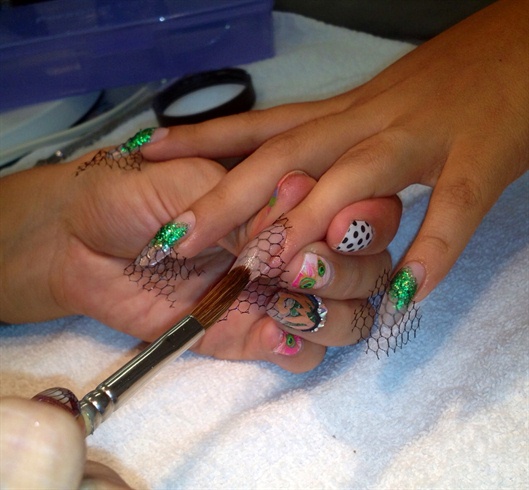
10
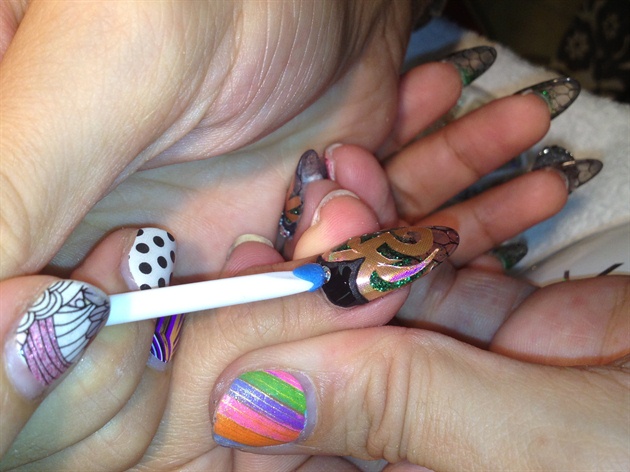
Lastly, I add my holographic fabric from Empower Nail Art, 3-D black acrylic, crystals, and the locket ring.
17 Artists like this Photo
Write a Comment
Submit