This is my mural representing Southern California.
1. Chanel (haute couture and money)
2. Surf Board Artist mural (90210, Rodeo Dr., Beverly Hills, and Hollywood)
3. Route 66
4. SanDiego Zoo
5. Hollywood walk of fame
6. Grauman's Chinese Theatre
7. Sublime
Step-by-Step Nail Art Tutorial
1
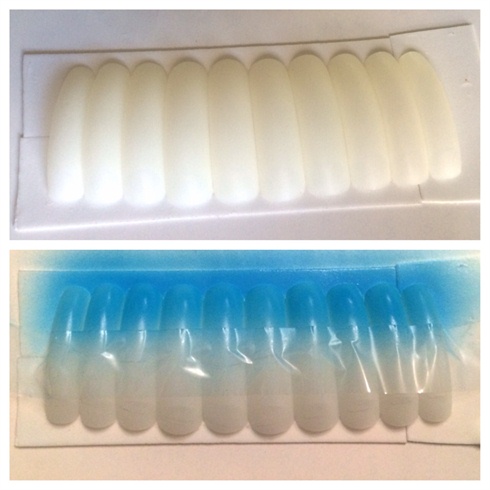
I began by lining up my nails which I gently buffed. I used double sided mounting tape to hold them in place. Next, I taped across the nails, and used an airbrush to lay down my first coat of paint, which is the skyline for the beach.
2
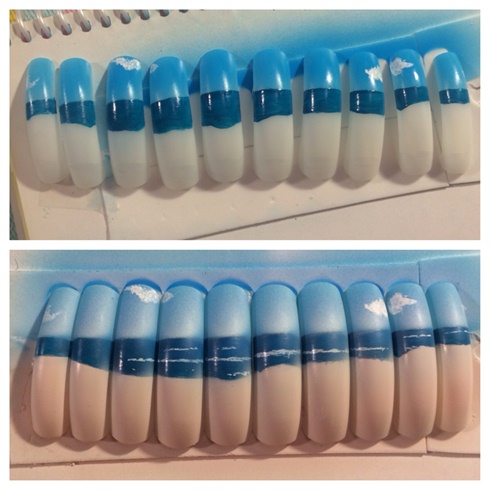
I pulled the nails apart and hand painted the water. The sky looked too cartoonish, so I went back and sprayed it again with a transparent white to soften it up. I also added waves, and painted the sand color on the bottom.
3
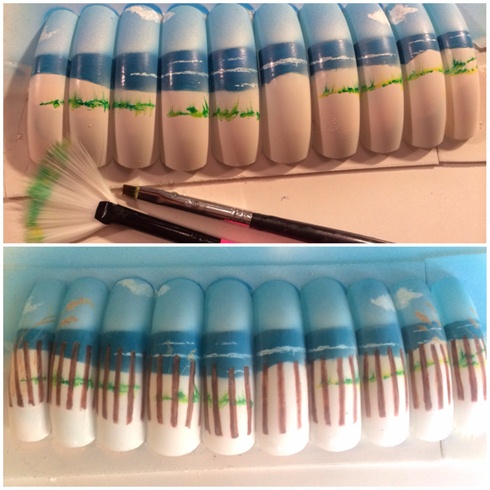
Next I used a fan brush with some nice wet green paint and flicked it upward to create sea grass. I also added some tall sea wheat. After that dried, I added the wooden fence. After this step, I applied a gel topcoat to protect my work so far. After that, I buffed the nails.
4
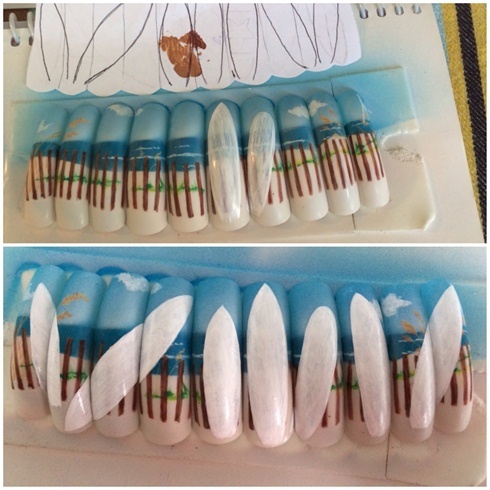
Now, I decide where to position my surfboards and paint a nice white foundation so that my colors will pop. I am using mostly acrylic paint.
5
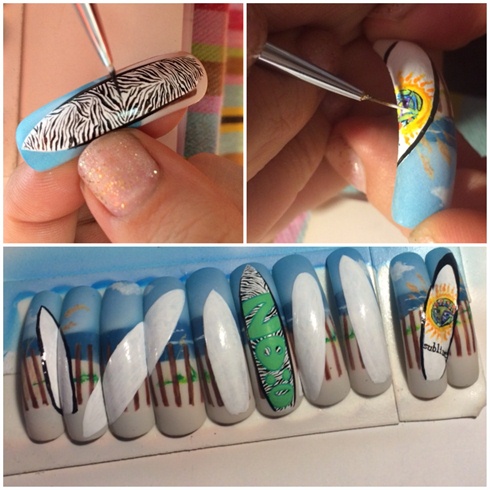
Now, I start detailing the surfboards. I paint a delicate zebra print on the Zoo nail, and then I work on the Sublime album cover. After that, I outline the Chanel surf board.
6
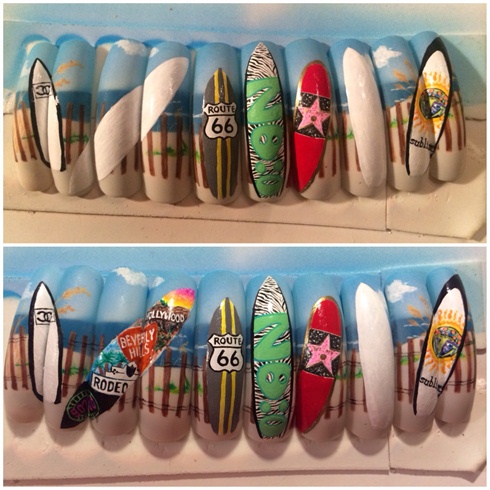
Next is my walk of fame surfboard. I use a dotting tool to add texture so that it looks realistic. After that is the mural surfboard. I started at the bottom and worked my way up, laying down the background colors first, and then adding the signs. I also added a Route 66 road sign and used the yellow double line as racing stripes.
7
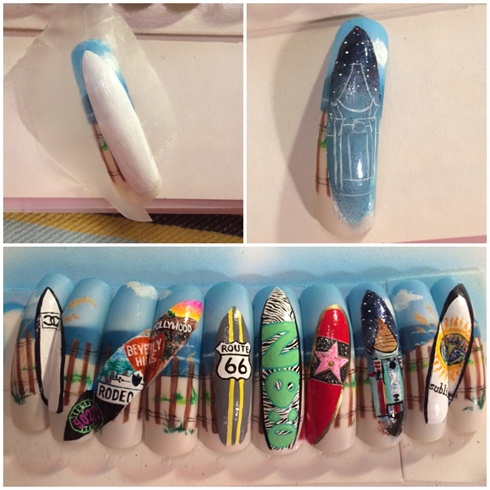
One of my last nails is the Grauman's Chinese Theatre. Because I used polish for this one, I began by taping off the edges, and using a sponge to create an ombre. I painted in a light outline of the design, and filled it in.
8
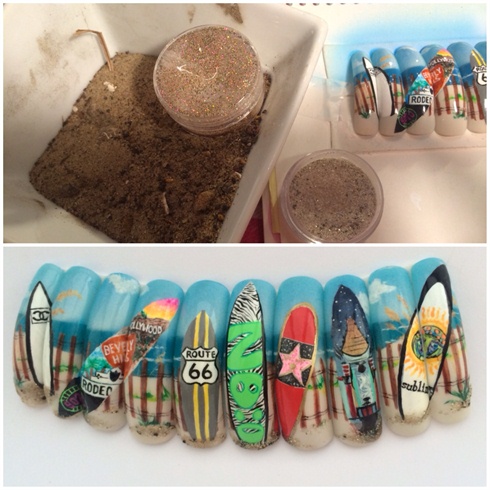
Last, to make it even more realistic, I used some dirty beach sand, and mixed it with clear acrylic, and a little glitter. I added it to the bottom of the mural to give it a slight 3-D effect.
9 Artists like this Photo
Write a Comment
Submit