For Nails NTNA pre-challenge #1, the challenge given was to "Play Outside The Box". I basically stared at my nail tips until Jan, the mastermind, popped into my head! I kept thinking, colors...I need bright colors like the creative play color line. Jan, in my mind, had to play a roll in this somehow, some way. So then, I thought of her signature nail pose and that was it. I decided since I was trying to think outside the box, she was going to be surrounded by 3-dimentional boxes showing depth and contract. I thought this would be a fun play on the subject matter.
Step-by-Step Nail Art Tutorial
1
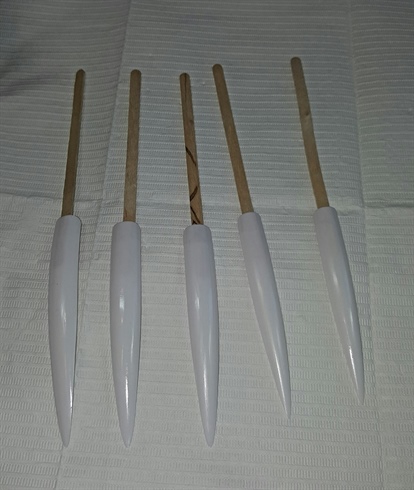
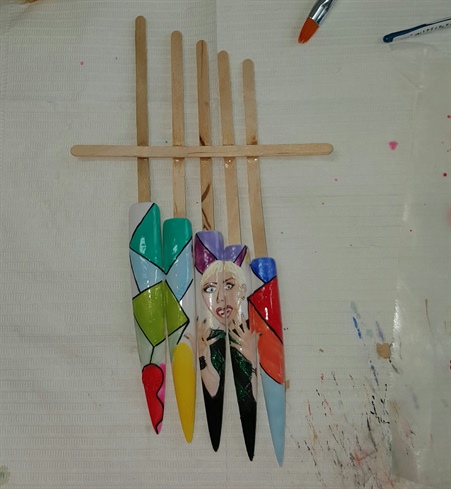
First I started with 5 stiletto tips painted with white gel and cured. This gives me a blank canvas to start with and allows the bright colors to pop more with the white as a base.
2
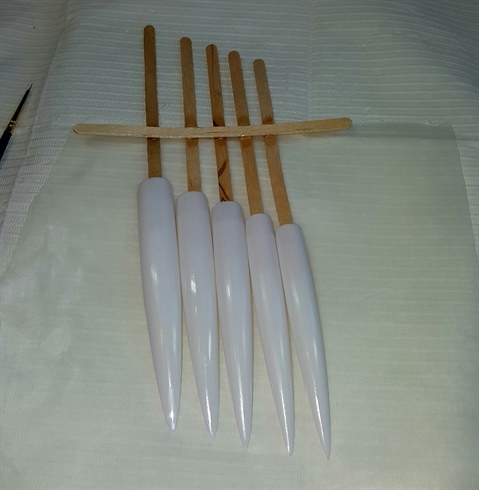
I used wooden wax sticks(lol) and double sided adhesive to secure the tips side by side in place.
3
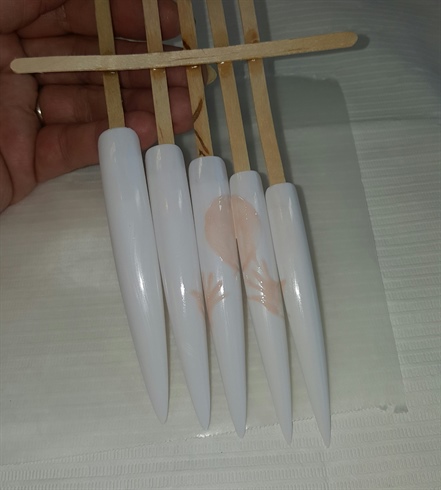
I wanted to place Jan as the focal point where I could work around her. I thought it best to start with her head and hands. I used gel polish and cured for 30 seconds
4
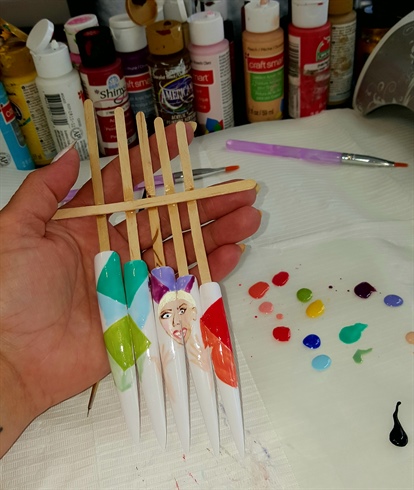
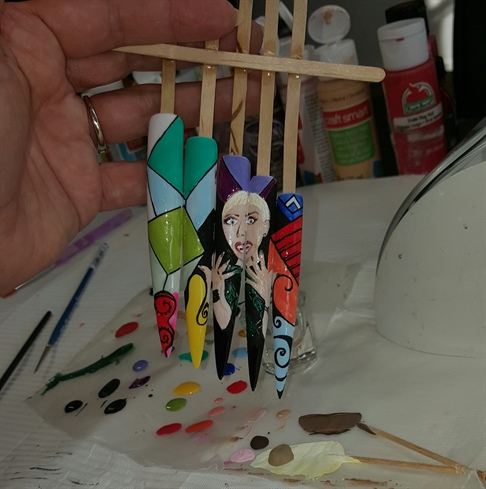
I then placed my floating boxes using vibrant colors to surround Jan. These were done with gel polish and cured for 30 seconds. I proceeded to start the detailing on Jan's face using acrylic paints.
5
I then started to outline the boxes using black acrylic paint as I thought about the different dimensions and elements that I would use to show depth
6
I wanted to incorporate different geometric shapes and images that would flow cohesively.
7
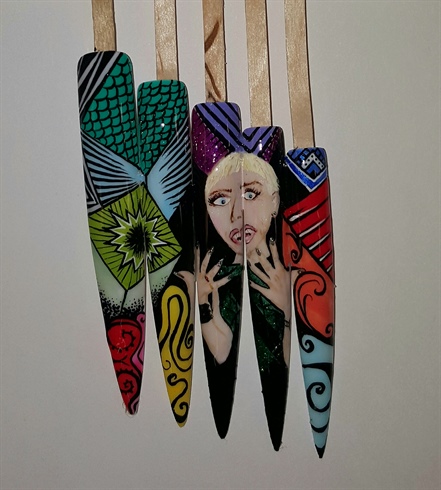
For the final touches, I added black to the background immediately surrounding Jan so she can stand out as the center spotlight of this piece.
11 Artists like this Photo
Write a Comment
Submit