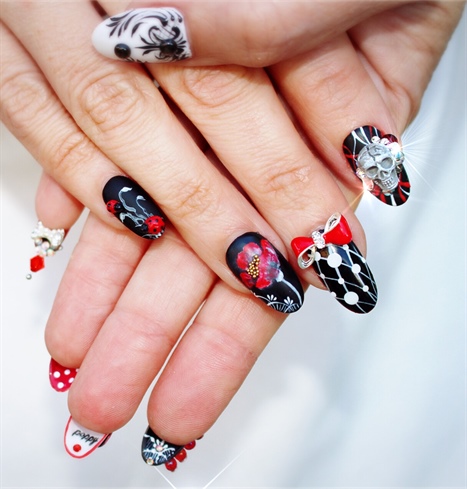
This week our sponsor asked us to create a set of nails with the UNDERSIDE done as well. When I was considering which way to go, I decided to scale back, and do a cleaner design...something that I don't often do. Sometimes when we try to include too much, it can make for an overwhelming photograph. You can't see the forest for the trees, kind of deal. Hope you enjoy my "POPPY" inspired nail art.
Step-by-Step Nail Art Tutorial
1

I knew I'd be taking a risk this week to do a cleaner set of nails, so I chose a DRAMA QUEEN color palette to show off the classic design of my poppies. I also wanted to do a salon almond shaped nail. Many of our clients today wear this nail. It's more practical for them to function with. I want to show that underside nail art can work with any length, not just extreme nails.
2
I actually began this set with the thumbs. I knew I wanted this timeless scroll work to carry through on the underside of a few of my nails. This actually set the theme and feel that I wanted to give. I've used a black 3D gel for painting with. I've embellished the thumbs with black star sapphires.
3
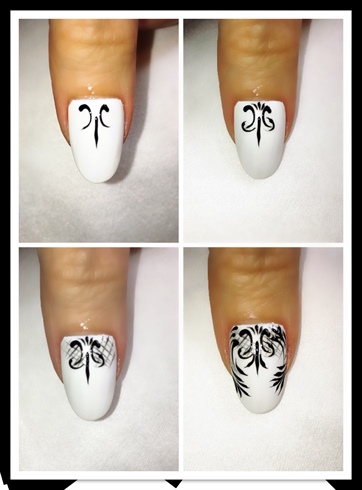
Last week, the judges requested to see more of my hand-painting, and I wanted to be sure I followed through with that by showing you more in the way of my tutorial. Above are the steps of the scroll work. There is no certain way to do this, it's more of a personal preference.
4
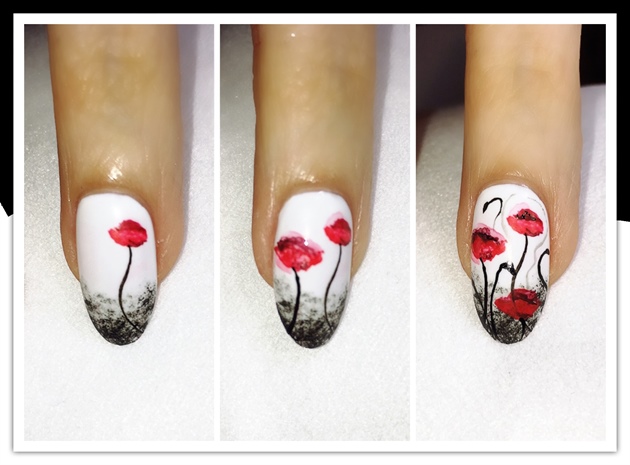
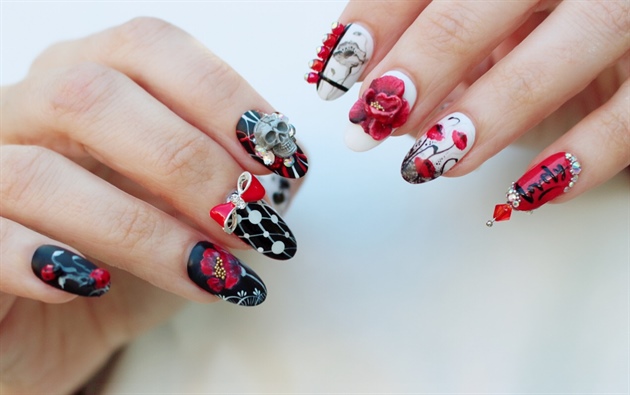
I sponged this nail with some black acrylic paint prior to painting on the poppies, which are also acrylic paint from Wildflowers Nails. By painting with a wet brush, I get this beautiful, soft color as if it were watercolor.
5
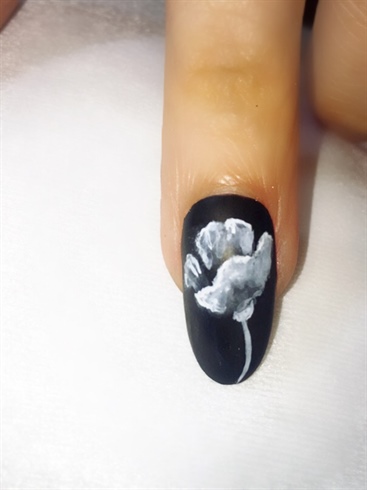
On the black nails, anything I wanted to be in color, I first painted in white acrylic. Once it dried, I went back over it with the colors. This makes the colors pop more on the surface of the dark nail.
6
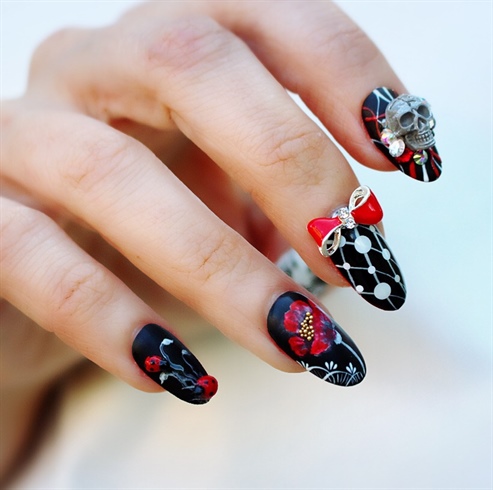
On the pinky nail, I've left the poppy buds in white and added a couple of tiny ladybugs. In every NTNA entry, I have hidden a ladybug somewhere. They're a sign of faithfulness. For me, it's a sign of gratitude that I've once again been able to complete yet another week. I decided they needed to be seen this week. They're made in acrylic.
7
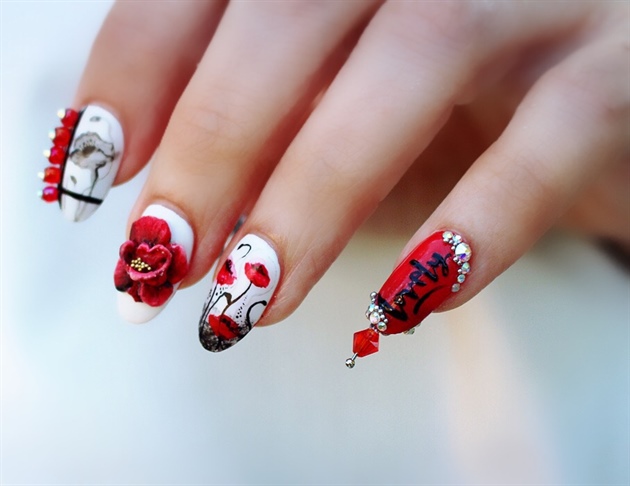
On the opposite hand I painted my poppies in black and white, added a 3D silk acrylic poppy (my favorite), and wrote the word "lovely" on the pinky with black gel.
8
I placed some paillettes on the middle finger and used and adorable bow charm. On the index finger, I did my friend "Mr. Bones" and dazzled him with some stones.
9
This set reminds me of good and evil. The white hand being the good, and the black hand being the evil.
10
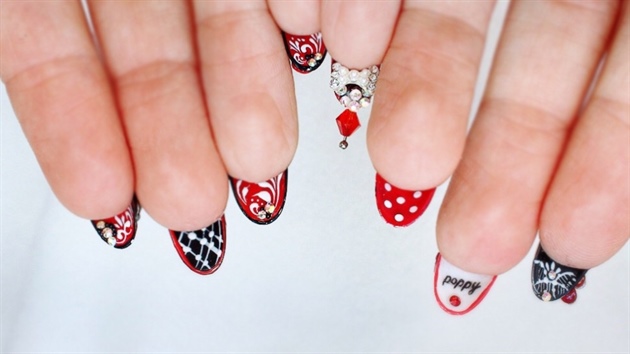
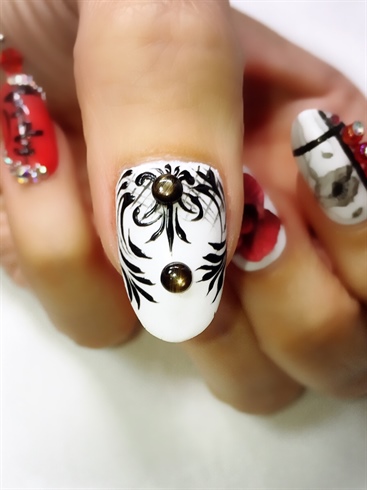
The scroll work and all of the underside detail, were handpainted with 3D gel, including the teeny, tiny script that reads POPPY. The dots on the red nail are white paillettes, and the crystals and bow were added last to the pinky nail.
6 Artists like this Photo
Write a Comment
Submit