How to think out of the box,
How to give shape to what has not been done yet;)
The creative energy that is within us is our power of thought... how do we reach for what is inside our subconscious mind.
In the beginning, all is a question of vision, inspiration... then, when you think about it, you realize that it's listening to your gut... emotions start to get involved, desire, sensations, memories... .
Creation is the beginning of everything, the universe as we know it. It's another dimension, it's a breath of fresh air, it's an image that we have in our minds that takes form when something is described to us...
Unfortunately, once we get to be adults, we forget our creative side, we withdraw from them. We must learn how to listen to the child in us, the one with the pure soul, the one with the new eyes, the fascination for all that is around us, the one that knows how to create. .
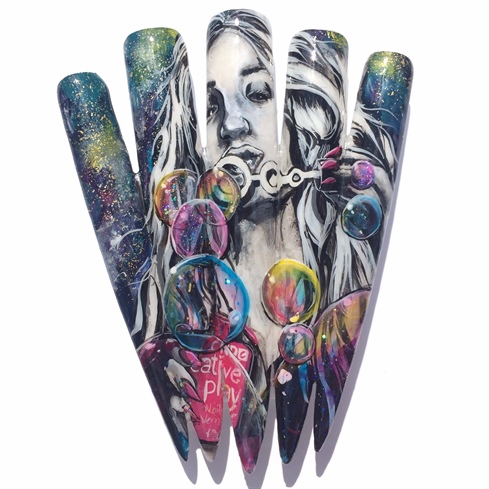
My main character is black and white, and the beautiful colours will be each and every one of its breaths... the colours are its essence, the colours come from within her. .
Being creative is child's play if you just listen to your inner child, if you just allow yourself to reconnect. If you just breathe in and breathe out your true colours, the Creative Nails from CND colours.
Step-by-Step Nail Art Tutorial
1
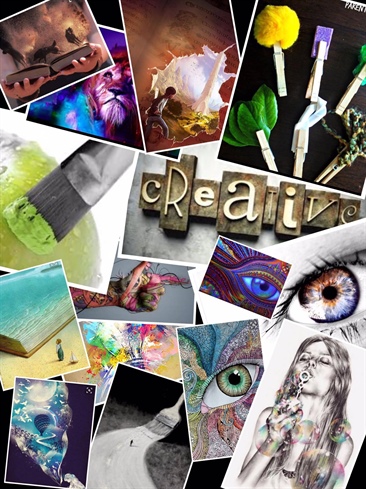
I started by doing some research on the internet. I then started a mood board on what inspired me, on what got my attention.
2
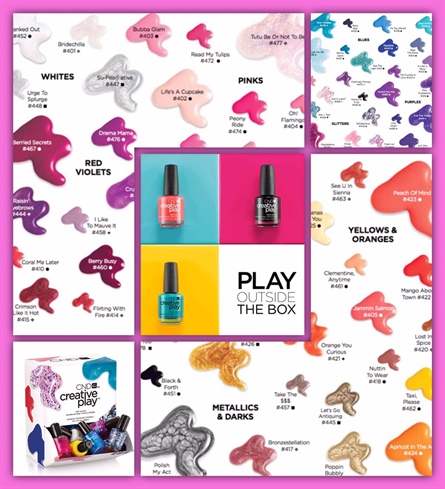
Once that was done, i went to take a look at the amazing Creative Play collection from CND. I looked at the colours, the videos. And, from there, I got the inspiration and i started to choose my base colours. They reminded me of pleasure, happiness, of holidays and celebration. They opened the door to endless possibilities... \n
3
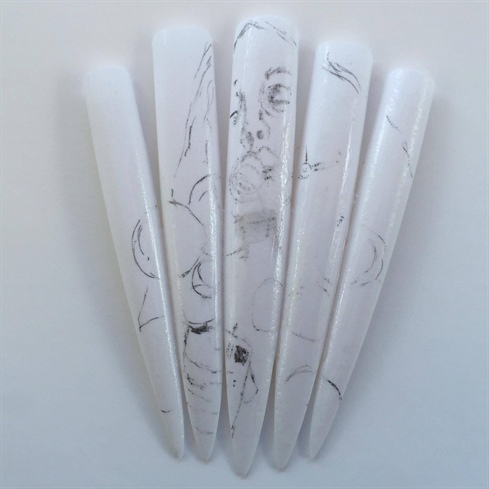
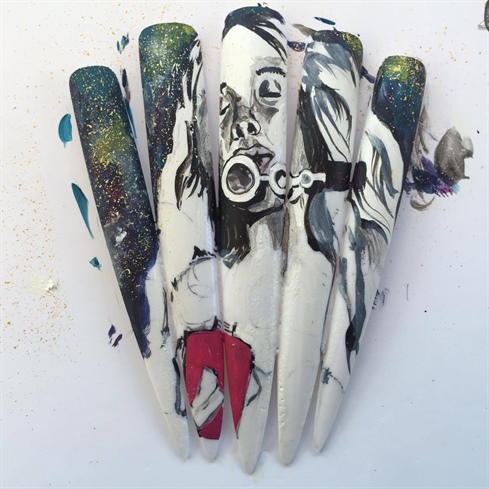
I start by drawing on the nails with a pencil to make sure that everything is well proportioned, even and pleasant to the eyes... N.B: if working outside, watch out for those little creatures that have a tendance to surprise you when you least expect it 😉
4
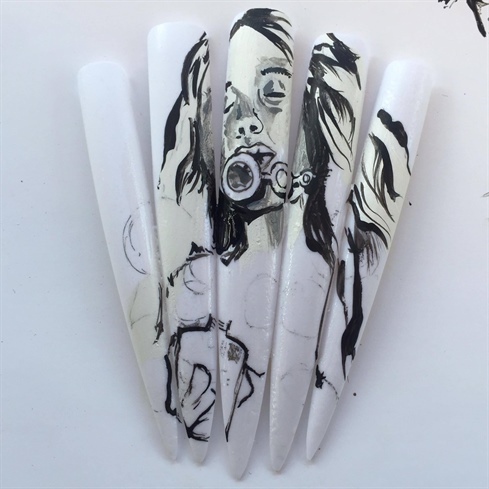
Then I use acrylic paint to create my base. Be careful not to put on too much paint... this would change the texture. To obtain the best results, you should always apply thin layers. \n
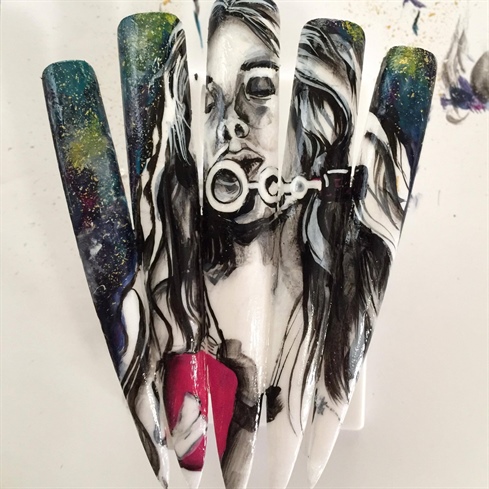
5
Now, for the colours... I always start by applying 3 colours: a - the lightest, b - the darkest and c - the one in the middle. Once that is done, I blend in all the other colours that i wish to use for my centerpiece. It gives it a more realistic look. \nNext step is to create my background. This gives the impression that my centerpiece is moved forward. This represents the universe and shows that creativity is infinite.\n
6
Finally, I add all the colours and the details. I make sure that my colours are very blended so that it does not affect the texture of the artwork.
7
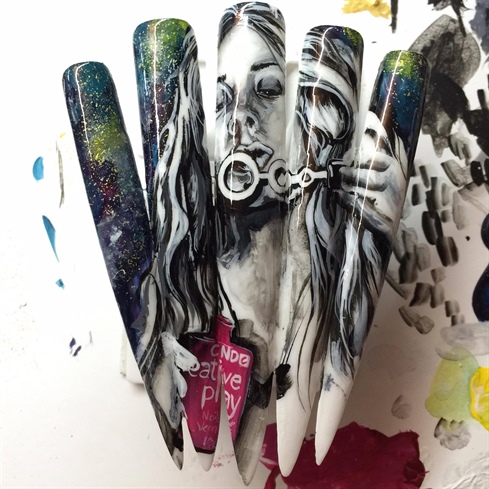
f I need to correct something, or simply to enhance something else, I look at my artwork from different angles. This allows me to see things that I might have missed by just looking at it from only one point of view.
8

*** One of my tricks is to put on the top coat between every layer.... This protects what I have already done and allows me to add on top of it without disturbing the base.\n
9
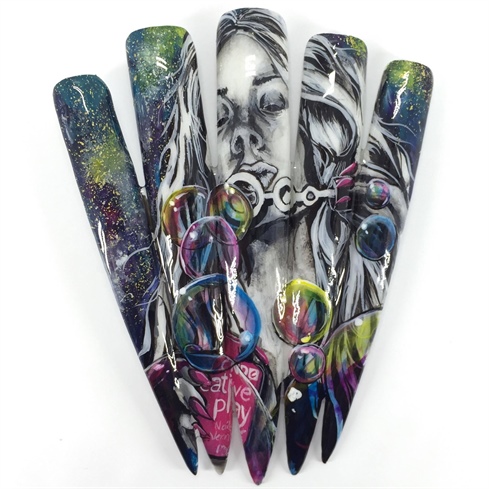
I create my bubbles by starting off with their contour. Then, with the help of a square one stroke brush, I work on the shading so that it gives it a 3d effect. At this stage, I put in the highlights... it gives depth to my work... makes it look that much more vibrant, realistic, alive... \n\n
10
. Finally, I applied the creative plays in my bubbles... it gave them the sparkling effect! I did this simply because the colours are absolutely magnificent!
19 Artists like this Photo
Write a Comment
Submit