We were asked to do a full set of nails for Entity Beauty's ten year anniversary, something we would wear to their party. We were asked to take our inspiration from a set of Entity ads that ran during their first year in business. The impression I took from the ads was, "Simple, elegant beauty."
I wanted to keep these nails wearable, and ready to celebrate a momentous occasion. So I kept these strictly "Entity" by choosing my color palette from their logo and product line. I made the base a charcoal grey with metallic flake to pull in their logo and accented with pink and white elements to continue the theme. Of course, every party nail needs bling! So I chose pink and white Swarovski crystals to add some glints of light.
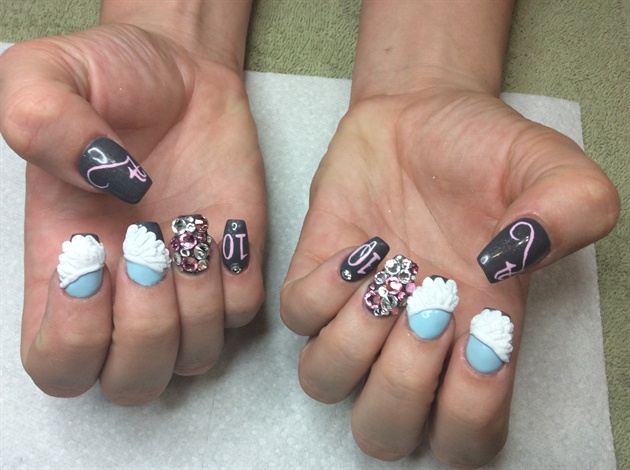
To honor 10 years of Entity, I recreated the logo on the thumbs, and accented the pinkies with a pink 10, and a single clear Swarovski crystal.
The one Entity ad that really spoke to me was the wings. On these nails, they represent the ability for Entity to take off and grow in the next 10 years. These were built feather-by-feather on the nail out of white acrylic.
Step-by-Step Nail Art Tutorial
1
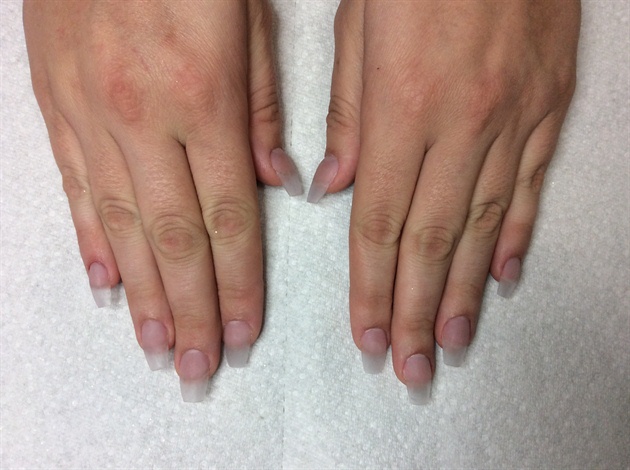
Start with clean, prepped nails in any shape of your choice.
2
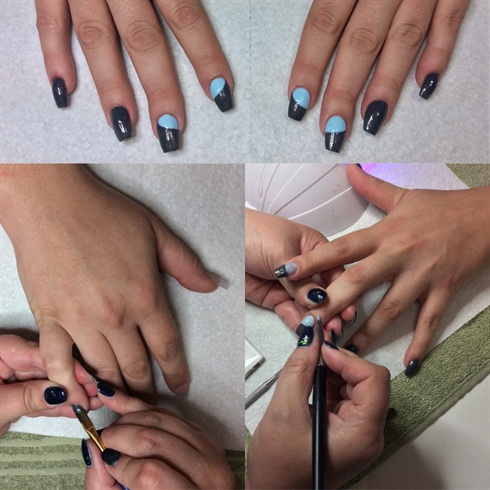
I painted the base grey with metallic flakes added in the gel polish, then added a light blue gel polish to the pointer and middle fingers on both hands where the wings would go.
3
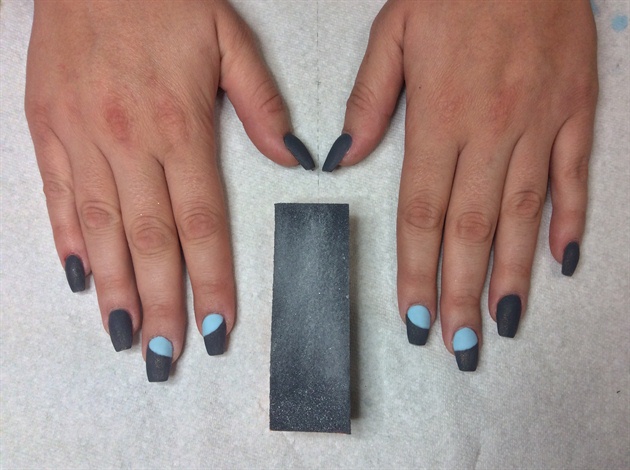
Before hand-painting, prepare your nails surface by buffing them.
4
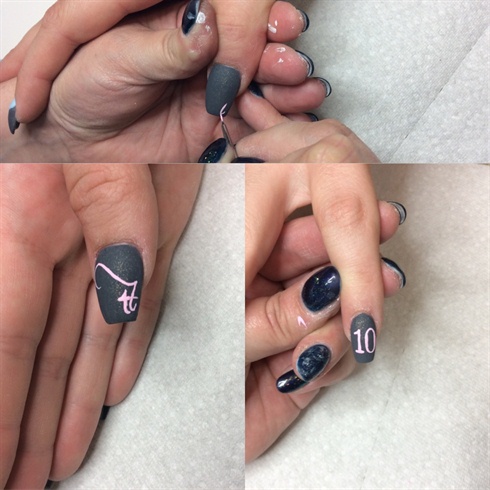
With acrylic paint, paint on the Entity Logo in a light pink, and add a 10 for their tenth anniversary.
5
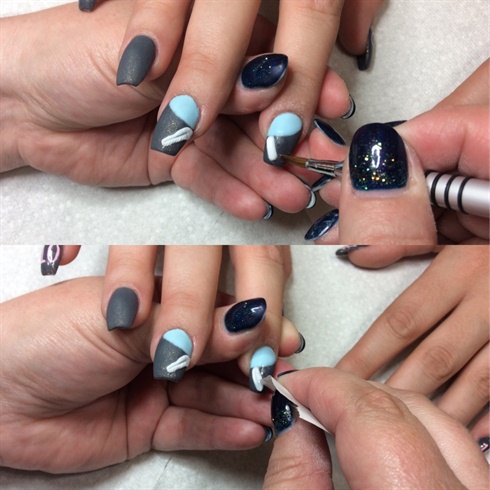
Build the wings feather by feather, making sure to allow enough cure time in between so you can overlap the next feather. Start with an oblong shape and cut the quill vertically down the middle, and fringe along the edges with form paper.
6

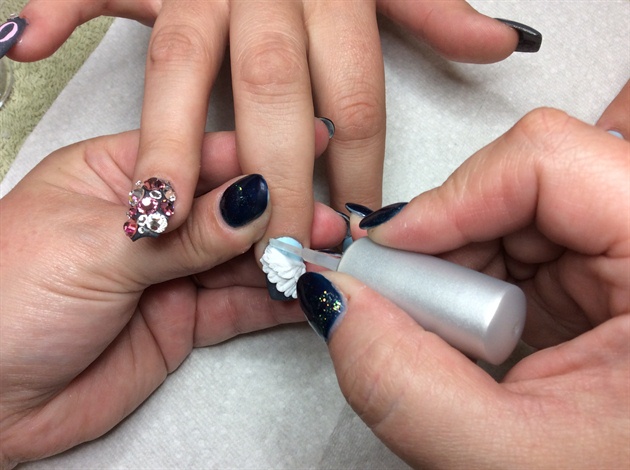
Layer feathers over each other to add dimension, and mimic a bird's wing.
7
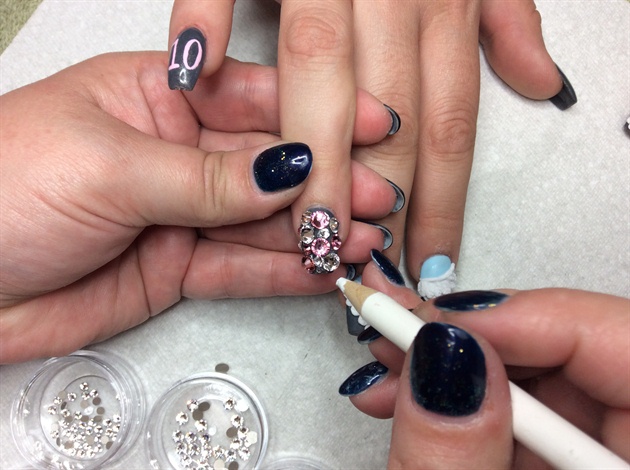
Every party nail needs bling! I chose light pink and clear Swarovski crystals to keep with the Entity company color theme.
8
Top coat!
9
Sit back, and send in your RSVP to the party!
2 Artists like this Photo
Write a Comment
Submit