For this challenge I decided to go with Monopoly and because monopoly has so many different versions I did Nintendo, which had Mario Brothers, and is another one of my childhood memories.
Monopoly is a board game that originated in the United States in 1903 as a way to demonstrate that an economy which rewards wealth creation is better than one in which monopolists work under few constraints and to promote the economic theories of Henry George and in particular his ideas about taxation and women’s rights.
Monopoly has been around forever and continues to be an all time favorite among young people and adults.
Even though it's a long game we always pull it out at least once every couple of months for the whole family to play with. It's good for my children because they learn the value of money and what happens when you decide to buy all of the property within the first round. Of course I'm usually the winner, the turtle wins the race!
Step-by-Step Nail Art Tutorial
1
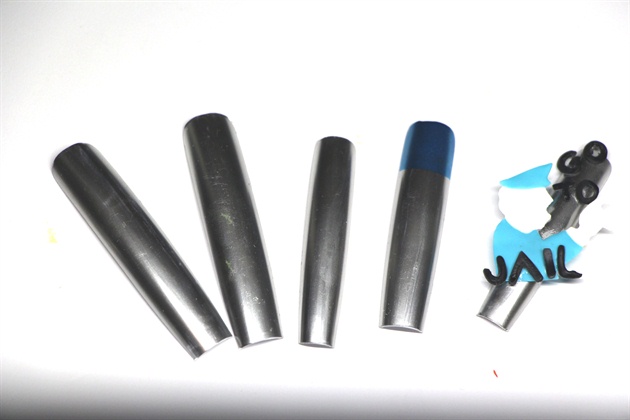
Paint all of the nails with a metallic gel. I used Jewelry Gel
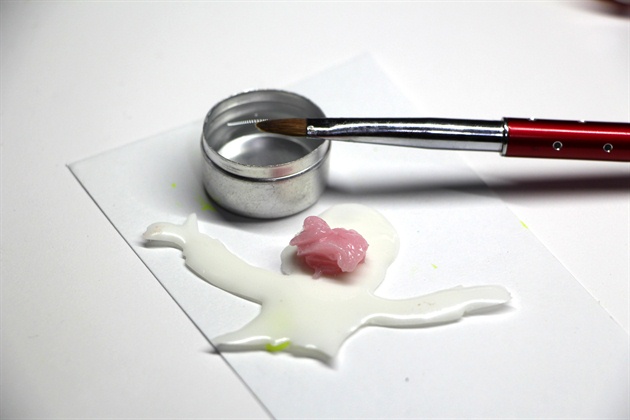
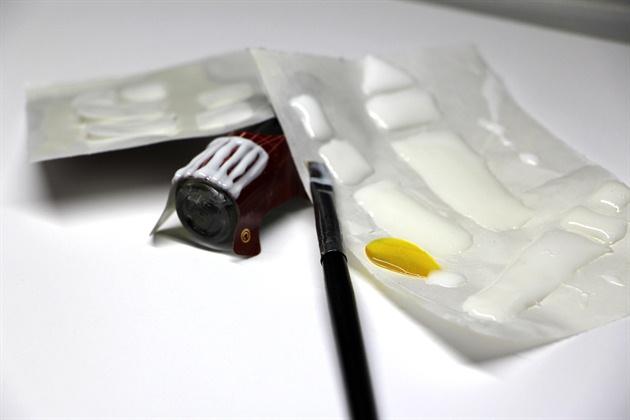
2
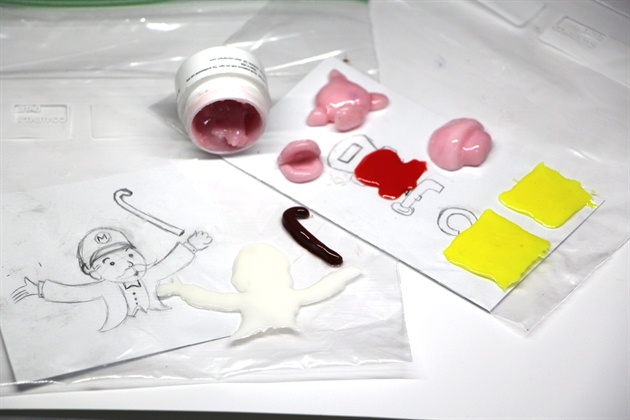
I used a combination of hardgel, gumgel, and gelpaint and cured them on plastic bags and forms over hand drawings I made for the design
3

I used a cute hole puncher to cut out the stars from cured gel
4
When you work with gumgel, you have to use alcohol and keep wetting it and pushing it to the desired shape and then cure for 2 minutes
5
after you cure all of your pieces, shape and file and buff so when you paint on them, they will hold the design better
6
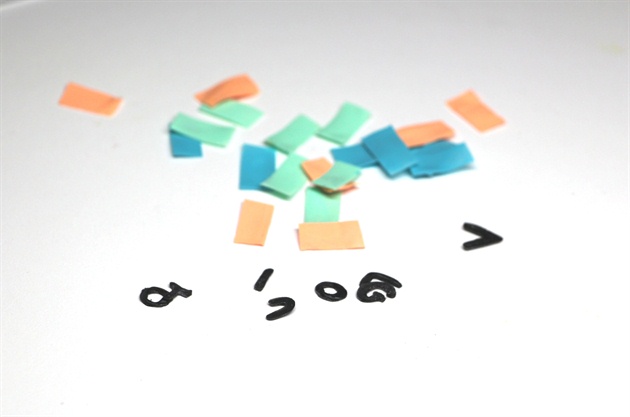
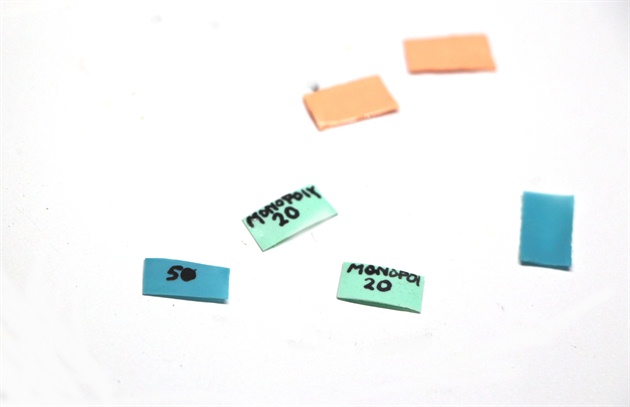
I made 3D monopoly money and letters for the words. file and shape
7
I wrote tiny little details on the money and then attached with gel
8
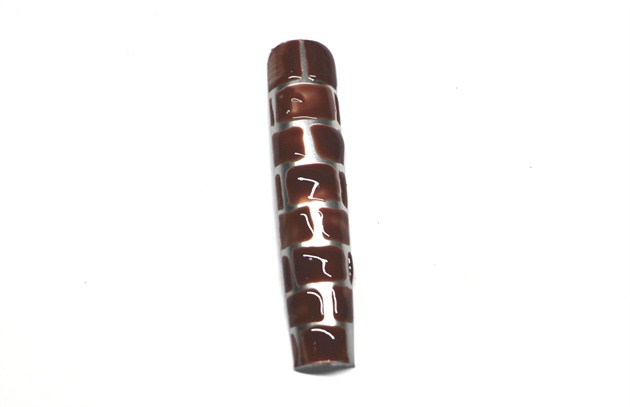
For this nail I painted individual bricks and cured. I did this 3 more times to elevate the bricks
9
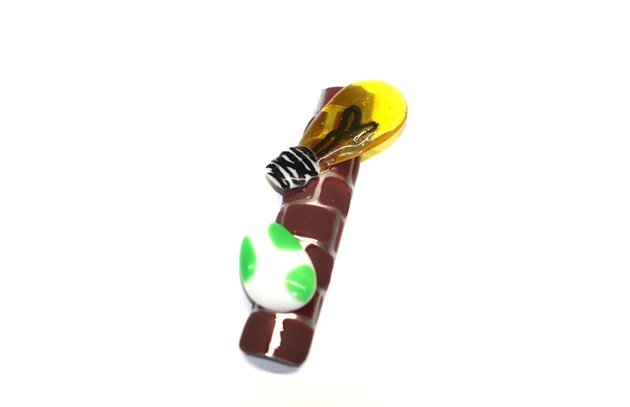
I added more 3D elements on this nail and all of the others to complete the look
10
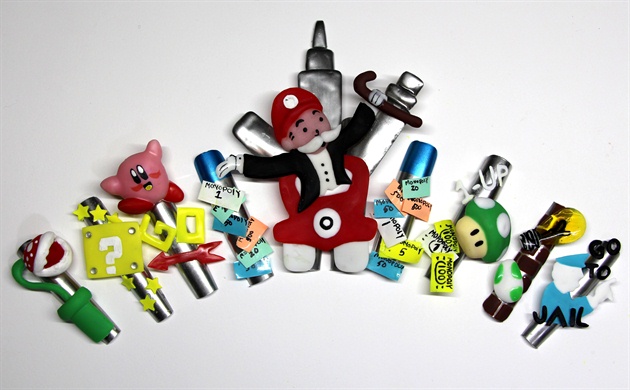
After I added all of my 3D elements, I painted and , once dry, topped with a matte gel top coat and gently wiped the inhibition layer to reveal my design. This was the most challenging piece I have ever made in my history of competitions
6 Artists like this Photo
Write a Comment
Submit