My Uluru mural was inspired by my favourite visual artist, Australian photographer, Ken Duncan. I have loved Ken's panoramic landscape photography for as long as I can remember. Photography as an art form, is hard to capture on a nail without the use of decals, so I chose to paint my landscape design emulating the small, short brush strokes commonly found on a Monet masterpiece. Using Monet's technique I was able to combine various shades of color to achieve my own panoramic landscape design.
Step-by-Step Nail Art Tutorial
1
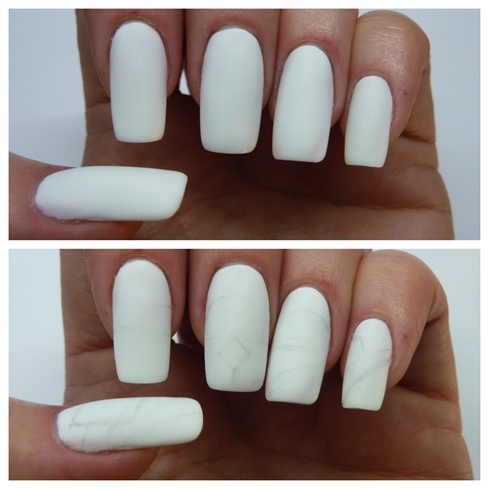
I began my design by applying a white base layer to my prepared nails and then lightly drawing a rough outline of my image.
2
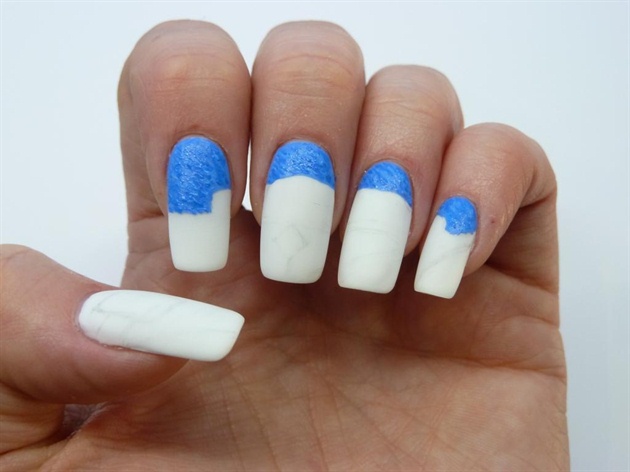
To apply the sky, I used short brush strokes in various blues.
3
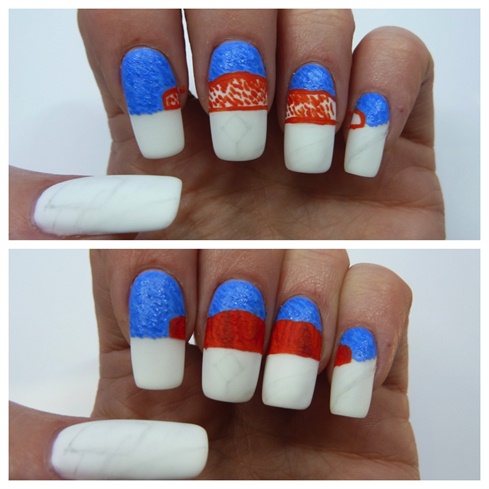
Next, I outlined the rock and then began coloring it in with differing hues of orange and brown, shading it to show the finer details that Uluru is known for.
4
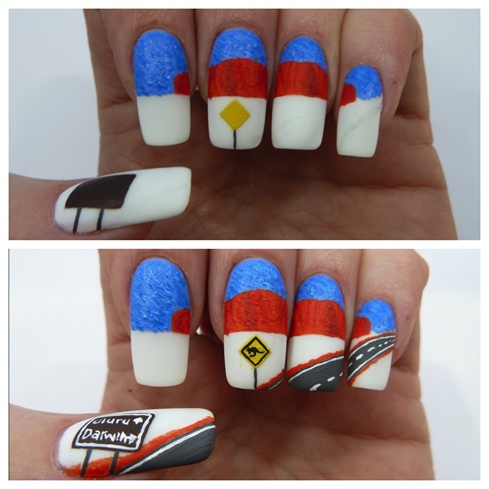
Then I applied my signs and added the highway. I chose to use longer strokes for this part of the design to give it an elongated effect. Some more orange earth was also added to the edges of the road.
5
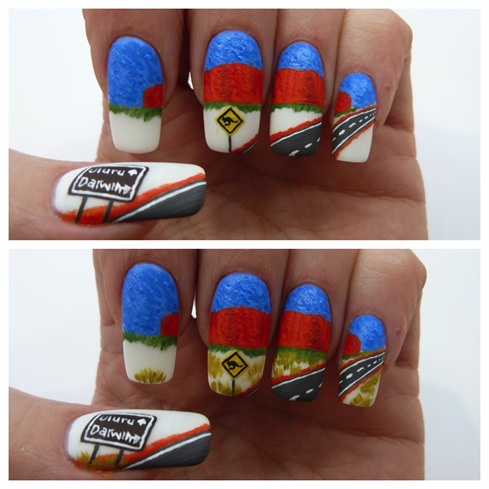
For the grass, I began by applying a dark shade of green to the bottom of the rock and some lighter shades closer to the highway
6
Then I began applying short brush strokes in various shades of green to depict the grass as it fades in the distance. I also added some foliage and trees using the same short brush strokes.
7
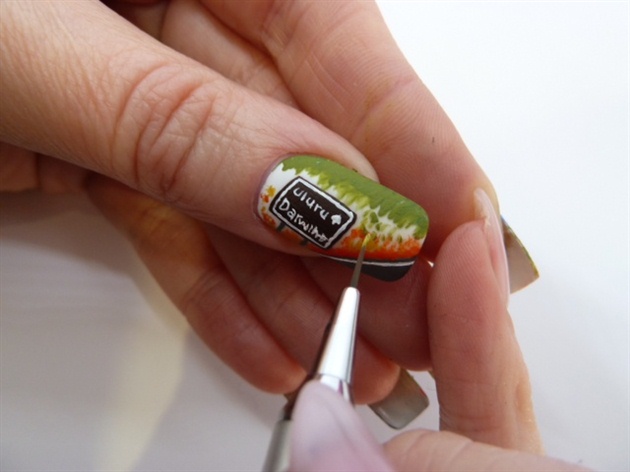
Finally, I added the grass and foliage to the thumb to complete the landscape.
8
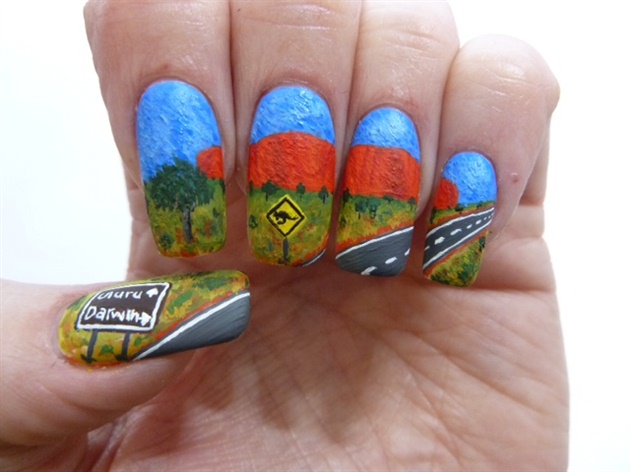
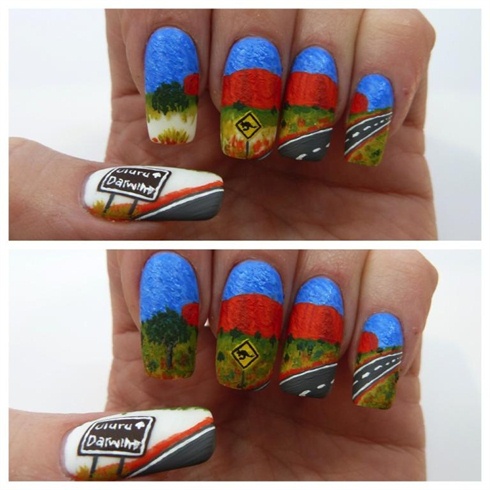
Here is my completed panoramic landscape of Central Australia's iconic, Uluru (Ayers Rock).
13 Artists like this Photo
Write a Comment
Submit