For our first NTNA assignment, Bewitched, we were tasked with creating art inspired by our favorite witch. I chose to bring to life one of my illustrations, this is how I created my doll from acrylic. Meet Nymphadora the Nail Witch, hope you enjoy the tutorial!
Step-by-Step Nail Art Tutorial
1
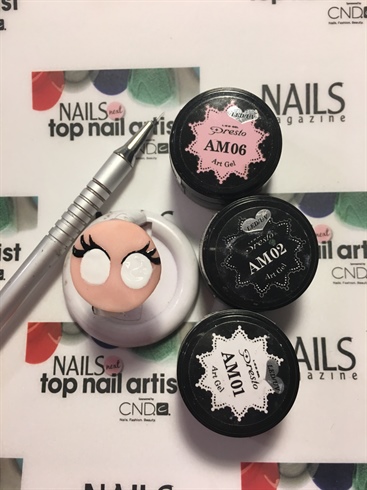
1) Using wax paper as your base make a large circle out a nude acrylic to create the face of your doll and begin detailing.
2
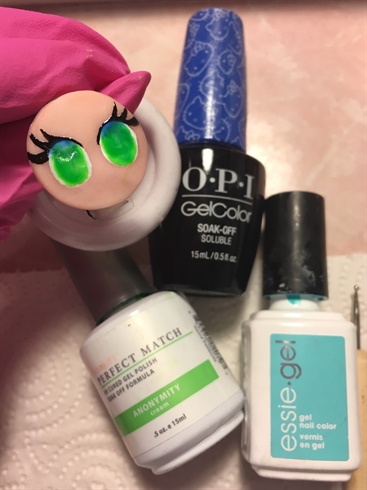
2) To create the watercolor effect for her eyes I created a color melt by placing three colors down and then blending them with clear gel (before having cured them). Pick shades that are close to each other in hue to create a nice effect.
3
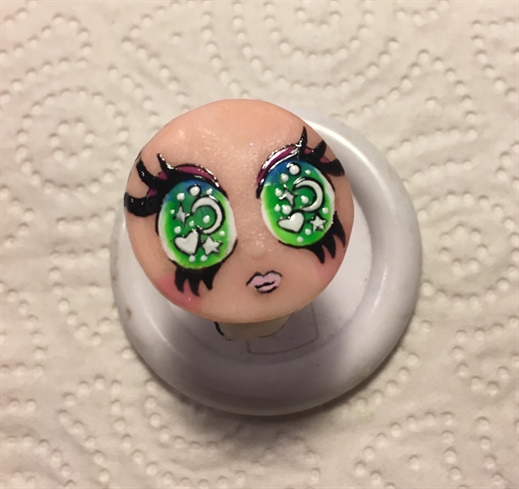
3) Continue detailing the eyes and then add lips and eye-shadow.
4
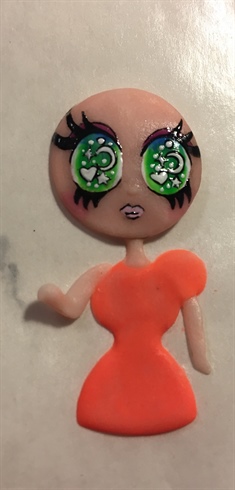
4) When face detail is complete return it to wax paper and continue to build the doll with acrylic. When forming your doll you will lay down the base for her chest and arms and then lay down the acrylic layers for her clothes on top, it is separate layers of acrylic placed on top of each other to give the appearance of the doll wearing clothes.
5
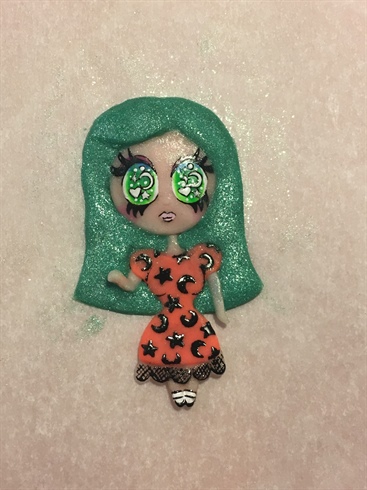
5) Add her hair with green acrylic, leave these beads slightly wetter so you’re able to fill the spaces around her neck in so her hair looks nice and full.
2 Artists like this Photo
Write a Comment
Submit