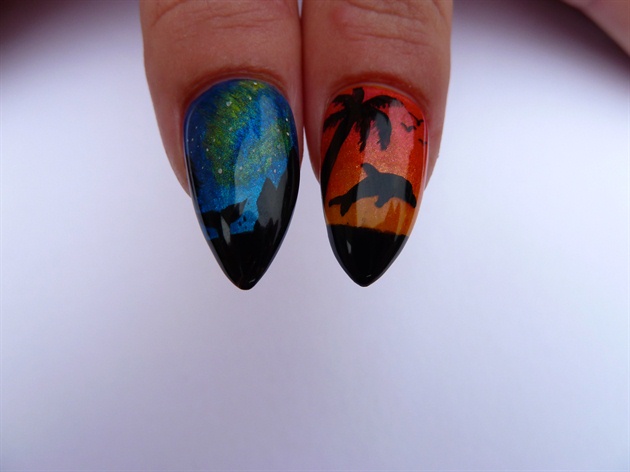
This weeks challenge sees us creating a set of nails depicting a hot/summer/tropical design on one hand and a cold/winter/arctic design on the other. I chose to paint the Northern Lights with the amazing glow of the aurora and on the other hand, a beautiful sunset after a hot, action packed summers day at the beach. Both silhouette scenes are created in the style of a gradient and were designed with Gel II’s temperature-activated, color-changing Reaction line of gel-polish in mind.
Step-by-Step Nail Art Tutorial
1
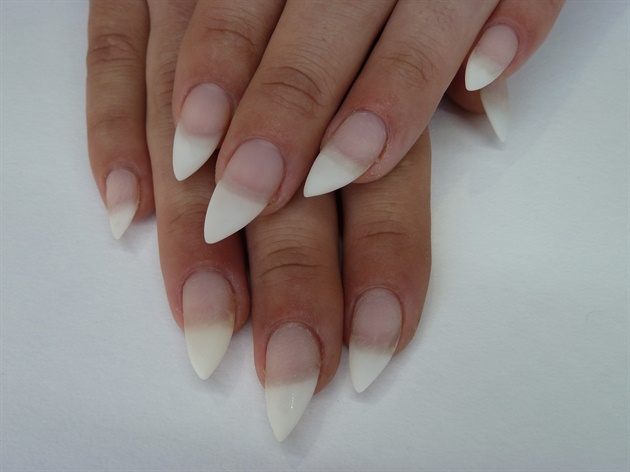
I began with a set of cleaned and prepared nails. I sculpted extensions for this challenge using gel.
2
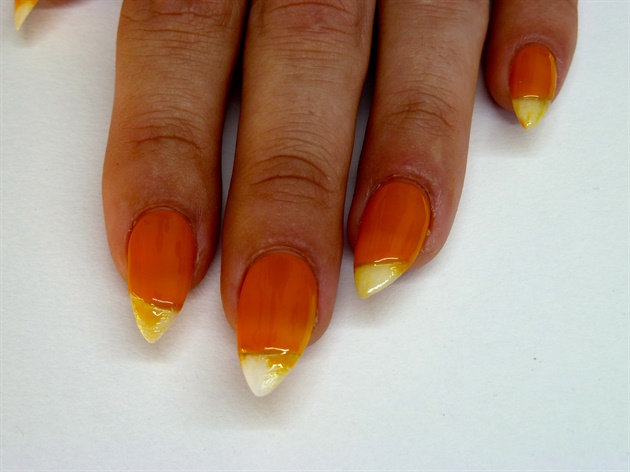
I began with a light orange gel polish and applied it to create my sunset sky then cured. (I used a few layers to deepen the color)
3
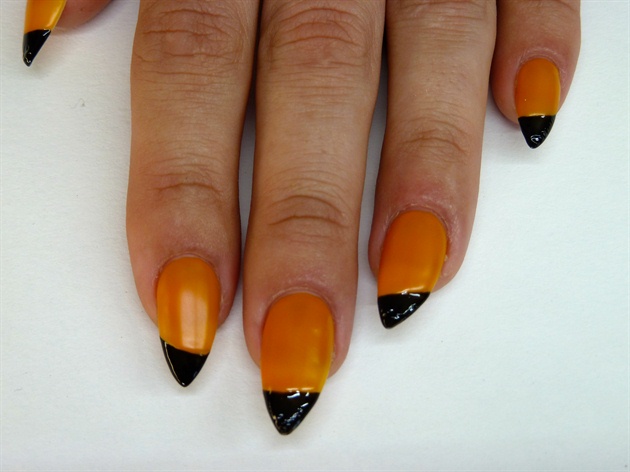
I applied the shoreline silhouette using a black gel polish and cured.
4
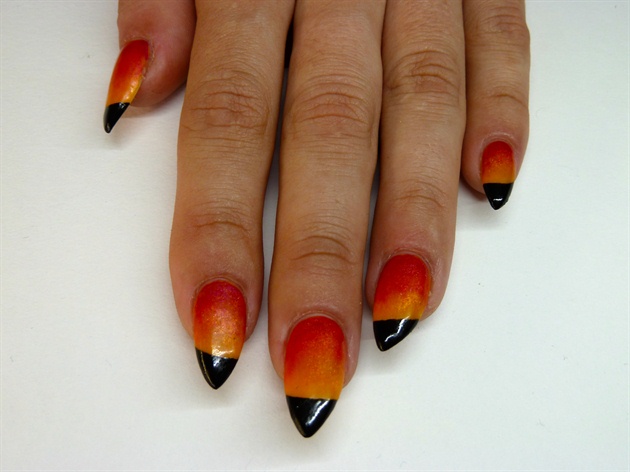
Next I took a dark pink/red, a deep orange and a light gold gel polish and applied them in sections working from the cuticle out. Then using a gel brush I patted lightly to blend the colors, essentially creating a gradient effect.
5
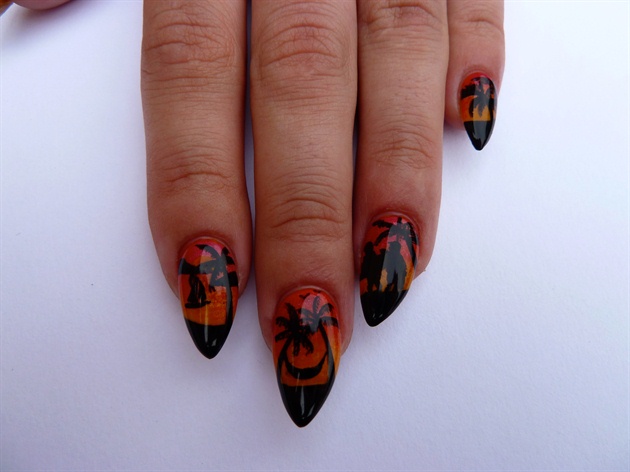
Then using black acrylic paint, I painted on the beach silhouette scene. I added palm trees, a dolphin, seagulls, some islands in the distance, a pair of surfers with their surfboards, a sail boat complete with a sunset on the horizon and some glistening light reflecting off the waves. I created the sunset and ripples in the ocean using watered down yellow acrylic paint and a water color method where you allow the outside of the paint to dry on the nail and then dab it with a dry brush to remove some of the paint from the middle the design. I sealed in my design with a glossy top coat gel polish and cured it.
6
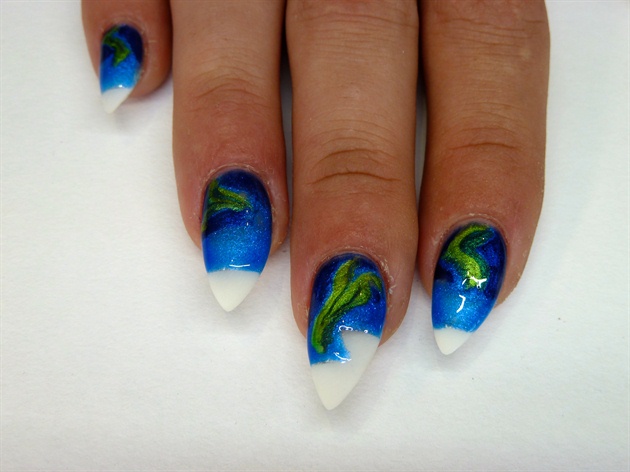
I began my northern lights nails with two shades of blue gel polish and three greens. I have used a medium and dark blue and a deep emerald green and bright green along with a teal shade. This design works best with shimmer finish gel polishes. Using a thin gel brush, I applied the Aurora formation using all three greens side by side then filled the remaining night sky in, adding the lighter blue directly around the greens and close to the 'ground' of my design.
7
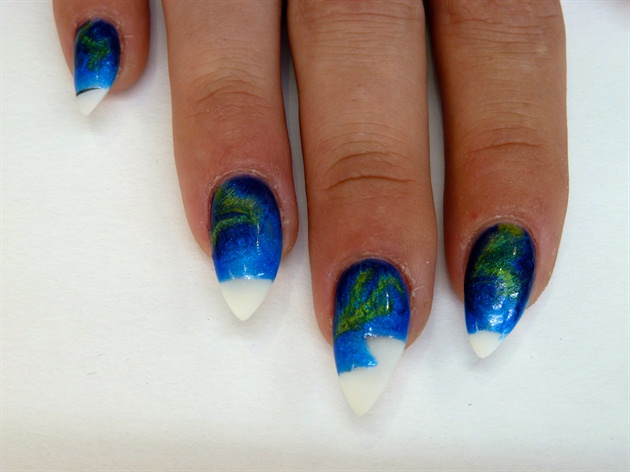
I took a fine gel art brush and very lightly dragged it through the greens to create a swirled, almost gradient effect. When creating this look be sure not to try to perfect it or you may just end up with a blurred mess. You should still be able to see visible markings where you have dragged the colors. When you have your desired effect, cure your gel polish.
8
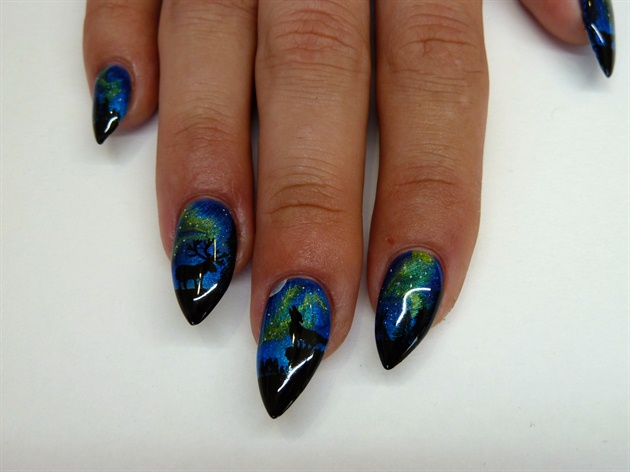
Using black gel polish, I applied the base of my design and cured between layers.\nI removed the dispersion layer and began painting on my silhouette with black acrylic paint. \nI chose to paint some tall pine trees on each of the five nails along with an elk, a teepee, a whale tail with dripping water, some distant mountains and a wolf on top of a cliff howling at the moon. The moon was created using some watered down white acrylic paint. Once again using a water color method, I waited for it to semi dry and then using a dry brush, I lightly touched it to absorb the excess paint. I finished my design with some tiny dots of white acrylic paint to mimic stars. Once dry, I applied a glossy top coat gel polish and cured.
10
Here is the final image of the thumbs.
16 Artists like this Photo
Write a Comment
Submit